Bathroom Tile Flooring: The Ultimate Cleaning Playbook
Master your bathroom tile flooring maintenance with our expert cleaning playbook. Learn grout restoration, daily care, and product recommendations.
The Chemistry of Bathroom Tile Flooring Soil
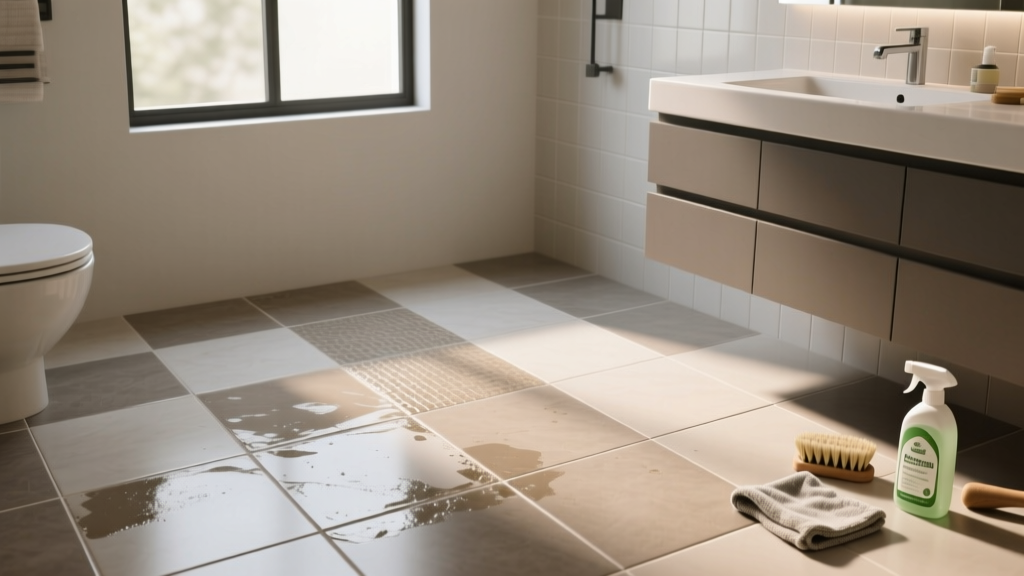
Effective maintenance of bathroom tile flooring requires understanding the chemical composition of the soil accumulating on the surface. The primary adversaries in a bathroom environment are hard water deposits (calcium and magnesium carbonate), soap scum (calcium stearate formed when fatty acids in soap react with hard water minerals), and biological biofilms (mildew and mold). Standard alkaline cleaners (pH 8-10) are highly effective at emulsifying biological matter and body oils, but they fail to dissolve mineral-based soap scum. To break down calcium stearate, a chelating agent or a mild acidic cleaner (pH 4-5) is required to dissolve the mineral bonds without degrading the grout matrix.
Daily and Weekly Maintenance Protocols
Moisture and Ventilation Management
The most critical, yet frequently overlooked, aspect of bathroom tile flooring maintenance is ambient moisture control. Mold and mildew spores require a relative humidity (RH) above 60% to germinate on porous grout lines. According to building science standards, a bathroom exhaust fan must move a minimum of 50 CFM (Cubic Feet per Minute) for standard half-baths, and 80-110 CFM for master bathrooms with large shower enclosures. Run the exhaust fan during the shower and for a minimum of 20 to 30 minutes post-shower to drop the ambient RH below the 60% biological growth threshold. Utilizing a programmable humidity-sensing switch (set to trigger at 60% RH) automates this process and significantly extends the lifespan of your grout sealers.
The Squeegee and Microfiber Routine
Daily mechanical removal of water prevents hard water scaling before it can crystallize. Keep a silicone-blade squeegee in the shower. After use, squeegee the walls and the floor pan toward the drain. This 30-second habit removes up to 80% of the mineral-laden water before evaporation leaves deposits behind. For the main bathroom floor, use a dry microfiber dust mop weekly to capture abrasive silica dust and skin cells that can micro-scratch the glaze on ceramic and porcelain tiles over time.
Deep Cleaning Grout Lines: A Dwell-Time Matrix
The Tile Council of North America (TCNA) emphasizes that the mechanical agitation of grout lines must be paired with the correct chemical dwell time. Most consumers fail to deep clean grout because they scrub immediately after applying the cleaner. Chemical agents require time to break molecular bonds. Furthermore, the type of grout dictates the cleaning approach: cementitious grout is highly porous and traps soil deep within its matrix, while epoxy and urethane grouts are non-porous, meaning soil remains on the surface but can form a stubborn biofilm if neglected.
| Stain / Soil Type | Required Cleaner Chemistry | Target pH | Optimal Dwell Time | Agitation Tool |
|---|---|---|---|---|
| Soap Scum / Hard Water | Chelator / Mild Acid (Citric or Phosphoric) | 4.0 - 5.5 | 10 - 15 Minutes | Stiff Nylon Grout Brush |
| Mildew / Biofilm | Alkaline Surfactant / Oxygen Bleach | 9.0 - 10.5 | 15 - 20 Minutes | Stiff Nylon Grout Brush |
| Iron / Rust Stains | Oxalic Acid (Ceramic/Porcelain ONLY) | 2.0 - 3.0 | 5 - 10 Minutes | White Nylon Pad |
| General Surface Dirt | Neutral pH Detergent | 7.0 | 3 - 5 Minutes | Microfiber Mop |
Never use steel wool, wire brushes, or harsh abrasive scouring pads on bathroom tile flooring. These tools will scratch the protective glaze on porcelain and ceramic tiles, creating micro-fissures where dirt and bacteria will permanently embed, making future cleaning exponentially more difficult.
Sealing and Preventative Care Standards
If your bathroom tile flooring utilizes cementitious grout (the most common and cost-effective option), it must be sealed to resist moisture and staining. Epoxy and single-component urethane grouts do not require sealing due to their inherently non-porous chemical structures. For cementitious grout and natural stone tiles, a high-quality penetrating (impregnating) sealer is mandatory. These sealers utilize silane or siloxane resins that penetrate the microscopic pores of the grout and cross-link, creating a hydrophobic barrier below the surface without altering the tile's slip resistance.
When applying a penetrating sealer (such as Custom Building Products Aqua Mix Sealer's Choice Gold), ensure the grout is bone-dry (wait 48-72 hours after a deep clean). Apply the sealer directly to the grout lines using a precision applicator bottle or a small foam brush. Allow it to penetrate for 5 to 10 minutes, then thoroughly buff off any excess from the face of the tile with a dry microfiber cloth. Leaving sealer residue on the tile surface will result in a sticky, hazy film that is incredibly difficult to remove once cured.
Troubleshooting Common Bathroom Tile Flooring Failures
Even with rigorous maintenance, specific environmental factors can cause distinct flooring failures. Identifying the root cause is essential for applying the correct remediation strategy.
- Efflorescence: This appears as a white, powdery, crystalline deposit on the surface of cementitious grout. It is caused by water-soluble salts migrating from the thin-set mortar bed to the surface as moisture evaporates. Fix: Do not use water to clean efflorescence, as it will simply dissolve the salts and push them back into the grout. Instead, use a stiff, dry nylon brush to agitate the crystals and immediately vacuum the powder. Repeat until the migration stops, then apply a high-quality sealer.
- Polymer Grout Haze: If your bathroom tile flooring was recently installed and features a milky, cloudy film over the tiles, this is likely polymer haze left behind by modified grouts. Fix: Standard cleaners will not remove this. You must use a dedicated haze remover (often containing mild glycol ethers) or a specialized micro-abrasive pad designed for porcelain to mechanically break the polymer bonds.
- Pink Slime (Serratia Marcescens): Often mistaken for mold, this airborne bacteria thrives on the phosphorus and fatty acids found in soap residue and shampoo. Fix: The Centers for Disease Control and Prevention (CDC) notes that biological growth requires moisture elimination. Clean the area with an oxygen-based bleach solution (avoid chlorine bleach, which can degrade cementitious grout polymers over time) and improve bathroom ventilation.
Recommended Commercial and Prosumer Solutions
Selecting the right chemical agent prevents accidental damage to your bathroom tile flooring. Below is a curated matrix of industry-trusted products categorized by their specific maintenance function. For natural stone installations, always verify the product's safety data sheet (SDS) or consult the Natural Stone Institute guidelines before application.
| Product Name | Primary Active Chemistry | Best Application | Estimated Cost (Per Gallon) |
|---|---|---|---|
| Custom Building Products Aqua Mix Sealer's Choice Gold | Water-based Oleophobic/ Hydrophobic Resins | Penetrating sealer for cementitious grout and natural stone | $45 - $55 |
| Zep Heavy-Duty Tile & Grout Cleaner | Alkaline Surfactants (pH ~10) | Deep cleaning biological stains and heavy body oils from grout | $15 - $20 |
| StoneTech Restore (by LATICRETE) | Chelating Agents / Mild Acids | Dissolving hard water and soap scum on acid-sensitive stone | $60 - $75 |
| Bona Hard-Surface Floor Cleaner | Neutral pH Surfactants | Weekly maintenance mopping for glazed porcelain and ceramic | $20 - $25 |
By adhering to these chemical protocols, dwell times, and moisture management strategies, you will preserve the structural integrity and aesthetic finish of your bathroom tile flooring for decades, minimizing the need for costly regrouting or tile replacement.