Best Peel-Stick Brands for a DIY Backsplash Makeover 2026
Compare top peel-and-stick tile brands for your 2026 DIY backsplash makeover. Deep dives into Smart Tiles, Aspect, and FloorPops with pricing and prep.
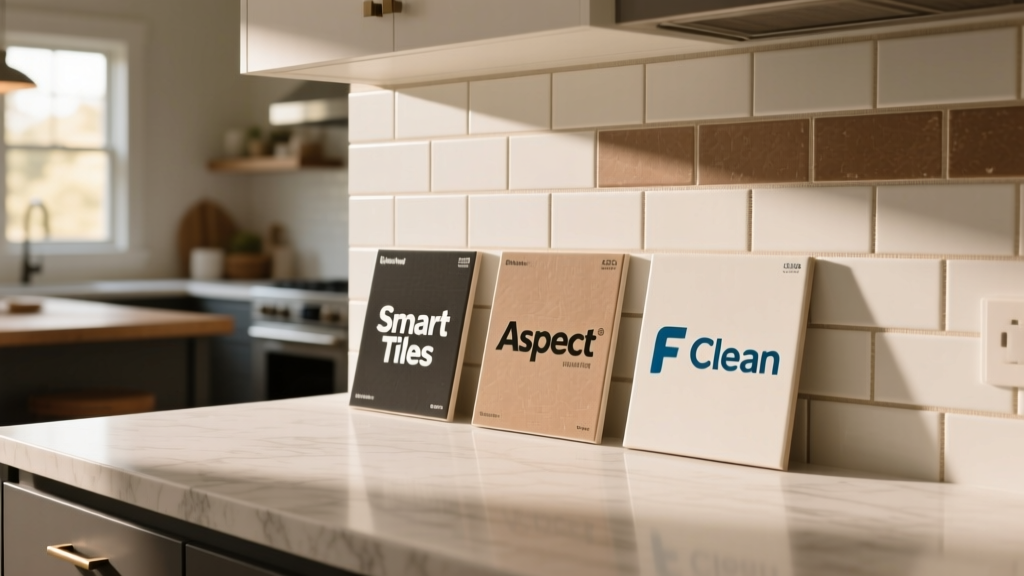
Material Crossover: Why Flooring Brands Dominate Vertical Makeovers
The line between flooring and wall cladding has blurred significantly in recent years. Advanced luxury vinyl plank (LVP) and peel-and-stick tile technologies, originally engineered to withstand horizontal foot traffic, now feature vertical-grade adhesives capable of handling kitchen heat and humidity. For homeowners planning a DIY backsplash makeover, leveraging these flooring-adjacent brands offers a distinct advantage: high-density cores, realistic 3D texturing, and interlocking mechanisms that forgive minor substrate imperfections. However, not all peel-and-stick products are created equal. Adhesive failure, edge lifting, and telegraphing (where drywall seams show through the tile) remain the primary failure modes in vertical installations.
This deep-dive analyzes three dominant brands—Smart Tiles, Aspect, and FloorPops—evaluating their specific product lines, adhesive chemistries, and real-world pricing to help you select the exact material for your 2026 kitchen or bathroom renovation.
Deep-Dive 1: Smart Tiles and Gel-O Adhesive Technology
Smart Tiles pioneered the premium peel-and-stick market by moving away from standard acrylic adhesives. Their proprietary Gel-O technology utilizes a polyurethane-based adhesive layer topped with an epoxy-like resin surface. This creates a 3D domed effect that mimics real ceramic glaze while providing superior initial tack (measured at roughly 45 PSI shear strength).
Product Line Spotlight: Muretto & Metro Collections
The Muretto Durango and Metro Subway lines are the brand's workhorses. Measuring 1.5mm thick, they are rigid enough to resist denting but flexible enough to contour to slightly bowed drywall.
- Pricing: $8.50 to $11.50 per square foot.
- Sheet Dimensions: 10.20 x 9.10 inches (Metro) to 10.95 x 9.70 inches (Muretto).
- Best Application: High-moisture zones like bathroom vanities and kitchen splash zones.
Deep-Dive 2: Aspect Metal and Glass Interlocking Panels
Manufactured by Axiom, Aspect approaches the DIY backsplash makeover from an architectural perspective. Rather than vinyl, Aspect utilizes real aluminum, copper, and glass substrates backed by a high-tack, pressure-sensitive foam tape. The 2026 lineup features brushed brass and matte black aluminum, aligning perfectly with current mixed-metal kitchen trends tracked by the National Kitchen & Bath Association.
Installation Nuances and Edge Cases
Aspect tiles are thicker (2.0mm) and heavier than vinyl alternatives. The factory-applied tape is sufficient for glass, but for the heavier metal panels, professional installers recommend supplementing the perimeter edges with a tube of Loctite PL Premium Polyurethane construction adhesive.
"When installing metal peel-and-stick panels over painted drywall, the adhesive will bond to the paint, not the drywall. If the paint is poorly adhered, the weight of the metal will pull the paint film off the wall, causing catastrophic failure."
— Field Notes on Vertical Adhesion, National Tile Contractors Association guidelines.
Deep-Dive 3: FloorPops and Budget Vinyl Crossovers
FloorPops, a subsidiary of WallPops, originally designed their 1.2mm vinyl tiles for light-traffic residential flooring. However, their intricate geometric patterns (like the Gothic and Filigree lines) have made them a viral favorite for budget-friendly backsplash makeovers.
- Pricing: $4.50 to $6.00 per square foot (sold in 10-packs covering 10 sq ft).
- Thickness: 1.2mm (significantly thinner than Smart Tiles).
- Failure Mode: Because the core is thin and flexible, FloorPops will "telegraph" any imperfections. If your drywall has un-sanded joint compound ridges, they will be visibly mirrored on the tile surface under direct kitchen lighting.
Brand Comparison Matrix: Specs and Pricing
| Brand / Line | Material Core | Thickness | Avg. Cost / Sq Ft | Substrate Forgiveness |
|---|---|---|---|---|
| Smart Tiles (Metro) | Vinyl + Gel-O Resin | 1.5mm | $9.50 | High |
| Aspect (Classic Metal) | Aluminum / Steel | 2.0mm | $21.00 | Low (Requires flat wall) |
| FloorPops (Gothic) | Standard LVP | 1.2mm | $5.00 | Very Low (Telegraphs flaws) |
The 48-Hour Substrate Prep Protocol
The number one reason DIY backsplash makeovers fail within the first six months is improper substrate preparation. Kitchen walls accumulate microscopic layers of cooking grease and aerosolized oils that repel pressure-sensitive adhesives. Follow this exact 48-hour protocol before unboxing your tiles:
- Degrease (48 Hours Out): Wash the entire backsplash zone with a TSP (Trisodium Phosphate) substitute or a heavy-duty ammoniated cleaner. Do not use standard dish soap, which leaves a surfactant residue.
- Mechanical Scuffing (24 Hours Out): Lightly sand semi-gloss or high-gloss painted walls with 120-grit aluminum oxide sandpaper. The goal is not to strip the paint, but to break the surface tension and create a micro-texture for the adhesive to grip.
- Dust Extraction (12 Hours Out): Vacuum the wall with a brush attachment, then wipe down with a lint-free microfiber cloth dampened with denatured alcohol. Allow to flash off completely.
- Acclimation (24 Hours Out): Bring the peel-and-stick tiles into the kitchen. Vinyl and adhesives become brittle below 65°F (18°C). The tiles must acclimate to the room's ambient temperature to ensure the adhesive remains pliable during application.
Pressure-sensitive adhesives (PSAs) do not cure through evaporation; they cure through mechanical pressure. After placing each tile, immediately roll it with a 100-lb capacity J-roller, applying firm, overlapping passes in both horizontal and vertical directions. Hand-pressing is insufficient for long-term vertical adhesion.
Real-World Cost & Yield Calculator
When budgeting your DIY backsplash makeover, do not calculate based on exact square footage. Peel-and-stick tiles require a 12% to 15% waste factor due to off-cuts around outlets, window sills, and cabinet corners.
Example Calculation for a 30 Sq Ft Backsplash:
- Raw Area: 30 sq ft
- Waste Factor (15%): 4.5 sq ft
- Total Material Needed: 34.5 sq ft
- Smart Tiles Cost (at $9.50/sq ft): ~$327.75 (plus tax and shipping)
- FloorPops Cost (at $5.00/sq ft): ~$172.50 (plus tax and shipping)
Expert Troubleshooting FAQ
Can I install peel-and-stick tiles directly over existing ceramic tile?
Yes, but only if the existing grout lines are flush. If your current backsplash has recessed grout lines deeper than 1/16th of an inch, the thin vinyl tiles will dip into the crevices, creating a visible grid pattern. You must first skim-coat the existing tile with a thin layer of modified thinset or joint compound, sand it flat, and prime it before applying the peel-and-stick product.
How do I cut metal Aspect tiles without ruining the finish?
Do not use standard tin snips, which will curl and warp the aluminum edges. Use a fine-toothed hacksaw (minimum 32 TPI) or a Dremel rotary tool with a fiberglass-reinforced cutoff wheel. Cut the tile face-up, and immediately deburr the edge with a fine-grit sanding sponge to prevent scratching adjacent tiles during installation.
What is the best way to seal the edges where the tile meets the countertop?
Never use standard latex caulk, which yellows and shrinks. Use a 100% silicone kitchen and bath sealant (color-matched to your grout lines or countertop). Apply a continuous 1/8-inch bead along the bottom seam to prevent water from wicking behind the tile adhesive via capillary action.