How to Clean LVP Flooring: Material Taxonomy & Care Guide
Learn how to clean LVP flooring based on its material taxonomy. Discover wear-layer specific care, core-type risks, and approved cleaning products.
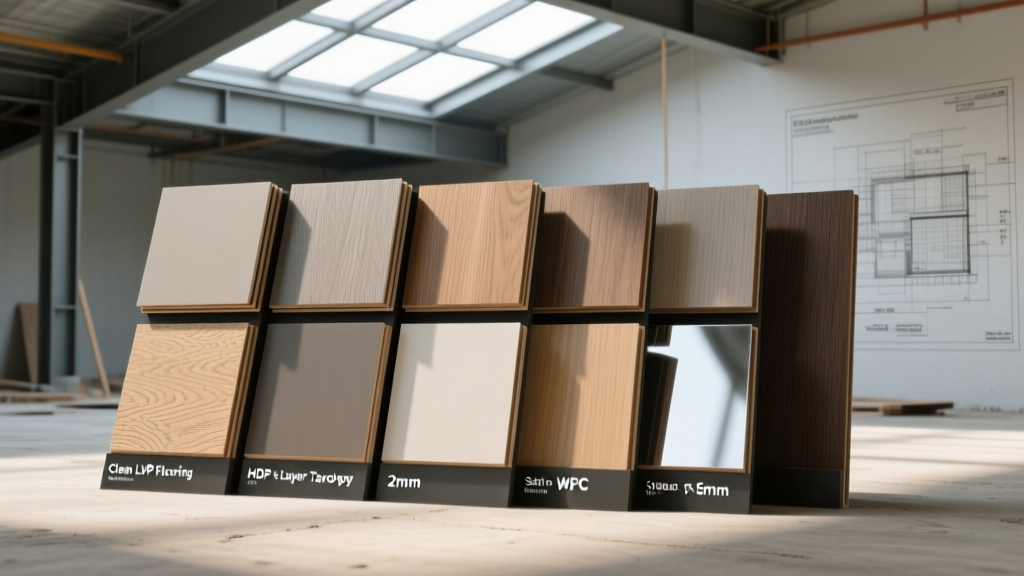
The Anatomy of LVP: Why Material Taxonomy Dictates Cleaning
Luxury Vinyl Plank (LVP) is frequently marketed as a singular, indestructible category, but from a materials science perspective, it is a complex, multi-layered composite. Understanding how to clean LVP flooring requires looking past the marketing and examining the specific taxonomy of its wear layer and core composition. The cleaning agents and mechanical tools that safely maintain a 22-mil commercial-grade urethane surface will permanently degrade a 6-mil residential acrylic topcoat.
To establish a proper maintenance protocol, we must first deconstruct the four primary strata of modern LVP:
- The Wear Layer: A transparent topcoat of polyurethane (PU), enhanced urethane, or aluminum oxide. This is the only layer you actually clean.
- The Printed Design Layer: A high-resolution photographic vinyl film that provides the wood or stone aesthetic.
- The Core Layer: The structural body, typically composed of flexible PVC, Stone Plastic Composite (SPC), or Wood Plastic Composite (WPC).
- The Backing Layer: An attached underlayment of EVA foam, cork, or IXPE that provides acoustic dampening and minor subfloor forgiveness.
The Polyurethane Wear Layer: Mils Matter
The wear layer thickness is measured in mils (1 mil = 0.001 inches). Residential LVP typically features a 12-mil (0.3mm) wear layer, while premium or commercial variants utilize 20-mil to 28-mil (0.5mm to 0.7mm) coatings. Thinner wear layers are highly susceptible to micro-abrasions. Using a vacuum with an engaged beater bar or a stiff-bristled broom on a 12-mil floor will create microscopic scratches that trap dirt and cause the floor to look perpetually cloudy. For floors with a 12-mil wear layer, mechanical cleaning must be restricted to soft microfiber and suction-only vacuums.
Core Composition: SPC vs. WPC vs. Flexible PVC
The core material dictates the floor's dimensional stability and its vulnerability to moisture at the seams. According to industry testing standards documented by the The Vinyl Institute, modern rigid cores have vastly different moisture tolerances:
- SPC (Stone Plastic Composite): A dense limestone and PVC blend. It is 100% dimensionally stable. However, while the plank won't swell, water forced into the click-lock seams can pool on the subfloor, leading to mold or subfloor rot.
- WPC (Wood Plastic Composite): Contains wood flour or foaming agents, making it softer and warmer underfoot. Prolonged exposure to standing water at the seams can cause the wood-flour components to expand, leading to edge-lifting (peaking).
- Flexible PVC: The traditional, bendable vinyl. Highly vulnerable to edge curling if liquid cleaners are allowed to penetrate the glue-down or loose-lay seams.
Never use a steam mop on any LVP taxonomy. While the core materials are largely waterproof, the heat from a steam mop (reaching 212°F / 100°C) exceeds the glass transition temperature of the adhesives bonding the wear layer to the printed layer. Furthermore, steam vapor is forced under pressure into the micro-gaps of click-lock seams, which can degrade the IXPE backing and cause irreversible delamination.
The Approved Cleaning Matrix: Chemical Compatibility
The most common failure mode in LVP maintenance is the use of high-pH alkaline cleaners or acidic solutions that strip the polyurethane topcoat. The EPA Safer Choice guidelines emphasize using pH-neutral cleaners for hard surfaces to prevent chemical degradation and indoor air quality issues. Below is a compatibility matrix for common cleaning agents used on LVP.
| Cleaning Agent | pH Level | Residue Risk | Verdict for LVP |
|---|---|---|---|
| Bona Hard Surface Cleaner | ~8.5 | None | APPROVED (Evaporates cleanly) |
| Rejuvenate Luxury Vinyl | ~7.0 | None | APPROVED (pH balanced) |
| Murphy's Oil Soap | ~9.5 | High | REJECT (Leaves dulling film) |
| White Vinegar & Water | ~2.5 | Low | REJECT (Acid degrades PU over time) |
| Ammonia / Bleach | 11.0+ | N/A | REJECT (Destroys wear layer) |
| Swiffer WetJet (Standard) | Varies | High | CAUTION (Causes sticky buildup) |
Step-by-Step Maintenance Protocol
Adhering to a structured routine prevents the need for aggressive deep-cleaning methods that compromise the floor's integrity. The following protocol aligns with 2026 manufacturer warranties for major brands like COREtec and Shaw.
1. Daily Dry Removal (Mechanical)
Use a vacuum with a hard-floor setting (brush roll disengaged) or a high-quality dust mop. Grit and silica act like sandpaper on the polyurethane layer. Removing abrasive particulate daily is the single most effective way to extend the visual life of a 12-mil wear layer.
2. Weekly Damp Mopping (Chemical)
Use a flat microfiber mop and a specifically formulated LVP cleaner like Bona Hard Surface Floor Cleaner. Spray the cleaner directly onto the microfiber pad, not the floor. This prevents excess liquid from pooling in the click-lock seams, protecting the subfloor and the WPC/SPC core edges. The mop should feel barely damp to the touch.
3. Bi-Annual Deep Extraction
If a hazy film develops, it is almost always soap residue from improper cleaners, not a defect in the vinyl. Strip the residue using a solution of 1 cup of isopropyl alcohol (rubbing alcohol) to 1 gallon of warm water. Mop the floor, then immediately follow with a clean water rinse and dry with a terry cloth towel.
Do not use melamine foam (e.g., Magic Erasers) to remove black scuff marks from shoes. Melamine foam is essentially microscopic sandpaper and will permanently dull the urethane finish. Instead, use a clean, dry tennis ball or a specialized vinyl scuff eraser to lift the rubber transfer without abrading the wear layer.
Troubleshooting Common LVP Cleaning Failures
When LVP floors look damaged, the root cause is usually tied to a misunderstanding of the material's taxonomy. Here is how to diagnose and correct the three most common issues:
- Symptom: Persistent Cloudiness / Hazing
Cause: Accumulation of acrylic polymers from 'mop and shine' products or alkaline residue from dish soap.
Fix: Perform the isopropyl alcohol strip mentioned above. Never use floor waxes or acrylic polishes on modern urethane-coated LVP; they cannot bond to the non-porous surface and will only peel. - Symptom: White Clouding at the Seams
Cause: Moisture intrusion causing the core material (specifically WPC with wood flour) to swell slightly, or mineral deposits from hard water left in the gaps.
Fix: Wipe seams with a 50/50 distilled water and white vinegar solution (used strictly on the seam, not the whole floor), then immediately dry with a microfiber cloth and a hair dryer on a cool setting. Ensure humidity in the room is maintained between 35% and 65%. - Symptom: Fading or Yellowing Near Windows
Cause: UV degradation of the printed vinyl layer. While the wear layer protects against scratches, standard polyurethane does not block UV rays.
Fix: This is an environmental failure, not a cleaning failure. Install UV-blocking window films or use area rugs with breathable, non-rubber backings (rubber and latex backings cause chemical plasticizer migration, which also yellows the floor).
"The longevity of luxury vinyl plank is entirely dependent on the preservation of its topmost millimeter. Treat the polyurethane wear layer as a delicate optical lens, not a rugged slab of stone, and the floor will outlast its warranty." — BuildMat Insight Flooring Laboratory