Master Stick Peel Floor Installation: Pro Layout & Prep Guide
Master stick peel floor installation with our pro guide. Learn subfloor prep, layout mapping, and adhesion secrets for a flawless, long-lasting finish.
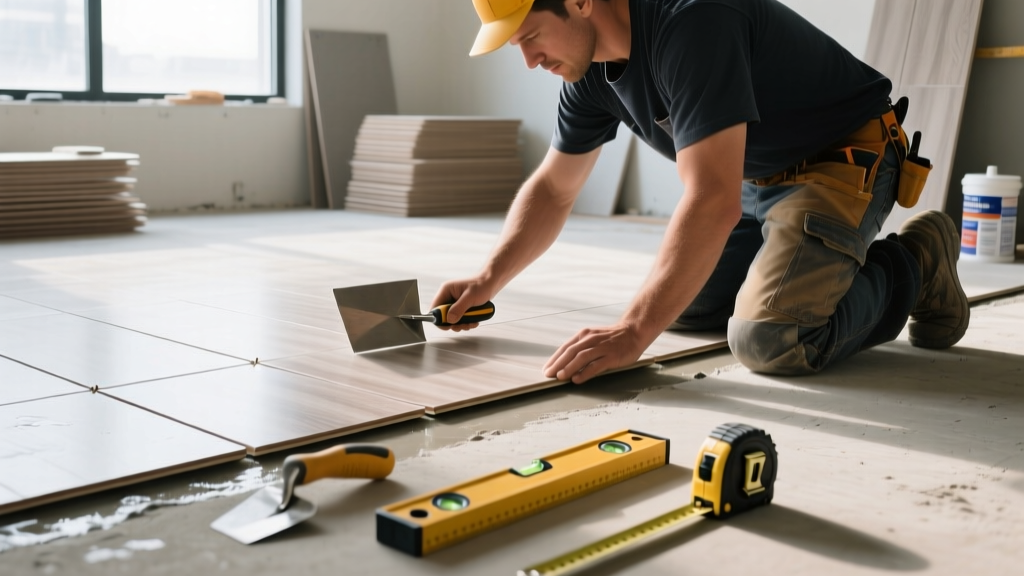
Subfloor Tolerance & Preparation: The Make-or-Break Step
The most common cause of stick peel floor failure is not the adhesive itself, but the substrate beneath it. Modern luxury vinyl tile (LVT) with pressure-sensitive adhesive (PSA) backing is exceptionally thin, typically ranging from 2.0mm to 3.0mm. Because it lacks the rigid structural core of click-lock planks, any subfloor imperfection will telegraph through the surface within six months of installation.
Moisture and Alkalinity Testing
Concrete slabs emit moisture vapor that can chemically break down acrylic adhesives. Before unboxing a single tile, you must verify the slab's moisture emission rate. According to the ASTM F1869 standard for calcium chloride testing, moisture vapor emission must not exceed 3 pounds per 1,000 square feet per 24 hours. Alternatively, an in-situ relative humidity (RH) probe test per ASTM F2170 should read below 75%.
Equally critical is the pH level. High alkalinity (pH above 9) combined with moisture causes saponification—a chemical reaction that literally turns the acrylic PSA into soap, resulting in tiles that slide, shift, or detach entirely. Test the concrete pH using a distilled water slurry; the reading must fall strictly between 7.0 and 9.0.
Scarification and Primer Application
Do not use acid etching to prepare concrete, as it leaves residual salts that disrupt adhesion. Instead, mechanically scarify the slab using a 100-grit diamond abrasive pad on a floor buffer. This opens the pores of the concrete without altering its chemical balance. After vacuuming with a HEPA-filtered shop vac, apply a non-staining, latex-based acrylic primer (such as Mapei Primer T or Roberts R5505) using a 3/8-inch nap roller. The primer seals dust, regulates porosity, and provides a high-tack surface for the peel-and-stick backing to grip.
Mapping the Layout: Avoiding Border Slivers
Amateur installers often start laying stick peel floor tiles in a corner, which inevitably results in unsightly, thin slivers of tile at the opposite wall when the room is out of square. Professional installers use the center-point method to balance the room visually.
- Find the Center: Snap a chalk line between the midpoints of the two longest opposing walls. Snap a second line between the midpoints of the shorter walls. The intersection is your starting point.
- Calculate the Borders: Measure the distance from the center line to the wall. Divide this number by the width of your tile. If the remainder is less than 2 inches, shift your starting chalk line exactly half a tile width to the left or right. This ensures that the border tiles on both sides of the room are at least half a tile wide, creating a balanced, intentional aesthetic.
- Dry Fit the Cross: Lay a single row of tiles along both intersecting chalk lines without peeling the backing. Check the fit at the doorways and transitions to ensure you won't be forced to make complex micro-cuts in high-visibility areas.
Step-by-Step Stick Peel Floor Application
Once the primer is fully dry (typically 1 to 4 hours, depending on humidity) and the layout is snapped, you are ready to install. The application of a stick peel floor requires specific physical techniques to activate the adhesive.
Step 1: The Peel and Place Technique
Never bend the tile in half to peel the backing, as this can stretch the vinyl wear layer and cause it to shrink back later, opening the seams. Instead, snap the backing paper in the middle, fold the tile slightly, and pull the paper away while keeping the tile relatively flat. Align the tile precisely with your chalk lines and drop it straight down. Do not slide the tile across the primer once it makes contact; the PSA grabs instantly, and sliding will clump the adhesive.
Step 2: Immediate 100-lb Rolling
Pressure-sensitive adhesives (PSA) require immediate, uniform downward force to activate the microscopic tackifiers and push the adhesive into the pores of the primed subfloor. Foot traffic alone provides less than 5 PSI, which is entirely insufficient for a permanent bond.
Immediately after laying a 4x4 foot section, roll the tiles with a 100-pound sectional floor roller. Roll in a north-south direction, then immediately roll in an east-west direction. This cross-rolling ensures the adhesive is pressed evenly into the substrate, eliminating air pockets that could later expand and cause bubbles.
Step 3: Heat Sealing the Perimeter
Along the walls where the 100-lb roller cannot reach, use a J-roller with aggressive downward hand pressure. For commercial installations or high-moisture areas like bathrooms, professional installers often use a heat gun set to 200°F to gently warm the perimeter edges of the stick peel floor tiles before rolling. This softens the PVC and the PSA, allowing it to flow into the microscopic gaps between the floor and the wall plate, creating a moisture-resistant seal.
Material Comparison: PSA Backing Technologies
Not all stick peel floor products are manufactured equally. The backing chemistry dictates the longevity, VOC emissions, and repositionability of the floor. Below is a comparison of the three primary adhesive technologies used in modern peel-and-stick flooring.
| Adhesive Type | Best Use Case | VOC Profile | Repositionability |
|---|---|---|---|
| Standard Acrylic PSA | Residential bedrooms, living areas | Low (Compliant with EPA guidelines on VOCs) | None (Grabs instantly) |
| Silicone-Coated Releasable PSA | Commercial spaces, leased properties | Ultra-Low | High (Can be lifted within 24 hrs) |
| Fiberglass-Reinforced PSA | High-traffic areas, uneven subfloors | Low | None (Extremely rigid bond) |
For most residential applications, a standard acrylic PSA over a dimensionally stable fiberglass core provides the best balance of cost and durability. Always verify that the product carries a FloorScore certification to ensure indoor air quality standards are met.
Troubleshooting Common Adhesion Failures
Even with meticulous preparation, environmental factors or installation errors can cause issues. Here is how to diagnose and fix the most common stick peel floor failures, drawing on guidelines from the Resilient Floor Covering Institute (RFCI).
Edge Curling (Lifting at the Seams)
Cause: Edge curling is almost always caused by one of three factors: failure to use a 100-lb roller, installing over a dusty subfloor, or high ambient humidity during installation that trapped moisture beneath the tile.
Fix: If caught within 48 hours, lift the curling edge, clean the subfloor with isopropyl alcohol, apply a thin layer of liquid PSA adhesive (like Roberts 7300), and re-roll heavily. If the tile has been down for months, the vinyl has likely taken a 'set' and must be replaced.
Adhesive Ooze (Yellowing at Seams)
Cause: Applying too much liquid primer before installation, or installing in a room exceeding 90°F, can cause the PSA to become overly fluid and squeeze out between the seams when the 100-lb roller is applied.
Fix: Wipe the oozed adhesive immediately with a damp microfiber cloth and a pH-neutral cleaner. Do not use solvent-based cleaners, as they will strip the urethane wear layer off the tile, leaving a dull spot that attracts dirt.
Telegraphing (Subfloor Texture Showing Through)
Cause: Installing directly over existing sheet vinyl with a textured pattern, or over concrete with trowel marks, without using an embossing leveler.
Fix: Unfortunately, once telegraphing occurs, it cannot be buffed out. The affected tiles must be removed, the subfloor must be skim-coated with a Portland cement-based self-leveling underlayment, primed, and re-installed. Always use a 1/4-inch thick underlayment board or liquid leveler when covering heavily textured legacy floors.
Final Curing and Maintenance
While a stick peel floor can handle light foot traffic immediately after rolling, the acrylic adhesive requires a full 72-hour cure time to achieve its maximum shear strength. Delay moving heavy furniture (like kitchen islands or solid wood dressers) onto the floor for at least three days. When moving appliances, use 1/4-inch thick Masonite panels to distribute the point-load weight and prevent the tiles from shifting or denting under the concentrated pressure of small caster wheels.