Evaluating the Cost of Crack in Foundation Repair by Type
Discover the true cost of crack in foundation repair. Compare pricing for epoxy injection, carbon fiber straps, and helical piers with expert diagnostic tips.
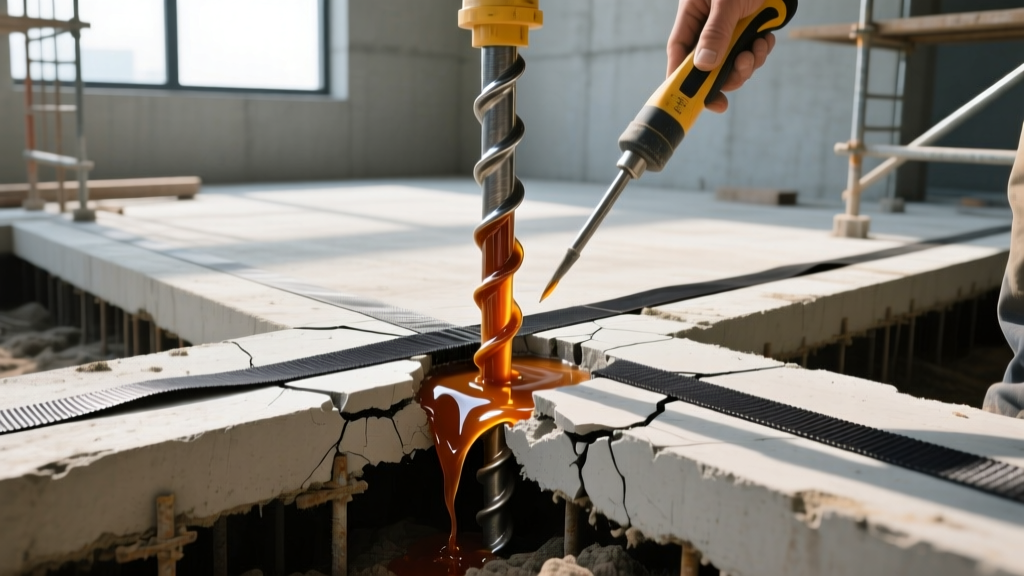
The Diagnostic Matrix: Identifying Your Crack Type
Before calculating the cost of crack in foundation repair, you must accurately diagnose the failure mode. Foundation cracks are not uniform; their geometry, width, and displacement dictate the engineering solution. Misdiagnosing a hydrostatic shear crack as a simple shrinkage fissure leads to catastrophic repair failures and wasted capital. According to guidelines published by the International Association of Certified Home Inspectors (InterNACHI), crack morphology is the primary indicator of underlying soil and structural dynamics.
| Crack Morphology | Typical Width | Primary Failure Mechanism | Structural Threat Level |
|---|---|---|---|
| Vertical / Hairline | < 1/16 inch | Concrete curing shrinkage, minor thermal expansion | Low (Water intrusion only) |
| Diagonal (Single Angle) | 1/16 - 1/4 inch | Differential settlement at foundation corners | Moderate to High |
| Stair-Step (Masonry/Block) | > 1/4 inch | Severe differential settlement, soil subsidence | High (Requires underpinning) |
| Horizontal (Mid-wall) | Any width with bowing | Lateral earth pressure, hydrostatic load, frost heave | Critical (Imminent shear failure) |
True Cost of Crack in Foundation Repair by Method
The financial outlay for foundation remediation scales exponentially with the severity of the structural compromise. Below is a detailed breakdown of 2026 market rates for professional repair methodologies, including material specifications and labor metrics.
1. Epoxy and Polyurethane Injection
For non-structural vertical cracks or active water leaks, injection is the standard. However, the resin chemistry must match the objective.
- Structural Epoxy Injection: Used to weld cracked concrete back to its original monolithic strength. Products like Simpson Strong-Tie Crack-Pac or high-modulus epoxies meeting ASTM C881 Type I, Grade 1 standards are required. Cost: $45 to $65 per linear foot. A standard 8-foot vertical crack costs between $360 and $520.
- Polyurethane Foam Injection: Used exclusively for water sealing. Hydrophilic or hydrophobic foams (e.g., Sika SikaFix PU-20) expand upon contact with moisture to seal active leaks. Cost: $50 to $75 per linear foot. Expect to pay $400 to $600 for a standard 8-foot leak.
2. Carbon Fiber Reinforcement
When concrete block or poured walls exhibit minor inward bowing (less than 2 inches of deflection) due to lateral soil pressure, carbon fiber straps provide immense tensile strength without the need for exterior excavation. Systems like Fortress Stabilization use Kevlar-reinforced carbon fiber grids bonded with structural epoxy.
- Pricing Metric: Priced per strap or per wall. Individual straps cost $800 to $1,200 installed.
- Full Wall Application: Straps are typically spaced 48 inches on-center. Reinforcing a standard 30-foot basement wall requires 7 to 8 straps, bringing the total project cost to $5,600 to $9,600.
3. Helical Piers and Underpinning
Stair-step cracks and diagonal fissures wider than 1/4 inch indicate that the soil beneath the foundation has failed. The American Concrete Institute (ACI) emphasizes that patching these cracks without addressing the soil void is a temporary cosmetic fix. Helical piers (such as Chance Helical Piers) are driven through unstable soil until they reach load-bearing strata or bedrock, achieving installation torque ratings typically exceeding 4,000 ft-lbs.
- Pricing Metric: $1,800 to $2,800 per pier, depending on depth to bedrock and access constraints.
- Typical Project Scope: Stabilizing a single settled corner of a home usually requires 3 to 5 piers. Total cost: $5,400 to $14,000.
⚠ Critical Warning: Horizontal Shear Cracks
If your poured concrete or block wall has a horizontal crack accompanied by inward bowing, the wall is experiencing active shear failure from lateral hydrostatic pressure. Do not attempt to patch this with hydraulic cement. The wall requires immediate exterior excavation, waterproofing, and either carbon fiber reinforcement or steel I-beam bracing. Ignoring this will result in total wall collapse during the next freeze-thaw cycle or heavy rain event.
Hidden Variables That Inflate Repair Quotes
When budgeting for the cost of crack in foundation repair, homeowners frequently overlook secondary expenses that contractors classify as "site preparation" or "restoration." Factor these variables into your financial model:
- Interior Demolition and Restoration: To inject a crack or install carbon fiber, contractors must strip the basement wall down to bare concrete. Removing wood framing, drywall, and insulation adds $500 to $1,500 to the project. Rebuilding the interior finishes is rarely included in the structural repair quote.
- Exterior Excavation and Landscaping: If exterior waterproofing or wall anchors are required, heavy machinery must access the perimeter. Removing and replacing concrete walkways, HVAC units, or mature landscaping can add $2,000 to $5,000 to the final invoice.
- Structural Engineering Reports: Most reputable contractors require an independent structural engineer to design the piering or bracing plan before pulling municipal permits. Expect to pay $800 to $1,500 for a stamped engineering report.
- French Drain and Sump Upgrades: Repairing a crack without mitigating the hydrostatic pressure that caused it voids most warranties. Upgrading your interior perimeter drain system and installing a high-capacity sump pump (e.g., Zoeller M53 with a battery backup) is often a mandatory prerequisite, adding $3,500 to $6,000.
DIY Patching vs. Professional Remediation Matrix
Not every crack requires a $10,000 underpinning contract. Use this decision matrix to determine when a DIY approach is viable and when professional intervention is legally and structurally mandatory.
| Scenario | DIY Viability | Recommended Material / Action |
|---|---|---|
| Hairline shrinkage crack (<1/16"), no water leak | High | Paint over with elastomeric masonry sealer (e.g., Drylok Extreme). |
| Vertical crack (1/16" - 1/8"), active water seepage | Moderate | DIY polyurethane injection kit (e.g., RadonSeal Crack-Wise). Requires meticulous surface port preparation. |
| Diagonal crack widening at the top | Zero | Indicates differential settlement. Requires professional soil boring and helical pier installation. |
| Horizontal crack with 1/2" inward bow | Zero | Imminent structural failure. Requires immediate engineering assessment and steel bracing or carbon fiber. |

Real-World Failure Modes: Why Quick Fixes Fail
The most common mistake in foundation maintenance is treating a symptom rather than the disease. Contractors and homeowners frequently rely on hydraulic cement (such as Quikrete Water Stop) to plug active foundation cracks. While hydraulic cement sets in three minutes and stops water instantly, it is a rigid, brittle material.
"Hydraulic cement lacks the tensile flexibility to accommodate seasonal thermal expansion or minor soil deflection. When the foundation shifts even 1/32 of an inch, the rigid hydraulic patch will debond, and the water will simply reroute, creating a new crack adjacent to the old patch. This is known as 'crack migration' and it turns a simple $500 injection job into a $2,000 exterior excavation nightmare."
— Structural Remediation Best Practices, Foundation Performance Association
To ensure long-term viability, any crack subjected to active movement must be routed out and sealed with a flexible, high-modulus polyurethane or elastomeric joint sealant that meets ASTM C920 standards. For structural welding where movement must be permanently arrested, low-viscosity epoxy that penetrates deep into the concrete matrix is the only acceptable material.
⚡ Actionable Next Steps
- Map every crack in your foundation using a digital crack width gauge and photograph them with a ruler for scale.
- Monitor the cracks for 30 days. If the width increases or water intrusion occurs, bypass DIY kits.
- Obtain three itemized quotes from licensed foundation specialists, ensuring each quote separates the structural repair cost from the interior demolition and exterior landscaping costs.
- Verify that the proposed repair materials carry an ICC-ES (International Code Council Evaluation Service) report, proving they meet local building code requirements for structural loads.
Written by
James ThorntonJames Thornton is a construction industry veteran with 25 years of hands-on experience in wood framing, lumber grading, and residential building codes. He started as a framing carpenter in rural Oregon, earned his ICC Residential Building Inspector certification, and eventually became a senior plan reviewer for the City of Portland Bureau of Development Services. James holds a B.S. in Wood Science & Technology from Oregon State University and is a certified lumber grader through the West Coast Lumber Inspection Bureau (WCLIB). He has inspected over 3,000 residential construction sites and authored the city's internal guide on advanced framing techniques (2x6 at 24" O.C.). James lives in Bend, OR, where he builds custom timber-frame cabins and competes in lumberjack sports.
More from James Thornton
View all
Insulation
Best Home Insulation Materials: Complete 2026 Guide
Compare top home insulation materials for 2026. Find R-values, installed costs per square foot, and best uses for fiberglass, spray foam, and mineral wool.
Aug 4, 2026

Sustainable Building
Certify Your Green Building Material for LEED and WELL
Step-by-step guide to certifying a green building material for LEED v5 and WELL v2. Master EPDs, HPDs, and VOC limits for 2026 project specifications.
Aug 4, 2026

Stone & Masonry
Veneer Stacked Stone Panels: Interior Design & Style Showcase
Discover how veneer stacked stone panels transform interiors. Explore modern design profiles, material pairings, and technical installation specs.
Aug 4, 2026