Camper Roof Sealant Taxonomy: How to Select the Right Formula
Master the camper roof sealant taxonomy. Compare self-leveling, butyl, and polyurethane formulas to match your RV roof material and prevent leaks.
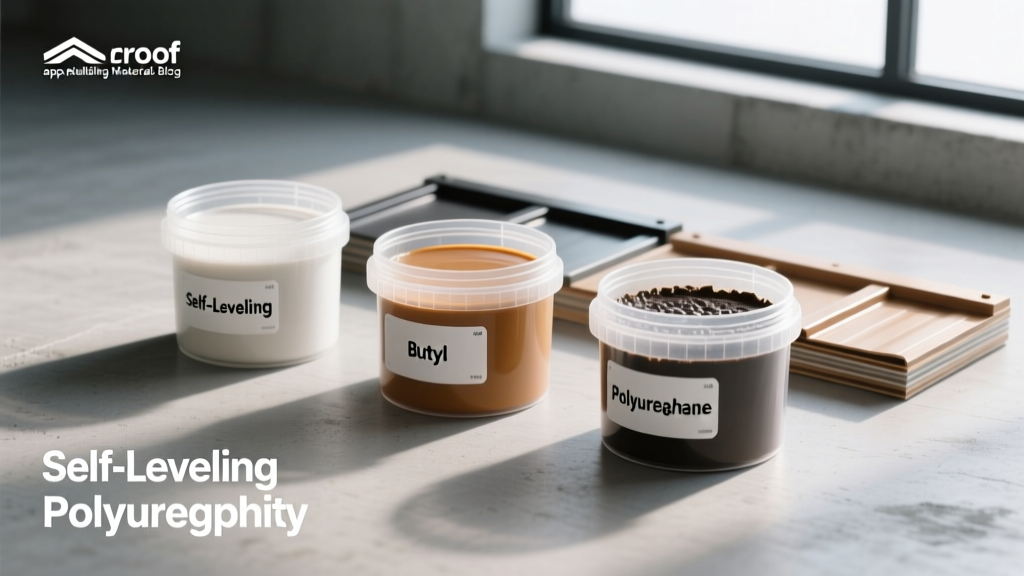
The Chemistry of Camper Roof Sealants: A Material Taxonomy
The integrity of a recreational vehicle roof relies entirely on the chemical compatibility between the roofing membrane and the sealant used at its penetrations, seams, and sidewall transitions. Selecting the wrong camper roof sealant does not merely result in a temporary leak; it can cause irreversible chemical degradation to EPDM and TPO membranes. To make precise material selections, RV technicians and owners must understand the four distinct chemical categories of modern RV sealants.
1. Self-Leveling Lap Sealants (Alpha/RV Specific)
Formulated specifically for horizontal applications, self-leveling sealants (such as the industry-standard Dicor 501LSW-1) possess low viscosity when extruded. They rely on gravity to flow outward, creating a uniform, 3-inch wide and 1/8-inch thick watertight barrier around roof vents, skylights, and air conditioners. These are strictly for surfaces with a pitch of less than 5 degrees. If applied to a vertical sidewall, the material will run, creating a mess and failing to bridge the joint.
2. Non-Leveling and Vertical Sealants
Non-leveling sealants (like Dicor 551LSW-1 or Geocel ProFlex RV) are thixotropic. They maintain their extruded bead profile without sagging, making them mandatory for vertical joints, front cap transitions, and sidewall-to-roof seams. Geocel’s tripolymer technology is particularly notable for its ability to bond to slightly damp surfaces and its high elasticity, accommodating the severe thermal expansion and contraction inherent in aluminum and fiberglass camper bodies.
3. Butyl Tape and MicroSealant Membranes
Butyl rubber remains the premier choice for primary seam sealing beneath metal trim, awning rails, and roof-to-sidewall extrusions. Products like Eternabond RoofSeal utilize a microsealant butyl adhesive layer that never fully cures or hardens. This permanent pliability allows the tape to absorb up to 3/8 inch of structural flex and thermal movement without tearing. It is applied as a primary barrier, often covered by a secondary bead of non-leveling sealant for UV protection.
4. Polyurethane and Silicone (The Hazardous Category)
While polyurethanes (like Sikaflex) offer immense tensile strength for structural bonding, they are highly susceptible to UV degradation unless painted over. Silicone, conversely, is widely available but fundamentally incompatible with modern RV roofing.
⚠️ CRITICAL WARNING: The Silicone Trap
Never apply 100% silicone sealant to an EPDM or TPO camper roof. Silicone requires a porous substrate for mechanical adhesion; it will eventually peel off rubber membranes. More destructively, once silicone is applied, no other sealant will stick to it. A single tube of silicone can permanently ruin a roof section, forcing a complete membrane replacement when future repairs are attempted.
Substrate Compatibility Matrix
Matching the camper roof sealant to the specific roofing membrane is the most critical decision in the repair process. The following matrix dictates chemical compatibility for the four primary RV roof substrates.
| Roof Substrate | Recommended Sealant Type | Specific Product Examples | Strictly Avoid |
|---|---|---|---|
| EPDM Rubber | Alpha-based lap sealants, Butyl tape | Dicor 501/551, Eternabond | Silicone, Petroleum-based adhesives |
| TPO (Thermoplastic) | TPO-specific lap sealants, Butyl | Dicor TPO formula, M-D TPO tape | Standard EPDM sealants, Silicone |
| Fiberglass | Tripolymer, Polyurethane, Butyl | Geocel ProFlex RV, Sikaflex 221 | Self-leveling (unless perfectly flat) |
| Aluminum | Tripolymer, Polyurethane, Butyl | Geocel ProFlex, Eternabond | Acidic curing silicones (causes corrosion) |
Real-World Failure Modes and Edge Cases
Even when the correct camper roof sealant is selected, application errors lead to catastrophic water intrusion. Understanding these failure modes separates professional RV technicians from amateur DIYers.
- Thermal Expansion Mismatch: Aluminum camper frames expand and contract significantly with temperature swings. If a rigid polyurethane is used to seal an aluminum awning rail to a fiberglass sidewall, the seasonal flex will exceed the sealant's elongation limit, causing cohesive tearing. Tripolymer or butyl must be used here to absorb the kinetic energy.
- Skin-Over Entrapment: Self-leveling sealants like Dicor 501 form a surface skin within 5 minutes. If a technician attempts to tool or smooth the bead after this 5-minute window, they will break the skin and introduce air pockets, creating a hollow channel where water can pool and bypass the seal.
- Substrate Swelling from Improper Prep: Cleaning an EPDM roof with mineral spirits or acetone prior to sealing will cause the rubber to swell and absorb the petroleum distillates. When the solvent evaporates, the rubber shrinks back, breaking the adhesive bond of the newly applied sealant. Only mild detergents (like Spic and Span) or denatured alcohol should be used for prep.
2026 Cost, Coverage, and Curing Data
Budgeting for a complete camper roof reseal requires accurate data on material yield and current market pricing. As of 2026, supply chain stabilization has kept RV-specific sealants in the following ranges.
| Product Category | Avg. Unit Cost (2026) | Coverage / Yield | Full Cure Time |
|---|---|---|---|
| Self-Leveling Lap (10oz tube) | $11.00 - $14.00 | ~25 linear feet (3/16" bead) | 30 Days |
| Non-Leveling Vertical (10oz tube) | $12.00 - $16.00 | ~30 linear feet (1/4" bead) | 14 - 21 Days |
| Butyl MicroSealant Tape (4" x 50') | $135.00 - $160.00 | 50 linear feet | Instant (Pressure-activated) |
| Tripolymer Vertical (10oz tube) | $13.00 - $18.00 | ~28 linear feet | 7 - 10 Days |
The 3-Step Selection and Application Framework
To ensure a watertight seal that lasts a decade, follow this standardized framework endorsed by RV maintenance professionals and organizations like the Recreational Vehicle Industry Association (RVIA).
- Identify the Substrate and Joint Geometry: Determine if the roof is EPDM, TPO, Fiberglass, or Aluminum. Next, assess the pitch. Horizontal joints (roof vents, AC units) require self-leveling formulas. Vertical joints (sidewalls, ladder mounts) require non-leveling or tripolymer formulas. When in doubt about TPO vs. EPDM, check the backing: EPDM has a black backing, while TPO is typically white or grey on both sides.
- Execute Chemical Prep: Remove all old, failing sealant using a plastic putty knife to avoid scoring the membrane. Clean the joint with a dedicated RV roof cleaner or denatured alcohol. According to technical guidelines from Dicor Products, the surface must be completely free of grease, wax, and oxidized rubber before extrusion.
- Apply and Walk Away: For self-leveling sealants, apply a continuous 3/16-inch bead. Do not tool it. Do not smooth it with a wet finger. Allow gravity to level the product. For butyl tape applications, as recommended by Eternabond, use a steel roller to apply 50+ lbs of pressure, activating the microsealant adhesive into the microscopic pores of the substrate.
Long-Term Maintenance and Inspection
Even the highest-quality camper roof sealant requires periodic verification. UV radiation and ozone exposure will eventually cause the surface of lap sealants to chalk and micro-crack. Inspect all horizontal and vertical seals every 90 days during the camping season. If micro-cracking is observed but the primary adhesion remains intact, a secondary topcoat of compatible lap sealant can be applied directly over the old bead. However, if the sealant has lost adhesion to the substrate, it must be entirely excavated and replaced to prevent hidden water damage to the camper's structural wood framing.