First-Year Maintenance Playbook After New Roofing Installation
Protect your investment with this first-year maintenance playbook for new roofing installation. Learn material-specific cleaning, warranty rules, and costs.
The Critical First 30 Days: Settling and Sealant Curing
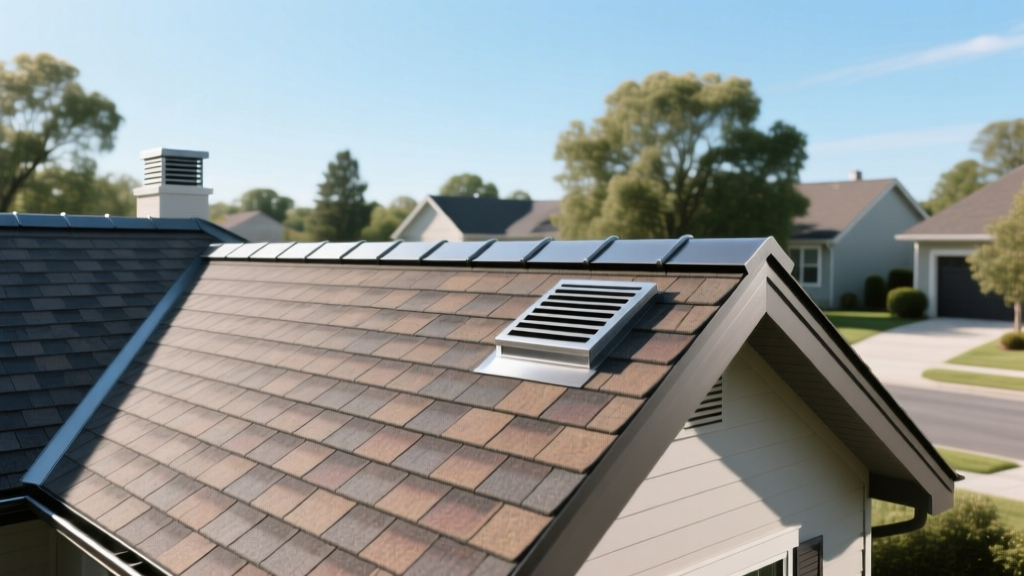
A new roof represents a massive capital expenditure, but the work is not truly finished the day the crew leaves. The first 12 months post-roofing installation are when latent defects appear and materials undergo their most significant thermal and physical settling. The first 30 days are particularly critical for sealant curing and fastener stabilization.
Polyurethane and silicone-based flashing sealants (such as Sikaflex-1a or Geocel 2300) require 21 to 28 days to fully cross-link and cure, depending on ambient humidity. During this window, heavy wind-driven rain can compromise uncured beads. Furthermore, architectural asphalt shingles rely on thermal activation to seal their adhesive strips. If your roofing installation occurred in late fall or winter, the sealant strips may not fully bond until the first sustained 70°F days of spring. Homeowners must monitor for lifted shingle tabs during this transitional period, as unsealed tabs are the primary entry point for wind-driven moisture.
Material-Specific Cleaning and Maintenance Playbooks
Cleaning a brand-new roof requires drastically different protocols than maintaining a 15-year-old system. New materials have factory coatings, fresh granules, and sensitive chemical tolerances that must be respected to avoid voiding manufacturer warranties.
| Material Type | First-Year Cleaning Method | Max Pressure (PSI) | Chemical Restrictions |
|---|---|---|---|
| Architectural Asphalt | Low-pressure soft wash | 400 PSI (40° fan tip) | No chlorine bleach on copper flashing |
| Standing Seam Metal | Rinse and mild detergent | 1,500 PSI (wide fan) | No acidic cleaners (pH must be 6-8) |
| TPO / EPDM Flat | Soft bristle push broom | Do not pressure wash | No petroleum-based solvents |
| Concrete / Clay Tile | Chemical soft wash only | Do not pressure wash | Avoid high-alkaline strippers |
Architectural Asphalt Shingles
It is entirely normal for new asphalt shingles to shed excess granules during the first six months. The Asphalt Roofing Manufacturers Association (ARMA) notes that loose surface granules from the manufacturing process will wash away during early rain events. Do not mistake this for premature product failure unless you see bare asphalt spots. When cleaning algae or pollen off new asphalt, never use a high-pressure washer. Use a garden sprayer with a 50/50 mix of water and hydrogen peroxide-based roof cleaner. This kills organic growth without stripping the ceramic-coated granules that protect the asphalt matrix from UV degradation.
Standing Seam Metal Panels
Modern metal roofing installations often feature PVDF (Kynar 500) paint systems that are highly resistant to fading but can be scratched by abrasive cleaning tools. During the first year, the primary maintenance task is checking for "oil canning" (minor ripples in the flat pan areas) and ensuring the butyl tape seals at the panel laps remain intact. When washing, use only a non-abrasive microfiber mitt and a pH-neutral car wash soap. Avoid walking on the roof in temperatures above 90°F, as the thermal expansion of the panels can cause fasteners to back out slightly if stepped on while the metal is at its maximum expansion point.
TPO and EPDM Flat Systems
For commercial or modern residential flat roofing installations, the first-year focus is on membrane shrinkage and seam integrity. EPDM (rubber) membranes can experience initial relaxation, causing slight pulling at the perimeter flashings. TPO (thermoplastic polyolefin) seams are heat-welded and generally do not shrink, but the welds must be inspected for "cold spots" where the hot-air gun may have moved too quickly during installation. Clean flat roofs using a soft push broom and a dedicated rubber-roof cleaner; never use petroleum distillates, which will dissolve the polymers in EPDM and cause catastrophic blistering.
Warranty Warning: Actions That Void Coverage
Manufacturer warranties from giants like GAF, Owens Corning, and CertainTeed are strict. The National Roofing Contractors Association (NRCA) frequently highlights that improper maintenance is a leading cause of warranty claim denials. Avoid these first-year mistakes:
- Improper Foot Traffic: Walking on asphalt shingles in high heat causes scuffing and permanent granule displacement.
- Unapproved Chemicals: Using zinc or copper sulfate strips to prevent algae on roofs with copper or lead flashing will cause galvanic corrosion, voiding both the flashing and shingle warranties.
- Satellite Dish Mounts: Drilling new holes for satellite dishes or solar panels without using manufacturer-approved pitch pans and sealants immediately voids the weathertightness warranty.
Gutter and Downspout Integration Checks
A new roofing installation is only as effective as its water shedding capabilities. New roofs shed water faster and in higher volumes than older, weathered roofs due to their pristine surface textures. This increased water velocity can overwhelm undersized gutters. Within the first 90 days, inspect the gutter apron (drip edge) to ensure water is landing in the center of the gutter trough, not behind it. If water is tracking behind the gutter, the drip edge was likely installed under the underlayment rather than over it—a common installation error that must be corrected before the fascia wood begins to rot.
First-Year Maintenance Cost Breakdown
Budgeting for post-installation maintenance ensures minor issues do not evolve into structural damage. Below is a realistic cost matrix for first-year roof maintenance in 2026.
| Maintenance Task | DIY Cost (Materials Only) | Professional Service Cost | Recommended Frequency |
|---|---|---|---|
| Visual Drone Inspection | $0 (if owning a drone) | $150 - $250 | Bi-annually |
| Soft Wash Cleaning | $80 - $120 (chemicals) | $300 - $550 | As needed (usually Year 3+) |
| Gutter & Drip Edge Check | $0 | $150 - $225 | Quarterly |
| Flashing & Sealant Touch-up | $25 - $40 (per tube) | $250 - $400 (min. call-out) | Month 12 |
| Attic Ventilation Audit | $0 | $200 - $350 | Month 6 & 12 |
Establishing Your Bi-Annual Inspection Cadence
To maximize the lifespan of your roofing installation, transition from the first-year playbook to a long-term bi-annual cadence. Schedule inspections for late spring (after pollen season and severe wind storms) and late autumn (before freezing temperatures set in). During these inspections, pay specific attention to neoprene pipe boots. While the roof membrane may last 30 years, standard neoprene plumbing vent boots typically degrade and crack within 7 to 10 years due to UV exposure. Identifying their baseline condition in year one allows you to proactively budget for their replacement before they leak into your attic space.
Finally, verify that your attic ventilation remains balanced. A new roof installed over an unventilated or poorly ventilated attic will suffer from premature thermal degradation, as trapped heat can bake the underside of the shingles, reducing their lifespan by up to 40%. Ensure that soffit vents are not blocked by newly blown-in insulation, maintaining a clear 2-inch airway from the soffit to the ridge vent.