How to Properly Install a Vented Soffit on Roof Eaves
Learn the exact measurements, fastener specs, and NFVA calculations required to properly install a vented soffit on roof eaves for optimal attic airflow.
The Critical Role of Soffit Intake Ventilation
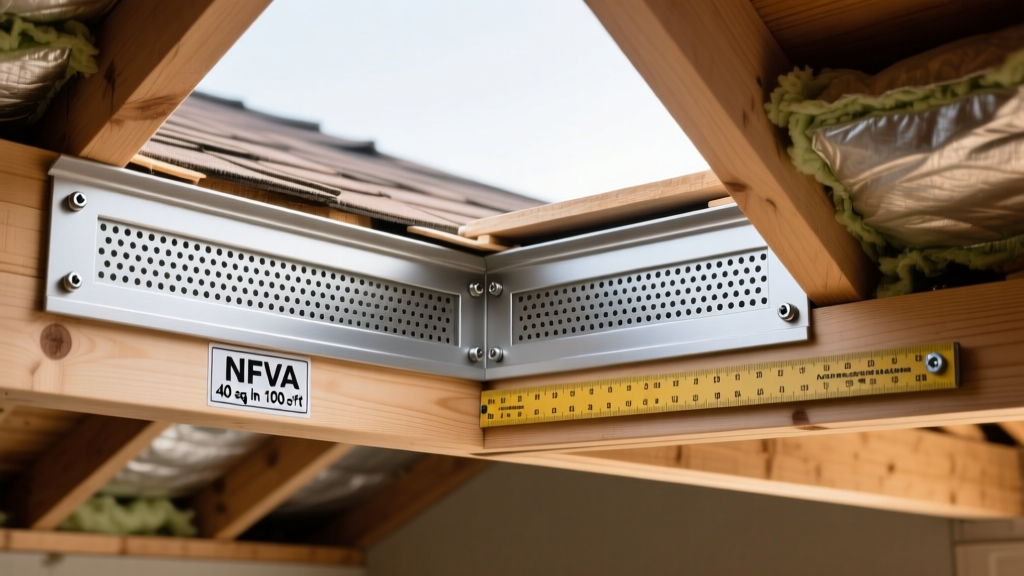
When installing a soffit on roof overhangs, the primary objective extends far beyond enclosing the eaves for aesthetic purposes. The soffit serves as the critical intake component of a passive attic ventilation system. Cold, dry air enters through the soffit vents, displaces hot, moisture-laden air in the attic space, and exhausts through ridge or gable vents. A poorly executed soffit on roof structures leads to localized condensation, premature asphalt shingle degradation, and winter ice damming. This guide details the exact material specifications, Net Free Vent Area (NFVA) calculations, and step-by-step installation procedures required for a high-performance soffit system in 2026.
Material Selection and 2026 Cost Matrix
Choosing the right soffit material dictates both the longevity of the eave enclosure and the maintenance lifecycle. Below is a comparative breakdown of the three dominant soffit materials used in residential and light commercial applications.
| Material Type | Thickness / Gauge | Avg. Installed Cost (per linear ft) | Expansion Rate (per 12ft panel) | Best Application |
|---|---|---|---|---|
| Vinyl (e.g., CertainTeed Cedar Impressions) | 0.042" - 0.050" | $4.50 - $6.50 | 1/4" to 3/8" | Standard residential retrofits |
| Aluminum (e.g., Rollex / Ply Gem) | 0.019" - 0.024" (Heavy Duty) | $7.00 - $10.50 | 1/16" to 1/8" | Coastal regions, high-wind zones |
| Fiber Cement (e.g., James Hardie Soffit) | 5/16" (Standard Panel) | $11.00 - $15.50 | Negligible | Fire-prone zones, premium custom builds |
The Mathematics of Soffit Ventilation (NFVA)
Before cutting a single panel, you must calculate the required Net Free Vent Area (NFVA). The International Residential Code (IRC R806.2) mandates a minimum ventilation area of 1/150th of the attic floor space. However, if your roof system utilizes a balanced exhaust setup (where at least 40% to 50% of the vent area is located at the ridge), this requirement drops to 1/300th. According to the Building America Solution Center, maintaining this precise intake-to-exhaust ratio is non-negotiable for preventing moisture accumulation in insulated roof assemblies.
For a 2,000 sq. ft. attic floor with a balanced ridge vent system (1/300 rule):
2,000 sq. ft. / 300 = 6.66 sq. ft. of total NFVA required.
Convert to square inches (6.66 x 144) = 960 sq. inches total NFVA.
Since the soffit should provide 50% to 60% of the intake, you need roughly 480 to 576 sq. inches of NFVA distributed evenly across the soffit runs. A standard continuous vinyl vented strip provides about 9 sq. inches of NFVA per linear foot. Therefore, you need a minimum of 54 linear feet of continuous vented soffit per side.
Step-by-Step Installation Procedure
Proper installation of a soffit on roof eaves requires strict adherence to expansion tolerances and structural fastening patterns. The following procedure applies to vinyl and aluminum continuous soffit systems.
Step 1: Sub-Fascia Preparation and Receiver Channel Layout
The soffit panels must be captured on both ends. On the house wall side, install an F-channel or J-channel. On the fascia side, you will either use a dedicated soffit F-trim or bend the aluminum coil stock to create a custom receiver pocket.
- Measure the distance from the inside of the wall J-channel to the inside of the fascia receiver.
- Subtract exactly 1/4 inch from this measurement to allow for thermal expansion. If you are installing in temperatures below 40°F, subtract 3/8 inch.
- Ensure the wall-side J-channel is nailed perfectly level using a chalk line; an uneven channel will telegraph through the finished soffit panels.
Step 2: Cutting and Fitting the Panels
Cut the soffit panels to your adjusted measurement using a fine-tooth carbide blade (80-tooth minimum for vinyl to prevent shattering). When sliding the panel into the channels, do not force it. The panel should slide freely side-to-side with a 1/8-inch gap at each end.
Crucial Detail: Never face-nail through the visible surface of a vinyl or aluminum soffit panel. All fastening must be done through the top nailing hem, which is then concealed by the next overlapping panel.
Step 3: Fastening and Interlocking
Drive fasteners through the center of the nailing hem slots, not the edges. Leave a 1/32-inch gap between the fastener head and the vinyl hem. This allows the panel to "float" and expand without buckling. Snap the leading edge of the new panel into the receiving groove of the previous panel, ensuring a tight mechanical lock.
Installing vented soffit panels is useless if the attic insulation blocks the airflow at the eave. You must install rigid polystyrene or foam rafter baffles (e.g., DuroVent) against the roof sheathing directly above the soffit line. As noted by the Building Science Corporation, failing to maintain a clear 1-inch to 2-inch air channel above the soffit vent nullifies the intake airflow, leading to severe localized condensation on the underside of the roof decking during winter months.
Fastener Specifications and Tooling
Using the wrong fasteners is the leading cause of soffit detachment during high-wind events. Match your fasteners precisely to the substrate and soffit material:
- For Vinyl Soffit into Wood Sub-Fascia: Use 1-1/4" to 1-1/2" hot-dipped galvanized roofing nails (minimum 3/8" head diameter) or electro-galvanized staples with a 1" crown.
- For Aluminum Soffit into Wood: Use 1-1/4" color-matched aluminum or stainless steel ring-shank nails to prevent galvanic corrosion and rust streaking.
- For Fiber Cement Soffit into Wood Framing: Fiber cement requires face-fastening or blind-fastening at the joists. Use #8 x 2-1/4" stainless steel or hot-dipped galvanized ribbed wafer-head screws, countersunk slightly and patched with color-matched caulk.
- For Fastening into Steel Studs/Light Gauge Steel: Use #10 x 1-5/8" self-drilling hex-washer head screws with neoprene gaskets, painted to match the soffit finish.
Troubleshooting Common Soffit Failures
Even experienced contractors encounter issues when environmental variables shift. Use this diagnostic matrix to identify and correct post-installation soffit failures.
| Symptom | Root Cause | Corrective Action |
|---|---|---|
| Panel Buckling / Waviness | Panels cut too long; insufficient expansion gap at the ends; fasteners driven too tightly. | Remove the affected panels. Re-cut to allow a full 1/4" expansion gap. Re-install with loose nailing in the center of the hem slots. |
| Sagging in the Center of the Run | Exceeding the maximum span limit; missing intermediate nailing strips. | Install a 2x2 or 1x3 wood furring strip perpendicular to the rafters at the midpoint of the span to provide intermediate support and nailing surface. |
| Condensation Dripping from Soffit Vents | Warm, moist interior air leaking into the attic and hitting the cold soffit aluminum/vinyl. | Air-seal all top-plate penetrations, recessed lights, and plumbing stacks in the attic floor with closed-cell spray foam to stop interior moisture migration. |
| Pest / Insect Infiltration | Vent holes larger than 1/8"; missing screen backing behind the vented vinyl strips. | Replace standard vented panels with micro-mesh backed soffit panels (e.g., GAF Cobra or specialized insect-block aluminum profiles) that restrict entry to 1/16". |
Final Inspection and Maintenance
Once the soffit on roof eaves is fully installed, conduct a visual inspection from a ladder. Verify that all J-channels are securely fastened every 16 inches and that no panels are pulling away from the interlocking grooves. Annually, use a leaf blower or compressed air to clear dust, pollen, and spiderwebs from the soffit vent louvers. Blocked louvers reduce the NFVA by up to 30%, compromising the entire passive ventilation system and accelerating the degradation of your roofing materials.