Pergola Roof Installation: The Long-Term Maintenance Playbook
Master your pergola roof installation upkeep with this material-specific cleaning playbook, inspection matrix, and troubleshooting guide for durability.
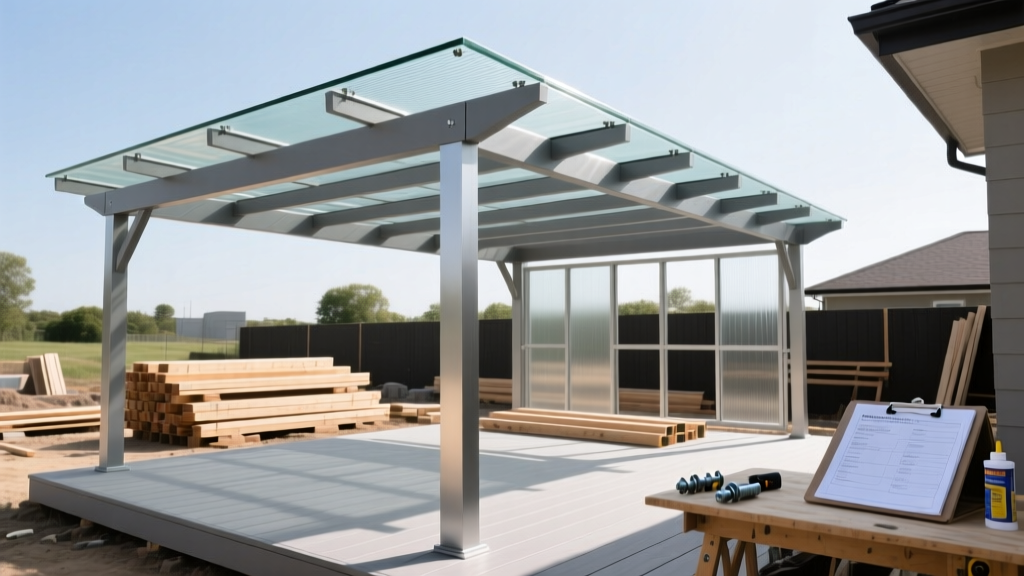
The Hidden Link Between Pergola Roof Installation and Upkeep
The longevity of any outdoor structure is forged during the build phase. When evaluating a pergola roof installation, the materials selected and the precision of the initial assembly dictate the exact maintenance protocols required years down the line. A flawless install minimizes upkeep, while minor shortcuts—such as omitting thermal expansion gaps or using the wrong sealant—create compounding maintenance nightmares. This playbook bridges the gap between initial construction and long-term care, providing material-specific cleaning routines, fastener inspection matrices, and troubleshooting frameworks for the most common pergola roofing systems.
Material-Specific Cleaning Playbooks
Different roofing materials react uniquely to environmental stressors and cleaning chemicals. Using the wrong agent can void manufacturer warranties and accelerate degradation.
Multi-Wall Polycarbonate Panels
Polycarbonate is highly impact-resistant but vulnerable to chemical etching. According to manufacturing guidelines from Palram Americas, the UV-protective layer on polycarbonate sheets is microscopically thin. Alkaline cleaners, ammonia-based glass cleaners (like Windex), and abrasive scrubbing pads will cause 'crazing' (micro-cracks) and irreversible yellowing.
- The Cleaning Solution: Mix cold water with a mild, non-alkaline dish soap (e.g., original blue Dawn or Woolite).
- The Tool: Use a soft microfiber mop (such as the OXO Good Grips Angler) or a natural sea sponge.
- The Technique: Apply the soapy solution, gently agitate in the direction of the flutes, and rinse immediately with a garden hose before the soap dries. Dried soap residue will bake into the surface and cause streaking.
Extruded Aluminum Louver Systems
Motorized louvered pergolas (like those engineered by Azenco Outdoor) rely on precise mechanical tracks. The primary maintenance challenge is not the roof surface itself, but the accumulation of pollen, dust, and tree sap in the pivot tracks, which strains the drive motors.
- Track Cleaning: Use a shop vacuum with a soft brush attachment to clear debris from the extruded aluminum channels bi-annually.
- Lubrication: Apply a water-resistant silicone spray (e.g., WD-40 Specialist Water Resistant Silicone or 3-IN-ONE Silicone) to the pivot pins and tracks. Never use standard WD-40 or grease, as these attract dust and form an abrasive paste that destroys the motor gears.
- Panel Washing: Wipe down the powder-coated aluminum louvers with a 50/50 mix of white vinegar and water to remove hard water spots without damaging the finish.
Retractable Fabric Canopies
Solution-dyed acrylic fabrics (such as Sunbrella) are inherently mold-resistant and UV-stable, but they require periodic re-treatment to maintain their water-repellency. Sunbrella recommends re-treating fabrics every 24 to 36 months depending on sun exposure.
- Routine Cleaning: Brush off loose dirt monthly. For stains, use a dedicated fabric cleaner (like 303 Multi-Surface Cleaner) and a soft-bristle brush.
- Re-waterproofing: Once the fabric is completely dry, apply 303 Fabric Guard evenly across the canopy. This restores the fluorocarbon water-repellent finish that degrades over time.
Post-Installation Fastener and Sealant Matrix
The most common failure points in a pergola roof installation are the mechanical connections and weather seals. Use this matrix to guide your annual spring inspection.
| Component | Installation Spec | Maintenance Action | Failure Symptom |
|---|---|---|---|
| Roof-to-Beam Flashing | Sikaflex-1A Polyurethane | Inspect for cracking; re-caulk every 3-5 years. | Water tracking down interior posts. |
| Panel Fasteners | 316 SS with EPDM washers | Torque check annually; replace if EPDM is brittle. | Rust weeping; panels rattling in wind. |
| Louver Pivot Pins | Marine-grade aluminum | Clean and apply silicone spray bi-annually. | Grinding noise; motor strain/failure. |
| Polycarbonate Edge Tape | Polygal breathable anti-dust tape | Check adhesion; replace if peeling or clogged. | Condensation and algae inside flutes. |
Troubleshooting Common Installation Defects
If your maintenance routine reveals persistent issues, the root cause often traces back to the original pergola roof installation. Here is how to diagnose and correct three frequent installation errors.
Defect 1: Leaks at the Wall Ledger Board
The Symptom: Water stains appear on the exterior wall or inside the adjacent room immediately after heavy rain, despite the roof panels being dry.
The Cause: The installer relied solely on a bead of exterior caulk where the pergola ledger board meets the house siding, rather than integrating a metal Z-flashing behind the building's weather-resistant barrier (WRB).
The Fix: Remove the top row of siding above the ledger board. Cut a piece of galvanized or aluminum Z-flashing, slide the top leg behind the WRB (house wrap), and let the bottom leg drape over the ledger board. Seal the top edge with OSI Quad Max sealant. This mechanically sheds water away from the wood-to-house connection.
Defect 2: Condensation Inside Polycarbonate Flutes
The Symptom: The multi-wall polycarbonate panels look dirty or foggy on the inside, and wiping the surface does nothing. Green algae begins to grow inside the hollow channels.
The Cause: During the pergola roof installation, the installer failed to seal the bottom edges of the panels with specialized breathable tape, or they used solid, non-breathable tape which traps condensation inside the flutes.
The Fix: Remove the bottom aluminum or PVC trim capping. Peel off any existing solid tape. Clean the flute openings with a soft brush, apply new Polygal breathable anti-dust tape, and reinstall the trim. The breathable tape allows moisture vapor to escape while blocking dust and insects.
Defect 3: Retractable Fabric Sagging and Pooling
The Symptom: After rain, water pools in the center of the fabric canopy instead of shedding off the edges, eventually causing the fabric to stretch permanently.
The Cause: The installer did not tension the fabric correctly within the spline tracks, or the bungee tensioners at the edges were set too loosely during the initial pergola roof installation.
The Fix: Release the fabric from the side tracks. Using a spline roller, reseat the fabric edge deeper into the track while applying outward tension. If the system uses edge bungees, replace them with heavier-gauge shock cords (e.g., upgrading from 3mm to 5mm) to increase the lateral pull and eliminate the center sag.
Polycarbonate expands and contracts at a rate of roughly 1/8 inch per 3 feet of length with seasonal temperature swings. If your panels are buckling or popping fasteners, the installer likely butted the panels too tightly together. Remove the fasteners, drill the mounting holes out to 3/8 inch (oversized) to allow the panel to slide, and reinstall with new EPDM-washered screws, leaving exactly 1/16 inch of space between the screw head and the panel surface.
Budgeting for Professional vs. DIY Maintenance
While routine washing is easily handled by homeowners, structural inspections and mechanical servicing may require professionals. Expect to pay between $150 and $300 for a professional bi-annual cleaning and track lubrication service for a standard 12x16 louvered pergola. For DIYers, an annual maintenance kit—including a tube of Sikaflex-1A ($12), a can of marine-grade silicone spray ($10), and a bottle of 303 Protectant ($25)—will cost under $50, yielding a massive return on investment by preventing premature motor failure and water damage.