Roof Crown Vent Maintenance: The Ultimate Cleaning Playbook
Master roof crown vent maintenance with our step-by-step cleaning playbook. Learn inspection tactics, debris removal, and troubleshooting for peak airflow.
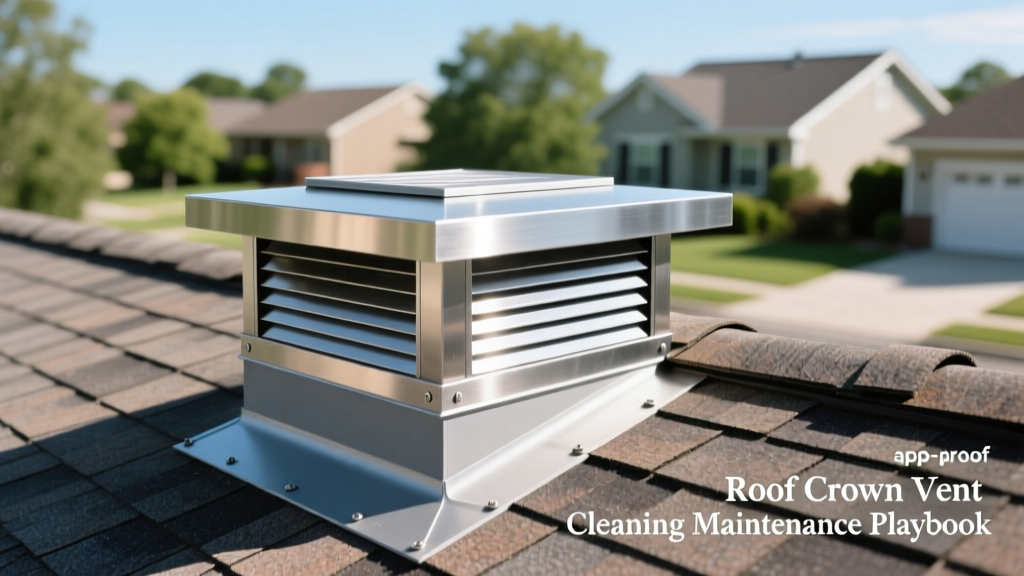
The roof crown vent—often functioning as the primary exhaust point at the peak of a steep-slope or commercial roof system—is critical for regulating attic temperature and expelling moisture. When a crown vent clogs, the Net Free Area (NFA) plummets, leading to warped decking, premature shingle failure, and ice damming in winter. Most ventilation failures are not caused by mechanical defects, but by neglected maintenance. This playbook provides a technical, step-by-step framework for inspecting, cleaning, and troubleshooting roof crown vents to maintain optimal airflow and structural integrity.
The Anatomy of a Roof Crown Vent and Airflow Metrics
Before executing a maintenance routine, you must understand the components that dictate airflow. A standard high-profile crown vent (such as the Air Vent ShingleVent II or GAF Cobra Snow Country) relies on three critical elements:
- The Outer Cap or Louver: Deflects wind-driven rain and snow while allowing hot air to escape via the Bernoulli principle.
- The Internal Baffle: A maze-like plastic or metal insert that blocks water intrusion while maintaining an open airway. This is the most common failure point for debris accumulation.
- The Flashing and Nail Line: The integration point where the vent meets the roof deck, sealed with asphalt cement or specialized tape.
Biannual Inspection Checklist
Schedule inspections for late autumn (post-leaf drop) and early spring (post-winter weather). Use the following matrix to evaluate the physical condition of the vent system.
| Component | Inspection Target | Pass Criteria |
|---|---|---|
| Outer Louvers | Insect nests, moss, pine needles | 100% visual clearance of all exhaust slots |
| Internal Baffle | Blown-in insulation, dust webs | Unobstructed 1-inch airway channel |
| Polycarbonate Shell | UV degradation, micro-cracking | No visible chalking, brittleness, or warping |
| Flashing Integration | Sealant failure, lifted shingles | Shingles lay flat; no exposed nail heads |
Step-by-Step Cleaning Playbook
Cleaning a roof crown vent requires precision. Aggressive tools can destroy the UV-protective coating on polycarbonate vents or tear the adjacent asphalt shingles.
Step 1: Establish Fall Protection
Working at the roof peak presents the highest fall risk. Per OSHA fall protection standards, you must utilize an ANSI Z359.1 certified Personal Fall Arrest System (PFAS). Anchor your lifeline to a structural truss using a temporary roof anchor rated for 5,000 lbs of tensile strength. Never rely solely on roof jacks or ladder hooks when working directly on the ridge.
Step 2: Dry Debris Extraction
Do not use a pressure washer or high-PSI air compressor, as forced air can drive debris deeper into the baffle or blow attic insulation out of place. Instead, use a leaf blower with a concentrated nozzle attachment on a low-to-medium setting. Direct the airflow parallel to the vent slots to dislodge pine needles, seed pods, and loose granules. For impacted debris, use a soft-bristle nylon brush (maximum 2-inch bristle length) to gently agitate the louver openings.
Step 3: Biological Growth Removal
If algae, lichen, or moss has colonized the plastic housing or the adjacent shingles, avoid chlorine bleach, which accelerates asphalt degradation. Apply an oxygen-based bleach solution (sodium percarbonate) mixed at a ratio of 4 ounces per gallon of water. Allow it to dwell for 15 minutes to break down the biological bonds, then rinse gently with a standard garden hose. Never exceed 500 PSI when rinsing near the crown vent flashing.
Step 4: Baffle Vacuuming
Access the attic space directly below the crown vent. Using a shop vacuum with a crevice tool attachment, carefully extract any blown-in cellulose or fiberglass insulation that has migrated into the vent channel. Install rigid foam insulation dams (baffles) at the eaves to prevent future wind-washing of insulation into the peak exhaust zone.
Step 5: Sealant and Fastener Audit
Inspect the exposed nail heads along the crown vent's flange. If any are backing out or exposed, drive them flush and cap them with a high-grade polyurethane roofing sealant (such as Loctite PL Roof and Flashing). Avoid standard silicone, which lacks the elongation properties required to handle the thermal expansion and contraction of the roof deck.
Troubleshooting Common Crown Vent Issues
When maintenance fails to resolve attic climate issues, use this diagnostic matrix to identify the root cause.
Cause: Wind-driven snow is bypassing the internal baffle and melting inside the attic.
Fix: Upgrade to a crown vent with an integrated weather filter (e.g., a microporous membrane baffle) that blocks snow infiltration while maintaining NFA.
Cause: Inadequate intake ventilation at the soffits, creating a negative pressure vacuum that stalls exhaust flow.
Fix: Clear soffit vents and verify the 50/50 intake-to-exhaust ratio. Crown vents cannot exhaust air if replacement air cannot enter the system.
Cause: Thermal shock and UV degradation compromising the polymer matrix.
Fix: Replace the damaged sections with an aluminum or UV-stabilized polycarbonate model. Do not attempt to bend or heat-form warped plastic back into shape.
When to Repair vs. Replace
Crown vents typically last 20 to 30 years, aligning with the lifespan of architectural asphalt shingles. However, localized damage may require targeted intervention.
- Repair Scenario ($40 - $85): If the internal baffle is crushed or missing, you can often slide a replacement baffle strip into the existing channel without removing the outer shingles. If the flashing sealant is dried and cracked, scraping and re-applying polyurethane sealant is sufficient.
- Replace Scenario ($350 - $600 per 50-foot ridge): If the outer cap exhibits widespread micro-cracking, chalking, or if the nail flange is torn, the entire linear section must be replaced. This requires carefully unzipping the overlapping ridge cap shingles, extracting the old vent, installing a new continuous crown vent, and re-sealing the ridge caps.
Proactive maintenance of your roof crown vent ensures that your attic remains dry, your energy bills stay low, and your roofing materials achieve their maximum engineered lifespan. By adhering to this biannual playbook, you protect the structural integrity of the entire roof assembly from the peak down to the eaves. For further guidance on managing attic moisture and preventing mold growth resulting from poor ventilation, consult the EPA's mold cleanup and prevention guidelines.