Pella Sliding Glass Doors Installation: Pro Framing & Sealing Guide
Master Pella sliding glass doors installation with our pro guide covering rough opening prep, sill flashing, shimming tolerances, and foam sealing.
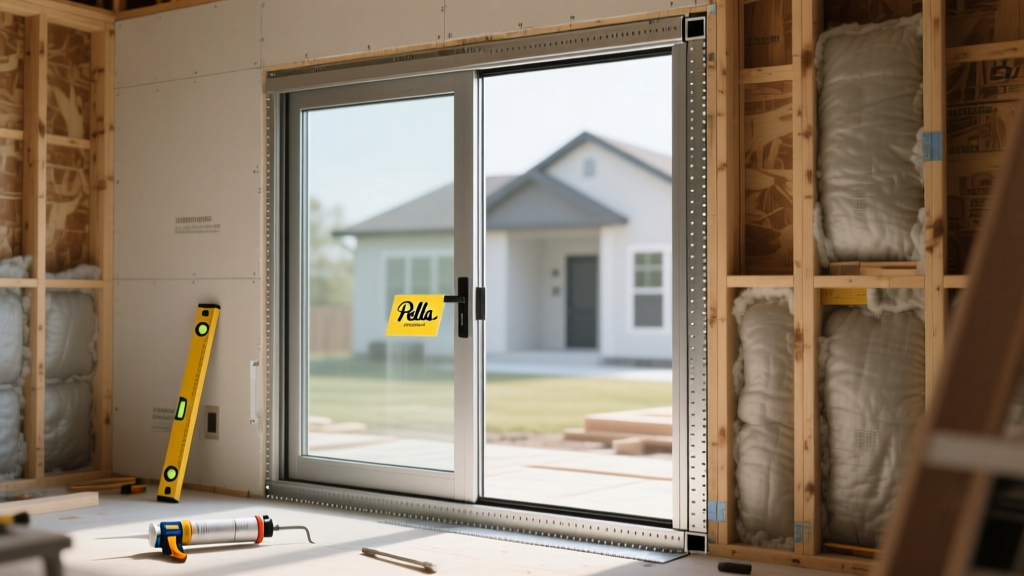
Pre-Installation: Verifying the Rough Opening
Installing Pella sliding glass doors—whether the fiberglass Impervia series, the wood-clad Architect Series, or the interior-focused Lifestyle line—requires strict adherence to rough opening (RO) tolerances. A standard 7280 (72-inch by 80-inch) Pella Impervia sliding door weighs over 250 pounds. If the structural framing deflects or the RO is out of square, the heavy glass panels will bind in the track, leading to premature roller failure and compromised weather seals.
The required RO clearance for Pella sliders is typically 1/2-inch to 3/4-inch wider and taller than the actual unit dimensions. However, dimensional clearance is useless without geometric accuracy. Before uncrating the door, verify the following framing metrics:
Measure the rough opening diagonally from top-left to bottom-right, and top-right to bottom-left. The difference between these two measurements must not exceed 1/8-inch. If the variance is greater, the door frame will twist when anchored, causing the center stile weatherstripping to separate and fail air infiltration tests.
Structural Header Requirements
Sliding glass doors span wide openings, making header deflection a primary cause of post-installation glass stress fractures. For a 6-foot opening, a double 2x10 or LVL (Laminated Veneer Lumber) header is standard, but local snow and wind loads dictate the final engineering. Ensure there is a 1/4-inch gap between the top of the door frame and the header to prevent structural loads from transferring directly onto the glass unit.
Phase 1: Sill Pan and WRB Integration
Water management is the most critical phase of Pella sliding glass doors installation. According to the Building Science Corporation, relying solely on the door's factory flanges and exterior caulk is a guaranteed path to moisture intrusion. You must construct a dedicated sill pan.
Step-by-Step Flashing Sequence
- Sill Preparation: Slope the rough sill at a minimum 2% grade (1/4-inch per foot) toward the exterior. Install a rigid, pre-formed sill pan or fabricate one using fluid-applied flashing membrane reinforced with mesh.
- Side Jambs: Apply 6-inch wide self-adhered flashing tape to the side jambs, overlapping the sill pan by at least 2 inches. Ensure the weather-resistant barrier (WRB) like Tyvek or ZIP System is integrated over the side tapes.
- Head Flashing: After the door is set, apply head flashing tape over the top nailing fin, extending 6 inches up the wall and lapping over the WRB to create a shingle-lap drainage plane.
Pella sliding doors feature integrated weep holes along the bottom exterior track to drain incidental condensation and wind-driven rain. Never apply a continuous bead of exterior sealant across the bottom flange. Leave the bottom 2 inches of the side flanges unsealed, or use a backer rod and sealant only on the vertical joints, allowing the bottom track to drain freely into the sill pan.
Phase 2: Setting the Unit and Shimming Tolerances
With the flashing complete, dry-fit the Pella unit. Use heavy-duty glass suction cups to lift the door into the opening. Never drag the door across the sill pan, as this will tear the membrane and scratch the fiberglass or aluminum cladding.
Shimming Matrix for Pella Sliders
Improper shimming is the leading cause of operational failure. Use only composite or PVC shims; wood shims compress over time and absorb moisture, leading to frame distortion. Refer to the official Pella installation guidelines for model-specific anchor placements, but adhere to these universal shimming rules:
| Location | Shim Spacing | Placement Rule | Failure Consequence |
|---|---|---|---|
| Side Jambs | Every 12 to 16 inches | Place directly behind hinge/roller anchors | Frame bows inward, breaking the weather seal |
| Bottom Sill | Every 12 inches | Never place directly under roller tracks | Track deflects, causing door to jump off rails |
| Head / Top | Every 16 inches | Maintain 1/4-inch clearance to header | Roof load transfers to glass, causing thermal break |
Once shimmmed, plumb the active panel first. The active panel dictates the alignment of the entire system. Use a 6-foot level to ensure the side jamb is perfectly plumb in both directions (face and edge). Fasten using 3-inch corrosion-resistant screws through the pre-drilled frame holes, being careful not to over-torque and pull the frame out of plumb.
Phase 3: Insulating the Perimeter
The gap between the Pella door frame and the rough opening must be sealed to meet current ENERGY STAR thermal performance criteria. Fiberglass and wood-clad frames have different thermal expansion rates, requiring a flexible insulation medium.
Use a low-expansion, polyurethane window and door foam (such as Great Stuff Window & Door). Apply the foam in a continuous 1-inch bead, filling the cavity to about 50% depth to allow for secondary expansion.
Standard high-expansion polyurethane foam generates up to 1,200 pounds of outward pressure as it cures. This pressure will permanently bow the PVC or fiberglass jambs of a Pella Impervia door, causing the sliding panel to bind against the weatherstripping and rendering the multi-point lock inoperable.
Troubleshooting Matrix: Operational & Seal Failures
Even with meticulous installation, site conditions can cause post-installation issues. Use this diagnostic matrix to identify and resolve common Pella sliding door failures without replacing the unit.
| Symptom | Root Cause Analysis | Corrective Action Protocol |
|---|---|---|
| Active panel binds at the center stile when locking | Frame is racked (out of square) or side jamb is bowed inward from over-tightened anchor screws. | Loosen side jamb screws by 1/2 turn. Re-check diagonal measurements. Adjust shims to push the bowed section outward until the gap is uniform. |
| Door rolls heavily or requires excessive force to move | Bottom shims placed directly under the aluminum roller track, causing micro-deflections in the rail. | Remove bottom shims located directly beneath the track. Relocate shims to the structural supports between the track channels. |
| Interior water pooling at the bottom corners during wind-driven rain | Exterior bottom flange is continuously caulked, blocking the factory weep holes, or sill pan lacks exterior slope. | Cut away exterior caulk at the bottom 2 inches of the side jambs. Verify weep holes are clear of debris. If leaking persists, the sill pan must be re-sloped. |
| Multi-point locking mechanism fails to engage all keepers | The active panel has settled on the rollers, misaligning the lock cams with the strike keepers on the frame. | Locate the roller adjustment screws at the bottom edge of the active panel. Use a #2 Phillips screwdriver to raise the panel by 1/8-inch until the locks engage smoothly. |
Final Hardware and Track Alignment
As of 2026, modern Pella sliding doors feature advanced multi-point locking systems and integrated blind-between-the-glass options. These mechanisms are highly sensitive to frame distortion. Once the interior trim is installed and the perimeter foam is cured, perform a final operational check.
Clean the aluminum tracks using a vacuum and a damp microfiber cloth—never use abrasive pads or chemical solvents that can strip the factory-applied silicone track lubricant. Adjust the stainless steel rollers using the access plugs at the bottom of the door stile. The goal is to achieve a uniform 1/16-inch reveal between the bottom of the door and the track rail across the entire span. Finally, install the interior casing, ensuring the trim does not pinch the door frame, which can restrict the natural thermal expansion of the fiberglass or wood cladding.