Sliding Glass Door Installation: A Maintenance-First Playbook
Master sliding glass door installation with this maintenance-first playbook. Learn track prep, Low-E glass care, and sealing techniques for zero-draft performance.
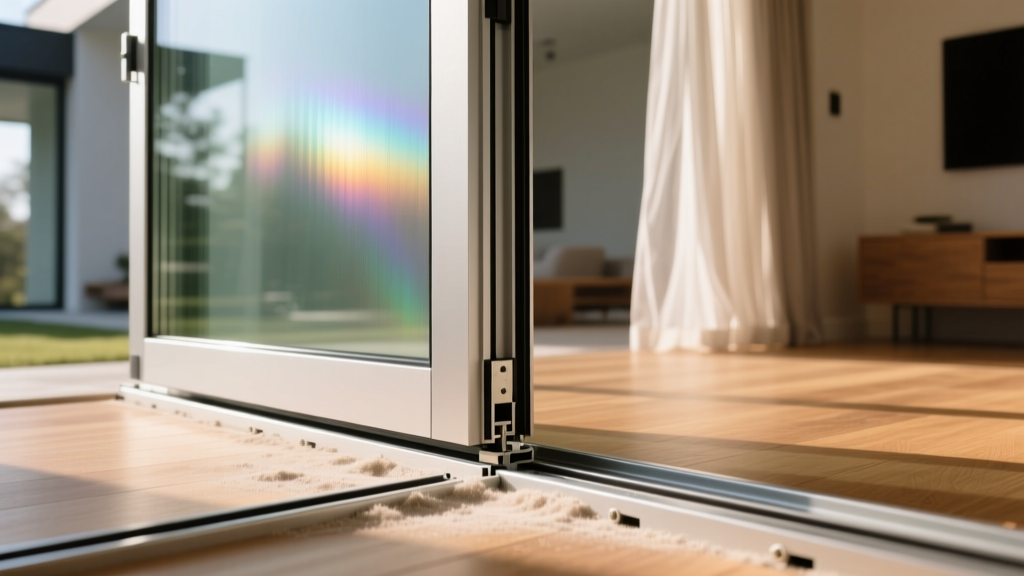
The Hidden Cost of Poor Sliding Glass Door Installation
Most contractors treat sliding glass door installation as a simple framing exercise: set the unit, shim it, and caulk the perimeter. This approach guarantees a maintenance nightmare within 24 months. When a 200-pound triple-pane sliding door is installed without considering long-term track alignment, moisture management, and glass coating preservation, the result is binding rollers, compromised insulated glass unit (IGU) seals, and scratched Low-E surfaces.
This playbook bridges the gap between rough-in installation and long-term maintenance. By executing specific installation protocols, you eliminate the root causes of 90% of sliding door service calls. According to the American Architectural Manufacturers Association (AAMA), improper flashing and frame distortion are the leading causes of premature fenestration failure. Here is how to install a sliding glass door so that it glides effortlessly and stays weather-tight for decades.
Phase 1: Sill Pan Engineering and Rough Opening Prep
The foundation of a low-maintenance sliding door is the sill pan. If water bypasses the track weep holes, it must be caught and redirected. Relying solely on the door manufacturer’s integrated track drainage is a critical error, especially in coastal or high-wind-driven rain zones.
Constructing a Sloped, Dammed Sill Pan
Before the door arrives on site, the rough opening sill must be prepped with a fluid-applied flashing membrane (such as PROSOCO R-Guard FastFlash) or a heavy-duty peel-and-stick membrane. The membrane must extend up the side jambs at least 6 inches and include pre-formed end dams at the corners. Without end dams, water pooling in the sill pan will simply migrate laterally into the wall cavity, causing hidden rot that eventually shifts the door frame and destroys the roller alignment.
- Slope Requirement: The sill pan must have a minimum slope of 1/4 inch per foot toward the exterior to ensure rapid water evacuation.
- Clearance: Leave a 1/2-inch gap at the top and 1/4-inch on each side for vinyl and fiberglass frames to accommodate thermal expansion. Over-tightening a frame into a rough opening bows the track, creating a friction point that will grind the roller wheels into dust.
Phase 2: Track Setting and Frame Shimming Matrix
Modern sliding glass doors, particularly those featuring triple-pane argon-filled glazing, are exceptionally heavy. The weight rests entirely on the bottom track. How you support that track during installation dictates whether the door will require annual roller adjustments or glide smoothly for twenty years.
| Material | Specification | Maintenance Impact |
|---|---|---|
| Shims | Cellular PVC or Composite (Never Wood) | Wood shims compress under heavy loads and wick moisture, causing frame sag and roller binding. PVC maintains structural integrity indefinitely. |
| Fasteners | #10 x 3-inch Corrosion-Resistant Screws | Prevents rust-jacking in the track. Must be driven plumb; angled screws warp the vinyl/aluminum cladding. |
| Track Bedding | Non-skinning Polyurethane Sealant | Provides a continuous, flexible air/water seal under the track without hardening into a brittle plane that cracks under foot traffic. |
The Shimming Protocol
Place PVC shims directly under the vertical mullions and at 12-inch intervals along the track. Use a 6-foot level to ensure the track is perfectly flat. A deviation of just 1/16th of an inch over a 6-foot span will cause the active door panel to drift open or bind against the weatherstripping, accelerating wear on the pile weatherseal.
Phase 3: Weep Hole Management and Exterior Sealing
The ENERGY STAR installation guidelines heavily emphasize proper air and water sealing, but many installers inadvertently choke the door’s drainage system in the process. Sliding doors rely on weep holes located on the exterior bottom track to evacuate condensation and wind-driven rain.
Critical Warning: Never apply exterior trim caulk over the bottom track flange without first verifying the weep hole locations. Sealing over weep holes forces water back into the track channel, where it will eventually migrate past the interior weatherstripping and ruin your interior flooring.
For the perimeter seal between the door frame and the exterior weather-resistive barrier (WRB), use a high-grade polyurethane sealant like OSI QUAD Max. Polyurethane adheres aggressively to vinyl, aluminum, and wood, and it remains flexible through extreme thermal cycling. Do not use acidic silicone near the glass or aluminum cladding, as the off-gassing during the curing process can permanently etch the glass surface and corrode anodized aluminum finishes.
Phase 4: Post-Installation Cleaning and Low-E Glass Care
The construction site is the most hostile environment for architectural glass. Drywall dust, cement splatter, and airborne silica act as abrasives. The immediate post-installation cleaning protocol is critical to preserving the microscopic Low-E (low-emissivity) metallic coatings that provide the door’s energy efficiency. The Glass Association of North America (GANA) provides strict guidelines on glazing care, noting that improper cleaning during construction accounts for a massive percentage of glass replacement claims.
The 'No Razor' Rule for Modern Glazing
In the past, contractors used metal razor blades to scrape paint overspray and stucco off new windows. Never use a metal razor blade on modern Low-E glass or tempered glass panels. Metal scrapers will micro-scratch the soft-coat Low-E layers and can cause spontaneous breakage in tempered glass by damaging the surface compression layer.
Safe Construction Debris Removal Playbook
- Flood and Soak: Spray the glass heavily with a mixture of warm water and a few drops of pH-neutral dish soap (like Dawn). Let it soak for 3 minutes to soften construction adhesives and paint.
- Plastic Scraping: Use a dedicated plastic gasket scraper or a hard-plastic putty knife to gently push off softened debris. Plastic is softer than the glass surface and will not cause micro-scratches.
- Microfiber Squeegee: Use a high-quality rubber squeegee, wiping the blade clean with a lint-free microfiber cloth after every single pass.
- Edge Detailing: Use a dry, clean microfiber cloth to wipe the perimeter edges where the glass meets the glazing bead to prevent water spotting.
First-Year Maintenance and Track Lubrication Schedule
Even with a flawless installation, the first year of a sliding door’s life involves house settling and seasonal thermal shifts. A proactive maintenance schedule prevents minor friction from becoming major mechanical failure.
What to Use (and What to Avoid) for Track Lubrication
The most common mistake homeowners and property managers make is spraying petroleum-based lubricants (like standard WD-40) into the door track. Petroleum products leave a tacky residue that acts as a magnet for silica dust, pollen, and pet hair. Within weeks, this mixture turns into a grinding paste that destroys the roller bearings.
- USE: 100% Silicone Spray (e.g., Blaster Silicone or 3M Silicone Lubricant). Spray a light mist directly onto the track and the roller wheels. Silicone dries completely clear and non-tacky, allowing dust to blow away rather than stick.
- USE: PTFE (Teflon) dry lubricants for extremely dusty or sandy environments, as they offer the lowest friction coefficient without attracting debris.
- AVOID: White lithium grease, WD-40, or any oil-based household lubricants.
The 90-Day Roller Adjustment Check
Schedule a maintenance check exactly 90 days after installation. By this time, the house framing will have undergone its initial drying and settling. Check the active panel’s alignment with the lock stile. If the gap at the top is wider than the gap at the bottom, use a #2 Phillips screwdriver to adjust the roller height screws located at the bottom edge of the door panel. Raise the side that is dragging until the gap is perfectly uniform. Performing this single 5-minute adjustment at the 90-day mark prevents the lock mechanism from misaligning and wearing out the strike plate.