Anchors in Brick or Mortar: Strength and Failure Guide
Compare mechanical and chemical anchors in brick or mortar. Discover load capacities, failure modes, and the best fasteners for solid vs. hollow masonry.

The Core Dilemma: Brick vs. Mortar Joint Integrity
When securing fixtures, structural ties, or heavy equipment to masonry, the fundamental decision is whether to place anchors in brick or mortar. This choice dictates the ultimate load capacity, failure mode, and long-term durability of the installation. The physics of the two materials are vastly different. Solid clay brick manufactured to ASTM C62 or C216 standards typically exhibits a compressive strength between 3,000 psi and 10,000 psi. In stark contrast, Type N mortar (ASTM C270) yields roughly 750 psi, while high-strength Type S mortar peaks around 1,800 psi.
Before drilling, verify if your masonry is solid or hollow. Modern structural clay tiles and brick veneers often feature core holes exceeding 25% of the cross-section. If you drive a mechanical wedge anchor into the thin face shell of a hollow brick, the outward expansion force will instantly shatter the masonry unit. For hollow units, you must bypass mechanical expansion anchors entirely and use chemical adhesives with mesh screen sleeves or specialized toggle systems.
The Golden Rule of Placement
For tensile (pull-out) loads exceeding 100 lbs or shear loads exceeding 150 lbs, always drill directly into the brick unit. Mortar joints should only be utilized for light-duty applications (e.g., small exterior lighting, lightweight trellises under 50 lbs) or in historic preservation projects where drilling into the irreplaceable, often friable, antique brick is prohibited and a reversible, easily patchable mortar hole is required.
Mechanical vs. Chemical Anchors in Brick or Mortar
Once the substrate (brick vs. mortar) is selected, the fastener type must match the load profile and environmental conditions. According to the Brick Industry Association (BIA) Technical Notes, anchorage failure usually stems from improper fastener selection rather than the masonry itself.
| Anchor Type | Best Substrate | Avg. Tensile Capacity (Solid Brick) | Cost per Unit (Approx.) | Primary Failure Mode |
|---|---|---|---|---|
| Tapcon Masonry Screw | Solid Brick / Mortar | 250 - 400 lbs (1/4" dia) | $0.25 - $0.45 | Thread stripping in soft mortar |
| Sleeve Anchor | Solid Brick | 500 - 800 lbs (3/8" dia) | $0.80 - $1.50 | Masonry blowout near edges |
| Wedge Anchor (e.g., Hilti KB-TZ) | Solid Brick (Deep embed) | 800 - 1,500 lbs (1/2" dia) | $1.50 - $3.00 | Brittle cone failure in brick |
| Pure Epoxy (e.g., Simpson SET-3G) | Solid / Hollow Brick | 2,500 - 4,000+ lbs (5/8" dia) | $50 - $75 / 10oz tube | Improper hole cleaning (dust) |
| Acrylic Adhesive (e.g., Powers Pure110) | Damp Brick / Mortar | 1,500 - 2,500 lbs (1/2" dia) | $35 - $50 / 10oz tube | Moisture interference during cure |
Deep Dive: Mechanical Fasteners
Mechanical anchors rely on friction and mechanical interlock. When you tighten the nut on a wedge anchor, the clip expands against the walls of the drilled hole. This creates immense localized radial stress.
When to Use Mechanical Anchors
- Speed and Cost: For high-volume, light-to-medium duty applications like attaching wood furring strips, plywood sheathing, or light steel brackets, ITW Buildex Tapcon screws or standard sleeve anchors are unmatched in speed. A 1/4" Tapcon requires a 3/16" carbide drill bit and can be installed in seconds.
- Immediate Loading: Mechanical anchors can be torqued and loaded immediately upon installation. There is no cure time, making them ideal for fast-paced framing and structural tie-downs where schedule is critical.
- Edge Distance Limitations: Mechanical anchors require strict edge distances. The general rule is to maintain a minimum edge distance of 1.5 times the anchor diameter. If you are anchoring within 2 inches of a brick edge or a mortar joint, the expansion force will likely spall the corner.
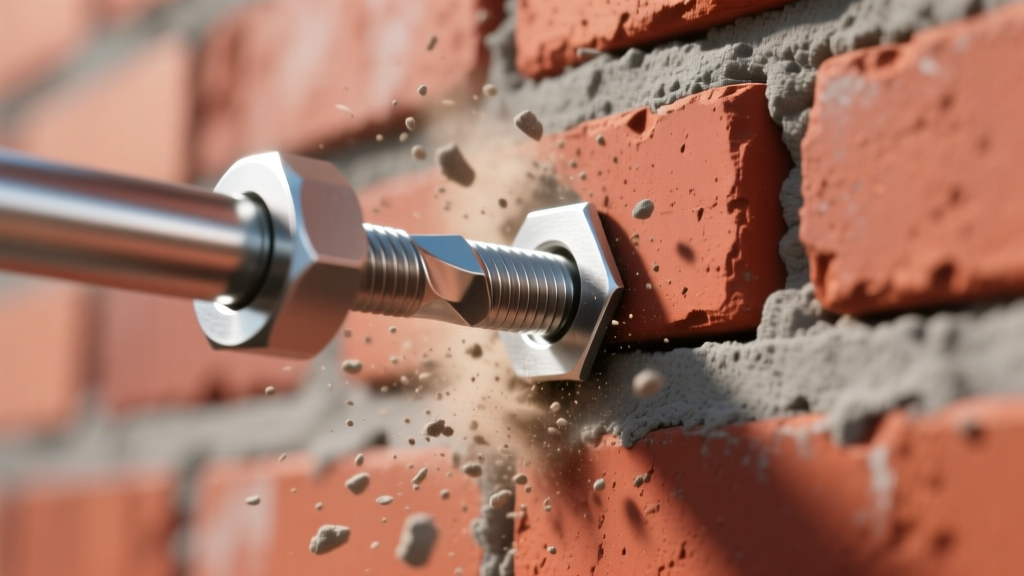
Deep Dive: Chemical Adhesives (Epoxy & Acrylic)
Chemical anchors bond the threaded rod or rebar to the masonry substrate using high-strength resins. Because they do not expand, they generate zero radial stress on the brick, making them the only viable high-load option for fragile, historic, or hollow masonry.
The 3x3x3 Hole Cleaning Protocol
The most common cause of chemical anchor failure is inadequate hole cleaning. Brick dust acts as a dry lubricant and a barrier, preventing the epoxy from bonding to the clay. If you skip this step, your 4,000 lb epoxy anchor will pull out at 400 lbs. According to Simpson Strong-Tie installation guidelines, you must strictly follow the 3x3x3 protocol:
- Blow: Use an air pump (not compressed air from a gas compressor, which introduces oil and moisture) to blow out the hole 3 times.
- Brush: Insert a wire bore brush of the exact hole diameter and twist vigorously 3 times.
- Blow: Blow out the loosened dust 3 final times until no dust cloud exits the hole.
Expert Insight: When injecting epoxy into a hollow brick, you must insert a plastic or stainless steel mesh screen sleeve into the hole before injecting the resin. The mesh allows the epoxy to squeeze through and form a 'key' inside the hollow voids of the brick, creating a massive mechanical interlock that pure surface bonding cannot achieve.
Decision Framework: Mapping Load to Fastener
Use this diagnostic flow to select the correct anchoring strategy based on your specific site conditions and load requirements. For formal structural engineering sign-offs, always refer to the manufacturer's ICC-ES Evaluation Reports, which provide code-recognized allowable stress design (ASD) and strength design (LRFD) tables.
Fastener Selection Matrix
Scenario A: Light Duty (< 100 lbs), Solid Brick or Mortar
➤ Solution: 1/4" or 3/16" Tapcon masonry screws. Drill into the mortar joint if you anticipate needing to remove the fixture later without damaging the brick face.
Scenario B: Medium Duty (100 - 500 lbs), Solid Brick Only
➤ Solution: 3/8" or 1/2" Sleeve anchors or wedge anchors (e.g., Hilti Kwik Bolt). Ensure minimum embedment depth of 2.5 inches. Never place these in the mortar joint.
Scenario C: Heavy Duty (> 500 lbs), Solid or Hollow Brick
➤ Solution: Pure epoxy (e.g., Hilti HIT-RE 500 V4 or Simpson SET-3G) with a 5/8" threaded rod. Use a mesh screen sleeve if the brick is hollow. Maintain a minimum edge distance of 3 inches.
Scenario D: High Moisture / Exterior Below-Grade
➤ Solution: Moisture-tolerant acrylic adhesive or hot-dip galvanized/stainless steel mechanical anchors. Standard carbon steel wedge anchors will corrode and expand, spalling the brick face within 3 to 5 years in wet environments.
Common Failure Modes and How to Avoid Them
Understanding why anchors fail in masonry is just as critical as knowing how to install them. Brick is a brittle, non-homogeneous material, and its failure mechanics differ significantly from poured concrete.
- Brittle Cone Failure: Occurs when a mechanical anchor is tightened too aggressively, creating a shear cone that pulls a chunk of the brick face out. Fix: Use a calibrated torque wrench and strictly adhere to the manufacturer's maximum installation torque. For brick, this is often 30-50% lower than the torque rating for concrete.
- Joint Separation (Mortar): Occurs when an anchor placed in a mortar joint is subjected to dynamic or vibrational loads (e.g., HVAC equipment, heavy gates). The vibration breaks the bond between the mortar and the brick. Fix: Never use mortar joints for dynamic loads. Move the anchor into the brick unit or switch to a vibration-dampening chemical anchor.
- Thermal Expansion Spalling: Metal anchors expand and contract at different rates than clay brick. In exterior applications with high temperature swings, a tightly wedged steel anchor can exert enough pressure to crack the brick. Fix: Leave a slight gap at the top of the hole and seal with a high-quality polyurethane masonry sealant to allow for thermal movement and prevent water ingress.
Written by
Marcus ChenMarcus Chen is a licensed structural engineer (PE) and building materials analyst with over 12 years of experience across residential, commercial, and industrial construction. He holds a Master of Science in Civil Engineering from UC Berkeley and spent six years at Thornton Tomasetti before transitioning to independent consulting and technical writing. Marcus specializes in material selection for seismic-prone regions, concrete reinforcement strategies, and lifecycle cost analysis. His work has been cited by the American Concrete Institute (ACI) and the Structural Engineers Association of California (SEAOC). When he is not on a job site or at his desk, you will find him hiking the Sierra Nevada or restoring a 1920s craftsman bungalow in Oakland, CA.
More from Marcus Chen
View all
Construction Cost
How Much Did the Eiffel Tower Cost to Build?
How much did the Eiffel Tower cost to build in 1889? We adjust for inflation and compare its budget to modern skyscraper construction.
Aug 4, 2026

Fire Resistance
What Is a Fire Resistant Material? Testing & Certification Guide
Discover what is a fire resistant material through ASTM and UL testing. Learn how fire ratings, certifications, and assemblies work in construction.
Aug 4, 2026

Construction Cost
How Much Did the Burj Khalifa Cost to Build?
How much did the Burj Khalifa cost to build? We break down the $1.5B project and extract 5 money-saving strategies for your next build.
Jul 30, 2026