Interior Stone Veneer Panels: Essential Maintenance and Care Guide
Learn expert techniques for cleaning, sealing, and maintaining interior stone veneer panels. Protect your investment with our material-specific care guide.

Understanding Your Interior Stone Veneer Material
Before applying any cleaning solution or sealer, you must identify the exact composition of your interior stone veneer panels. Maintenance protocols differ drastically between the three primary categories used in modern interior construction:
- Cementitious Manufactured Stone: Brands like Cultured Stone or Coronado Stone use a Portland cement base mixed with lightweight aggregates and iron oxide pigments. These are porous and susceptible to efflorescence and staining.
- Natural Stone Veneer: Thin-cut slices of real slate, quartzite, limestone, or marble. These require pH-specific care, as calcareous stones (limestone, marble) will etch instantly if exposed to acidic cleaners.
- High-Density Polyurethane (Faux Stone): Brands like GenStone or Texture Plus mold panels from high-density polyurethane foam. These are non-porous, waterproof, and require entirely different, much simpler maintenance.
Misidentifying your material is the leading cause of irreversible damage. For instance, applying a standard masonry acid wash to natural limestone veneer will permanently scar the surface, while using a heavy topical sealer on polyurethane panels will result in a peeling, plastic-like finish.
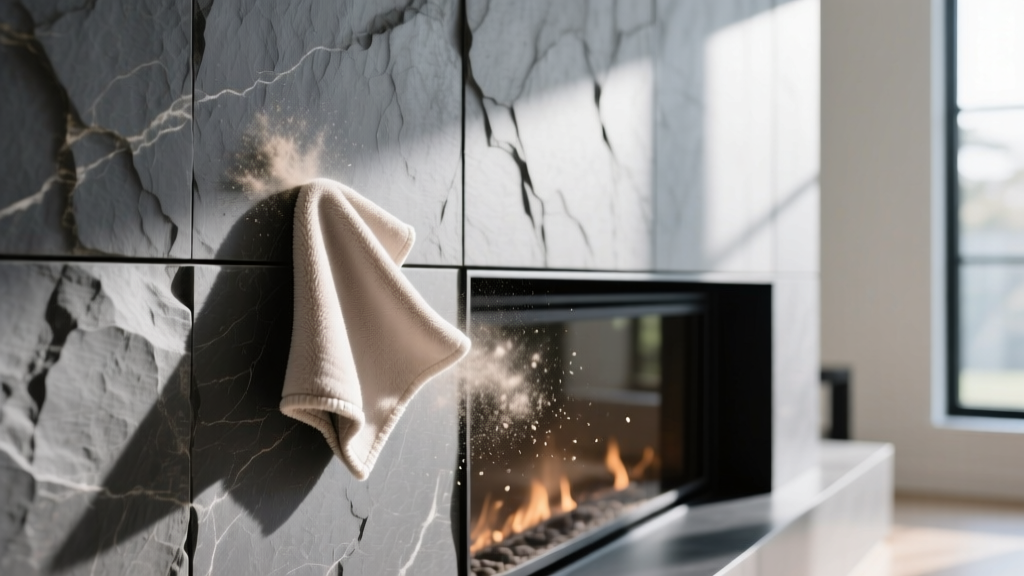
The Weekly Dusting Protocol
The textured crevices of stacked stone and ledgestone profiles are notorious dust magnets. In interior environments, HVAC circulation constantly deposits microscopic particulates into the mortar joints and stone pores.
For high-traffic areas like kitchen backsplashes or fireplace surrounds, weekly dusting prevents the buildup of grease-particulate sludge, which is significantly harder to remove once it cures into the stone's pores.
Deep Cleaning Strategies by Material Type
When routine dusting is no longer sufficient, deep cleaning requires material-specific chemistry. Below is the definitive maintenance matrix for interior veneers.
| Material Type | Routine Cleaner | Heavy-Duty / Stain Cleaner | Sealer Requirement |
|---|---|---|---|
| Cementitious Manufactured | Mild dish soap (Dawn) + warm water | PROSOCO Sure Klean Vana Trol (for efflorescence) | Penetrating silane/siloxane sealer |
| Natural Siliceous (Slate, Quartzite) | pH-neutral stone cleaner (Simple Green Stone) | Acetone-based poultice for oil/grease | Impregnating fluoropolymer sealer |
| Natural Calcareous (Limestone, Marble) | Strictly pH-neutral (7.0) cleaner only | Specialized marble poultice (no acids) | High-quality impregnator (e.g., Miracle 511) |
| Polyurethane (Faux) | Standard glass or all-purpose cleaner | Isopropyl alcohol for scuffs/ink | None (Do not seal) |
According to the Natural Stone Institute, using acidic or highly alkaline cleaners on natural stone degrades the crystalline structure over time, leading to a dull, etched appearance that cannot be reversed without professional mechanical honing.
Tackling Stubborn Stains and Efflorescence
Interior stone veneers, particularly those installed near cooking surfaces or in humid climates, face specific staining challenges.
Grease and Oil Stains (Kitchen Backsplashes)
Because cementitious and natural stones are porous, airborne cooking oils penetrate the surface. Surface wiping will not remove these stains. You must draw the oil out using a poultice:
- Mix baking soda with acetone (for oil-based stains) or hydrogen peroxide (for organic food stains) until it forms a thick paste resembling peanut butter.
- Apply a 1/4-inch thick layer over the stain, extending 1 inch beyond the stain's edges.
- Cover with plastic wrap and tape the edges down. Poke a few small holes in the plastic for airflow.
- Leave for 24 to 48 hours. As the poultice dries, it pulls the oil out of the stone's pores.
- Scrape off the dried poultice with a plastic putty knife (never metal) and rinse with distilled water.
Efflorescence on Manufactured Stone
Efflorescence appears as a white, powdery residue on cementitious veneer. It occurs when water-soluble salts (calcium hydroxide) migrate to the surface and react with carbon dioxide to form calcium carbonate. While more common outdoors, interior veneers on exterior-facing walls can experience this due to thermal bridging and interior humidity.
The Fix: Do not use water to clean efflorescence; it will only drive the salts back into the stone to re-emerge later. First, aggressively dry-brush the area with a stiff nylon brush. If the residue persists, apply a specialized efflorescence remover like Cultured Stone's recommended masonry cleaners, following the manufacturer's exact dilution ratios.
Sealing and Protecting Interior Veneers
Not all interior stone requires sealing. Polyurethane panels are inherently waterproof. However, cementitious and natural stone veneers in high-splash zones (kitchens, mudrooms, bathroom accents) benefit significantly from a penetrating sealer.
Choosing the Right Sealer Chemistry
Avoid topical, film-forming sealers (like standard polyurethanes or acrylics) for interior stone. These trap moisture vapor inside the wall assembly, leading to spalling, and they create an unnatural, high-gloss 'plastic' look that alters the stone's color.
Instead, use a penetrating silane/siloxane or fluoropolymer impregnator. Products like Miracle Sealants 511 Impregnator or Aqua Mix Sealer's Choice Gold penetrate the microscopic pores and react chemically to create a hydrophobic barrier below the surface, leaving the natural matte texture completely unchanged.
Application and Cost Breakdown
- Coverage: A standard quart of high-quality impregnator covers approximately 200 to 400 square feet, depending on the stone's porosity.
- Cost: Expect to pay between $45 and $75 per quart. The total material cost to seal a 50-square-foot fireplace surround is roughly $10 to $15.
- Application: Apply using a low-pressure pump sprayer or a lint-free microfiber pad. Allow 5-10 minutes for penetration, then thoroughly buff off any excess with a dry cloth. Leaving excess sealer on the surface will result in a sticky, hazy residue that requires chemical stripping to remove.
- Reapplication: Interior sealers typically last 3 to 5 years. Test by flicking a few drops of water onto the stone; if it beads up, the sealer is intact. If it darkens the stone immediately, it is time to reseal.
Troubleshooting Common Veneer Failures
Even with meticulous cleaning, interior veneers can experience physical and environmental failures. Here is how to address the most common issues:
1. Loose or Delaminating Panels
Cause: Failure of the original construction adhesive, often due to improper substrate preparation (e.g., applying directly to unpainted drywall without scoring, or failing to use mechanical fasteners for heavy panels).
Fix: Carefully pry the loose panel away using a flat bar. Scrape off the old, dried adhesive from both the wall and the panel back. Reattach using a premium polyurethane construction adhesive like Loctite PL Premium 3x. Apply in a serpentine pattern, press firmly, and use painter's tape to hold the panel in place for 24 hours while the adhesive cures.
2. UV Fading Near Skylights or Large Windows
Cause: While interior stone is protected from rain, direct, unfiltered UV rays from large south-facing windows or skylights can degrade the iron oxide pigments in manufactured stone over a 5 to 10-year period.
Fix: If fading has already occurred, it cannot be reversed. To prevent further degradation, apply a UV-inhibiting penetrating sealer, or apply a clear UV-blocking window film (such as 3M Prestige Series) to the adjacent glass.
3. Mold or Mildew in Humid Climates
Cause: Unsealed stone in poorly ventilated bathrooms or basements can harbor mold spores in the mortar joints.
Fix: Do not use bleach, which can discolor mortar and stone pigments. Spray the affected area with a 50/50 mix of white vinegar and water (only on siliceous stone or manufactured stone; never on limestone/marble). Let it sit for 10 minutes, scrub with a nylon brush, and rinse. Improve room ventilation and apply a mildewcide additive to your next sealer coat.
Frequently Asked Questions
Can I use a steam cleaner on interior stone veneer?
No. High-temperature steam can cause thermal shock, particularly in natural stone, leading to micro-fractures and spalling. The intense heat and pressure can also degrade the mortar joints and strip away penetrating sealers, leaving the stone vulnerable to stains.
How do I clean the mortar joints without staining the stone?
Mortar joints are highly porous and absorb dirt quickly. Use a grout cleaning brush with stiff nylon bristles and a dedicated alkaline grout cleaner. To prevent the dirty runoff from staining the adjacent stone, pre-wet the stone panels with clean water before applying the cleaner to the joints. This prevents the stone from absorbing the dirty cleaning solution.
Is it safe to hang art or TVs directly on stone veneer panels?
You should never anchor heavy items directly into the stone veneer or the mortar joints, as the veneer is not structural and will pull away from the substrate. Always use a stud finder to locate the underlying wood or metal studs, and use extra-long lag bolts or toggle bolts that pass completely through the veneer and anchor securely into the structural framing behind it.
Written by
James ThorntonJames Thornton is a construction industry veteran with 25 years of hands-on experience in wood framing, lumber grading, and residential building codes. He started as a framing carpenter in rural Oregon, earned his ICC Residential Building Inspector certification, and eventually became a senior plan reviewer for the City of Portland Bureau of Development Services. James holds a B.S. in Wood Science & Technology from Oregon State University and is a certified lumber grader through the West Coast Lumber Inspection Bureau (WCLIB). He has inspected over 3,000 residential construction sites and authored the city's internal guide on advanced framing techniques (2x6 at 24" O.C.). James lives in Bend, OR, where he builds custom timber-frame cabins and competes in lumberjack sports.
More from James Thornton
View all
Insulation
Best Home Insulation Materials: Complete 2026 Guide
Compare top home insulation materials for 2026. Find R-values, installed costs per square foot, and best uses for fiberglass, spray foam, and mineral wool.
Aug 4, 2026

Sustainable Building
Certify Your Green Building Material for LEED and WELL
Step-by-step guide to certifying a green building material for LEED v5 and WELL v2. Master EPDs, HPDs, and VOC limits for 2026 project specifications.
Aug 4, 2026

Stone & Masonry
Veneer Stacked Stone Panels: Interior Design & Style Showcase
Discover how veneer stacked stone panels transform interiors. Explore modern design profiles, material pairings, and technical installation specs.
Aug 4, 2026