Cost to Install Stone Veneer on Fireplace: Maintenance Guide
Discover how the initial cost to install stone veneer on fireplace surrounds compares to long-term care. Expert cleaning, sealing, and repair tips.
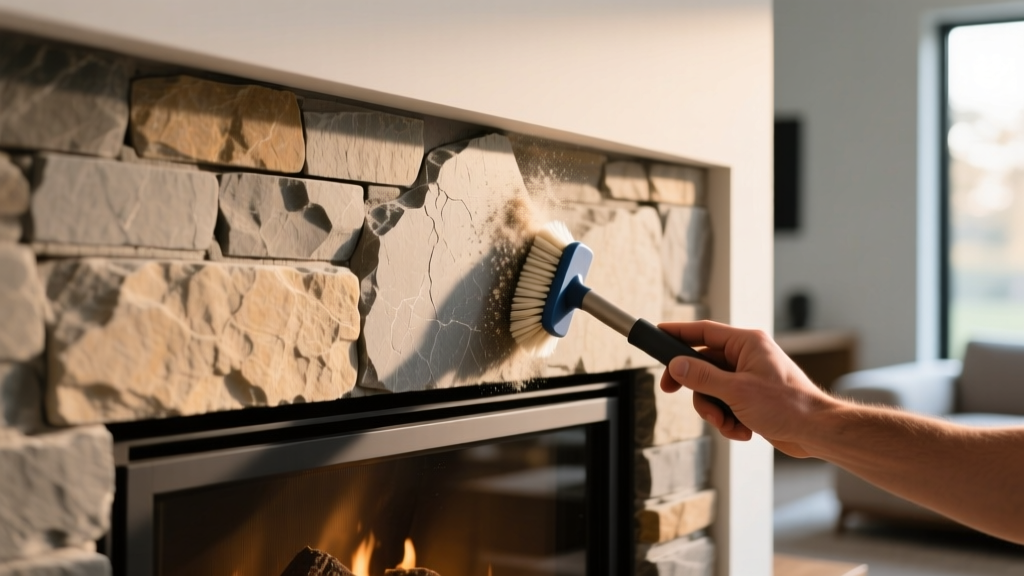
The Hidden Lifecycle Costs Behind Your Fireplace Veneer
When homeowners evaluate the initial cost to install stone veneer on fireplace surrounds, the focus is almost exclusively on material selection and contractor labor. As of 2026, the national average cost to install stone veneer on fireplace surrounds ranges from $1,800 to $3,400 for a standard 25-square-foot application. However, the true financial picture must include the long-term maintenance, cleaning, and sealing required to protect that investment from heat exposure, soot accumulation, and moisture intrusion.
Natural stone and manufactured stone veneer (MSV) react very differently to the extreme thermal cycling of a fireplace. Failing to account for material-specific upkeep can lead to premature mortar degradation, efflorescence, and irreversible heat spalling. This guide bridges the gap between your upfront installation budget and the decades of care required to maintain your fireplace's structural integrity and aesthetic appeal.
Material-Specific Maintenance: Natural vs. Manufactured Veneer
Understanding the composition of your fireplace surround is the first step in establishing a care protocol. Manufactured stone is essentially a concrete product cast in molds, making it highly susceptible to alkaline and acidic cleaners. Natural stone, depending on its geological origin, has varying levels of porosity and mineral sensitivity.
| Maintenance Factor | Natural Stone (e.g., Fieldstone, Slate) | Manufactured Stone Veneer (MSV) |
|---|---|---|
| Porosity & Moisture | Varies widely; slate is dense, limestone is highly porous. | Moderate to high; concrete matrix absorbs water readily. |
| Sealing Frequency | Every 2–3 years (depending on stone density). | Every 1–2 years, especially near the firebox opening. |
| Cleaner pH Tolerance | Wide tolerance, but acid-sensitive stones (marble/travertine) require neutral cleaners. | Strictly neutral pH (6.5 - 7.5). High alkalinity degrades the cementitious binder. |
| 10-Year Upkeep Cost | $150 - $250 (primarily penetrating sealers). | $300 - $450 (specialized cleaners, frequent sealing, mortar touch-ups). |
Routine Care: Managing Soot and Thermal Dust
The immediate area surrounding the firebox opening is subjected to intense heat and microscopic particulate matter. According to the EPA BurnWise program, incomplete combustion from wood-burning fireplaces releases fine soot that adheres electrostatically to porous masonry surfaces. If left untreated, this soot polymerizes into a hard, tar-like glaze that is nearly impossible to remove without damaging the stone.
Weekly Dusting Protocol
- Dry Extraction: Use a HEPA-filtered vacuum with a soft brush attachment to remove loose ash and dust from the crevices of stacked stone profiles. Never use a feather duster, which merely redistributes soot into the room's air.
- Microfiber Wiping: For flat-cut veneer profiles, use a dry, electrostatic microfiber cloth to capture surface dust without scratching the finish.
Annual Deep Cleaning
When soot buildup becomes visible, water alone will not suffice. You must use a specialized masonry cleaner. For manufactured veneer, a neutral-pH cleaner like PROSOCO's SureKlean line is the industry standard. These formulations lift carbon deposits without etching the concrete matrix or altering the stone's pigment.
- Pre-Wet the Surface: Mist the stone with clean water before applying any chemical. This prevents the cleaner from absorbing too deeply into the porous substrate.
- Apply Cleaner: Spray the neutral-pH masonry cleaner from the bottom up to prevent streaking.
- Agitate Gently: Use a natural bristle or soft nylon brush. Never use wire brushes or steel wool, as metal fragments will embed in the stone and rust when exposed to ambient humidity.
- Rinse Thoroughly: Rinse from the top down with low-pressure water.
Sealing Protocols: Breathability is Non-Negotiable
The most common mistake homeowners make after calculating the cost to install stone veneer on fireplace surrounds is applying the wrong type of sealer. The heat radiating from the firebox causes moisture trapped inside the masonry to expand. If the stone is coated in a film-forming acrylic sealer, the expanding steam has no escape route, resulting in 'spalling'—where the face of the stone violently pops off.
Choosing the Right Impregnator
Always select a silane/siloxane penetrating sealer. These chemical compounds penetrate up to 1/4 inch into the masonry pore structure and create a hydrophobic barrier below the surface, allowing water vapor to escape while blocking liquid water and soot from entering.
The Water Drop Test
To determine if your fireplace needs resealing, perform the water drop test. Flick a few drops of water onto the stone near the firebox. If the water beads up and rolls off, your sealer is intact. If the water darkens the stone and absorbs within 60 seconds, the hydrophobic barrier has failed, and it is time to reseal. Ensure the stone is completely dry (wait 48 hours after a deep clean) before applying a new coat of silane/siloxane sealer.
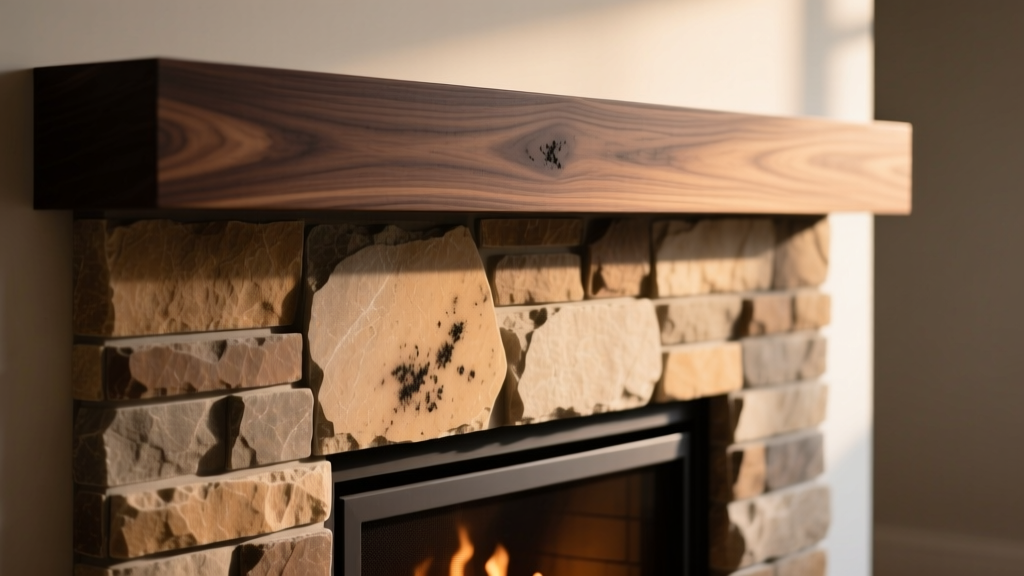
Troubleshooting Common Fireplace Veneer Issues
1. Efflorescence (White Powdery Stains)
Efflorescence occurs when water-soluble salts within the mortar or stone migrate to the surface and crystallize upon evaporation. This is common in newly installed fireplaces as the mortar cures and releases excess moisture.
The Fix: Do not use water to scrub it, as this simply redissolves the salts and pushes them back into the stone. Use a stiff, dry nylon brush to brush it away. For stubborn deposits, apply a specialized efflorescence remover containing phosphoric acid, following the manufacturer's dilution ratios precisely.
2. Mortar Joint Deterioration
The extreme thermal cycling of a fireplace causes the mortar joints to expand and contract at a different rate than the stone veneer. Over time, this leads to micro-cracking.
The Fix: Repoint the joints using a Type N mortar mix. Type N offers a medium compressive strength (750 psi) and higher flexibility than Type S, allowing it to absorb thermal shock without cracking. Do not use standard sanded tile grout, which lacks the thermal tolerance for firebox proximity.
3. Heat Spalling on the Hearth Extension
If the stone directly in front of the firebox is flaking, it is likely due to radiant heat baking moisture trapped inside the stone, or the use of a non-breathable topical sealer.
The Fix: Strip the existing sealer using an alkaline-based masonry stripper, allow the stone to breathe and dry completely for one week, and reapply a high-quality, breathable siloxane impregnator.
Frequently Asked Questions
Can I apply stone sealer inside the firebox?
No. The interior firebox reaches temperatures exceeding 1,000°F. Sealers contain volatile organic compounds (VOCs) and chemical resins that will combust, release toxic fumes, and create a severe fire hazard. Only the exterior surround and hearth should be sealed.
Does the cost to install stone veneer on fireplace surrounds include hearth extensions?
Typically, no. Most contractor quotes for the 'surround' cover the vertical face of the chimney breast. Building codes (such as the International Residential Code) require non-combustible hearth extensions that extend at least 16 inches in front of the firebox opening. Extending the stone veneer to the floor requires additional substrate preparation, increasing the total project cost by $400 to $800.
How close can combustible mantels be to the stone veneer?
While the stone veneer itself is non-combustible, the clearance to a wooden mantel is dictated by the specific fireplace insert or firebox manufacturer. Generally, combustible materials must be kept at least 12 inches above the top of the firebox opening, and for every 1/8 inch the mantel protrudes, an additional inch of vertical clearance is required. Always consult your firebox manufacturer's specification sheet before mounting a mantel over your newly veneered surround.
Written by
James ThorntonJames Thornton is a construction industry veteran with 25 years of hands-on experience in wood framing, lumber grading, and residential building codes. He started as a framing carpenter in rural Oregon, earned his ICC Residential Building Inspector certification, and eventually became a senior plan reviewer for the City of Portland Bureau of Development Services. James holds a B.S. in Wood Science & Technology from Oregon State University and is a certified lumber grader through the West Coast Lumber Inspection Bureau (WCLIB). He has inspected over 3,000 residential construction sites and authored the city's internal guide on advanced framing techniques (2x6 at 24" O.C.). James lives in Bend, OR, where he builds custom timber-frame cabins and competes in lumberjack sports.
More from James Thornton
View all
Insulation
Best Home Insulation Materials: Complete 2026 Guide
Compare top home insulation materials for 2026. Find R-values, installed costs per square foot, and best uses for fiberglass, spray foam, and mineral wool.
Aug 4, 2026

Sustainable Building
Certify Your Green Building Material for LEED and WELL
Step-by-step guide to certifying a green building material for LEED v5 and WELL v2. Master EPDs, HPDs, and VOC limits for 2026 project specifications.
Aug 4, 2026

Stone & Masonry
Veneer Stacked Stone Panels: Interior Design & Style Showcase
Discover how veneer stacked stone panels transform interiors. Explore modern design profiles, material pairings, and technical installation specs.
Aug 4, 2026