Stone Veneer Cleveland: 2026 Cost & Installation Guide
Comprehensive 2026 guide to stone veneer in Cleveland. Compare natural vs. manufactured stone, analyze local costs, and master freeze-thaw installation.
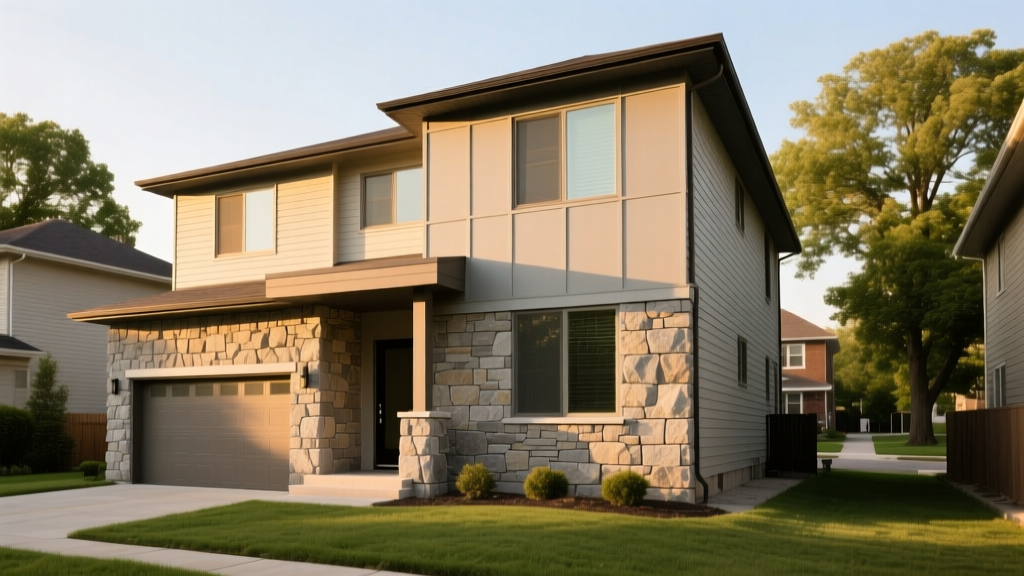
The Freeze-Thaw Factor: Cleveland’s Masonry Reality
Installing stone veneer in Northeast Ohio requires a fundamental understanding of local climatic stressors. According to the National Weather Service Cleveland, the region experiences over 100 freeze-thaw cycles annually, driven by lake-effect moisture from Lake Erie and rapid temperature fluctuations. When porous masonry materials absorb this moisture and temperatures drop below freezing, the expanding ice creates internal hydrostatic pressure, leading to spalling, cracking, and delamination.
To combat this, material selection must prioritize low water absorption rates. Manufactured Stone Veneer (MSV) that complies with ASTM C1670 standards typically exhibits an absorption rate of less than 6%, making it vastly superior to many quarried natural stones for Cleveland's harsh winters. When natural stone is specified, it must be tested per ASTM C97 and sealed with a breathable, silane-siloxane penetrating sealer to repel liquid water while allowing vapor transmission.
Material Selection Matrix: Natural vs. Manufactured (MSV)
Choosing between natural and manufactured stone veneer in Cleveland involves balancing aesthetic authenticity with structural load and moisture resilience. The following matrix breaks down how both materials perform under local conditions.
| Feature | Manufactured Stone Veneer (MSV) | Natural Stone Veneer |
|---|---|---|
| Weight per Sq. Ft. | 10 – 12 lbs (No structural footing needed) | 15 – 25+ lbs (May require footing reinforcement) |
| Freeze-Thaw Resilience | Excellent (Engineered for low absorption) | Variable (Highly dependent on stone type and sealer) |
| Installation Over Wood Frame | Standard practice with proper WRB | Requires strict engineering and heavy-duty lath |
| Cleveland Labor Ease | High (Uniform thickness, corner pieces available) | Low (Requires skilled mason for shaping and fitting) |
2026 Cleveland Installation Cost Breakdown
Pricing for stone veneer in Cuyahoga County and the greater Cleveland area reflects current union-influenced labor markets, supply chain realities, and the mandatory prep work required for historic and wood-frame retrofits. The costs below represent the 2026 market rates for residential installations.
Comprehensive Cost Table (Per Square Foot)
| Project Phase | Manufactured Stone (MSV) | Natural Stone |
|---|---|---|
| Demolition & Prep (Siding removal, sheathing repair) | $2.50 – $4.00 | $2.50 – $4.00 |
| WRB, Flashing & Lath Installation | $3.00 – $5.00 | $3.50 – $6.00 |
| Material Cost (Stone, mortar, accessories) | $6.00 – $11.00 | $14.00 – $28.00 |
| Masonry Labor (Scratch coat, setting, pointing) | $8.00 – $13.00 | $15.00 – $22.00 |
| TOTAL INSTALLED COST | $19.50 – $33.00 / sq. ft. | $35.00 – $60.00 / sq. ft. |
Note: Scaffold erection for multi-story Cleveland homes (such as classic Shaker Heights Colonials) typically adds a flat fee of $1,200 to $2,500 to the overall project, which is not reflected in the per-square-foot metrics above.
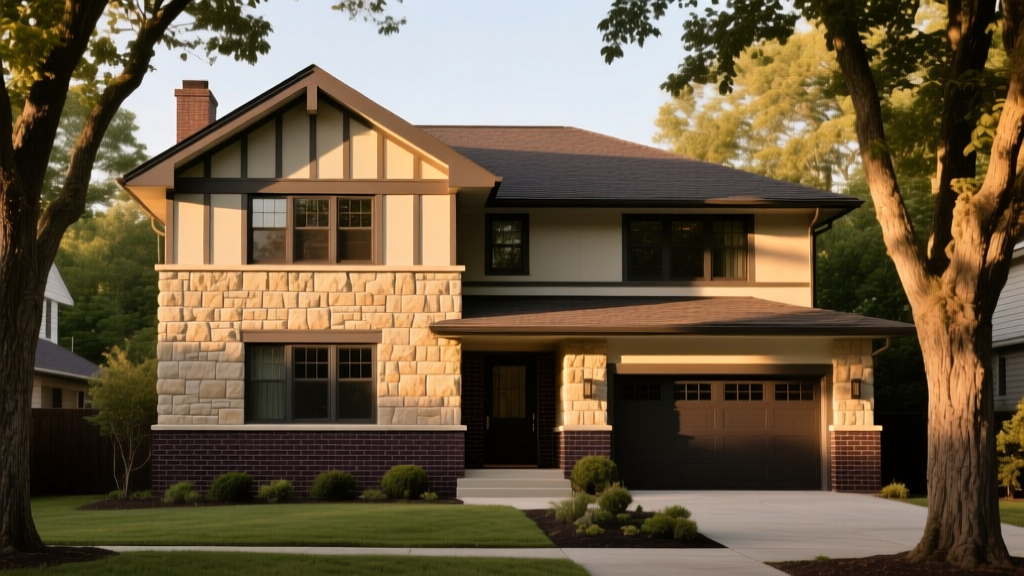
Code-Compliant Moisture Management (Ohio Building Code)
The Ohio Building Code (OBC), which governs Cleveland and its suburbs, strictly regulates adhered masonry veneer to prevent moisture intrusion. Because Cleveland experiences severe wind-driven rain, a standard housewrap is insufficient. The Masonry Society and local building inspectors mandate a drained and vented air space or a highly effective drainage mat behind the lath.
The 5-Step Cleveland WRB Protocol
- Primary Barrier: Apply a code-approved Weather-Resistive Barrier (WRB) like Tyvek DrainWrap directly to the OSB or plywood sheathing. The vertical grooves create a micro-drainage plane.
- Secondary Barrier (Optional but Recommended): For high-exposure walls facing Lake Erie, install a secondary layer of building paper (Grade D felt) to protect the primary WRB from the alkalinity of the wet mortar scratch coat.
- Corrosion-Resistant Lath: Fasten 2.5 lb self-furring galvanized steel lath using corrosion-resistant nails or staples. The self-furring dimples ensure the mortar fully encapsulates the lath, preventing rust jacking during wet Cleveland springs.
- Weep Screed Installation: Install a PVC or galvanized steel weep screed at the base of the wall. Crucial Detail: The weep screed must be positioned a minimum of 4 inches above grade or 2 inches above paved surfaces (like concrete patios) to prevent capillary action and snow-melt wicking.
- Flashing Integration: All weep screeds and window head flashings must integrate with the WRB using compatible flashing tapes (e.g., Zip System tape or DuPont FlexWrap) to ensure water is directed outward, not into the wall cavity.
"In Northeast Ohio, 90% of stone veneer failures are not material failures; they are moisture management failures. If your weep screed is buried behind soil or mulch, the freeze-thaw cycle will destroy the bottom three courses of stone in less than five years." — Senior Masonry Inspector, Cuyahoga County
Sourcing and Logistics in Northeast Ohio
Procuring materials locally reduces freight surcharges, which can account for up to 15% of total material costs when ordering natural stone from out-of-state quarries. For manufactured stone, brands like Eldorado Stone, Cultured Stone, and Dutch Quality Stone have robust distribution networks through Cleveland-area masonry supply yards. When ordering, always request the manufacturer's specific Cleveland-region mortar mix recommendations; Type S mortar is generally preferred for its higher tensile strength and flexibility, which accommodates the subtle structural shifting common in Cleveland's expansive clay soils.
Common Cleveland Retrofit Mistakes to Avoid
- Applying Directly to Historic Brick: Many Cleveland homes feature soft, historic brick. Applying a scratch coat directly to this brick traps moisture, causing the original brick to spall and crumble. An air-drainage mat is mandatory when veneering over existing masonry.
- Ignoring Control Joints: Long, continuous runs of stone veneer on wood-frame homes will crack as the wood expands and contracts with Cleveland's humidity swings. Install control joints aligned with the framing's structural breaks.
- Using Interior-Grade Mortar Additives: Ensure all bonding agents and mortar admixtures are rated for exterior freeze-thaw exposure. Standard latex additives can become brittle at sub-zero temperatures.
FAQs: Cleveland Stone Veneer Installation
Do I need a structural footing for stone veneer on my Cleveland home?
For Manufactured Stone Veneer (MSV) weighing less than 15 lbs per square foot, the Ohio Building Code does not require a structural masonry footing, provided the wood framing and sheathing are engineered to support the dead load. However, if you are installing heavy natural stone (like thick-cut granite or heavy fieldstone), a structural engineer must verify your foundation's capacity, and a concrete footing may be required.
How long should I wait to seal natural stone veneer after installation?
If you choose a breathable natural stone, wait a minimum of 28 to 60 days after installation before applying a silane-siloxane sealer. This allows the moisture from the scratch coat and setting mortar to fully evaporate. Sealing too early traps alkaline moisture behind the sealer, leading to efflorescence (white salt deposits) that is nearly impossible to remove without damaging the stone face.
Can stone veneer be installed over existing vinyl siding?
No. Installing stone veneer over vinyl, aluminum, or wood clapboard siding is a severe code violation and a structural hazard. The existing siding must be completely removed down to the structural sheathing to allow for proper WRB integration, lath attachment, and moisture drainage.
Written by
James ThorntonJames Thornton is a construction industry veteran with 25 years of hands-on experience in wood framing, lumber grading, and residential building codes. He started as a framing carpenter in rural Oregon, earned his ICC Residential Building Inspector certification, and eventually became a senior plan reviewer for the City of Portland Bureau of Development Services. James holds a B.S. in Wood Science & Technology from Oregon State University and is a certified lumber grader through the West Coast Lumber Inspection Bureau (WCLIB). He has inspected over 3,000 residential construction sites and authored the city's internal guide on advanced framing techniques (2x6 at 24" O.C.). James lives in Bend, OR, where he builds custom timber-frame cabins and competes in lumberjack sports.
More from James Thornton
View all
Insulation
Best Home Insulation Materials: Complete 2026 Guide
Compare top home insulation materials for 2026. Find R-values, installed costs per square foot, and best uses for fiberglass, spray foam, and mineral wool.
Aug 4, 2026

Sustainable Building
Certify Your Green Building Material for LEED and WELL
Step-by-step guide to certifying a green building material for LEED v5 and WELL v2. Master EPDs, HPDs, and VOC limits for 2026 project specifications.
Aug 4, 2026

Stone & Masonry
Veneer Stacked Stone Panels: Interior Design & Style Showcase
Discover how veneer stacked stone panels transform interiors. Explore modern design profiles, material pairings, and technical installation specs.
Aug 4, 2026