White Marble Tile Installation: Preventing Yellowing and Shadowing
Master white marble tile installation with expert protocols to prevent yellowing, shadowing, and efflorescence. Includes mortar selection and 2026 costs.
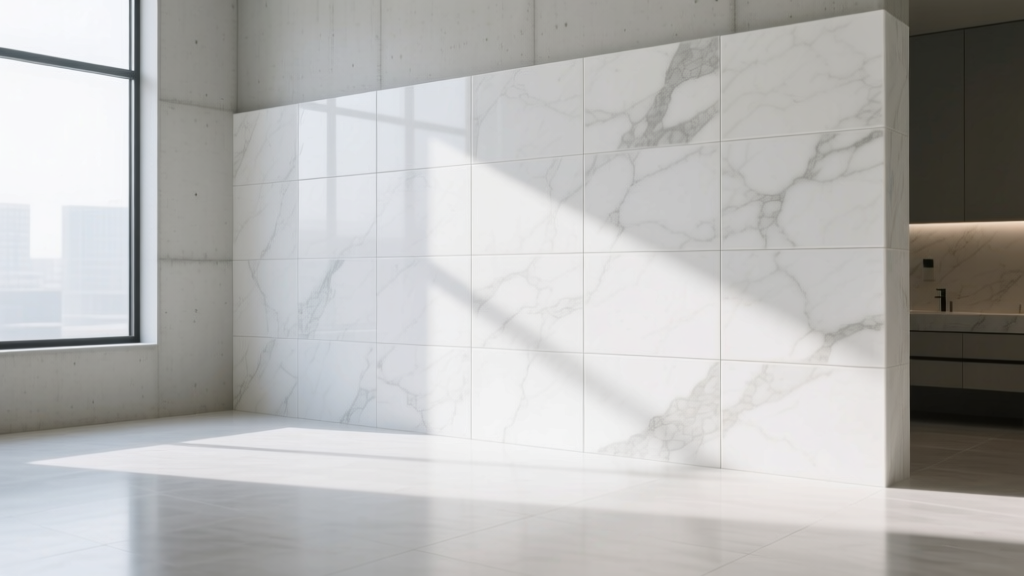
The Chemistry of White Marble Failure
White marble varieties such as Carrara, Calacatta, and Thassos are highly prized for their luminous translucency and elegant veining. However, this same crystalline structure makes them notoriously unforgiving during installation. The two most common catastrophic failures in white marble installations are yellowing (iron oxidation) and shadowing (trowel ridge telegraphing). Understanding the mineralogy of the stone is the first step in preventing these issues.
Many white marbles, particularly those quarried in the Carrara region of Italy, contain trace amounts of iron sulfide minerals (like pyrite). When these minerals are exposed to prolonged moisture from improper thinset curing, unsealed grout joints, or water-based sealers, they oxidize and form iron oxide. This manifests as permanent yellow or brown rust stains that bleed through the surface. Furthermore, because white marble is partially translucent, any dark substrate, gray mortar, or uneven trowel ridges beneath the stone will cast visible shadows, creating a mottled, unprofessional appearance.
Substrate Preparation and Deflection Limits
Natural stone requires a significantly more rigid substrate than ceramic or porcelain tile. While standard building codes often accept an L/360 deflection limit for floors, the Natural Stone Institute strongly recommends an L/720 deflection limit for all natural stone installations to prevent cracking under live loads.
Moisture Management and Waterproofing
Before any mortar is mixed, the substrate must be properly prepared and waterproofed. For wet areas, apply a liquid-applied waterproofing membrane (such as Laticrete Hydro Ban or Mapei AquaDefense). Crucially, you must allow the membrane to cure fully—typically 24 to 72 hours depending on ambient humidity—before setting the stone. Trapping residual moisture from the waterproofing layer behind an impermeable stone like polished marble will guarantee efflorescence and potential iron oxidation.
Mortar Selection: The Most Critical Decision
Never use standard gray thinset for white marble. You must specify a premium, bright-white, polymer-modified thinset mortar that meets ANSI A118.4 or ANSI A118.15 standards. The white pigment ensures no shadowing occurs, while the polymer additives provide the high bond strength required for dense natural stone and allow for slight flexibility.
| Mortar Type | ANSI Standard | Best Product Example | Use Case for White Marble |
|---|---|---|---|
| Standard Modified | A118.4 | Custom MegaLite | Dry area walls and residential floors (not recommended for wet areas). |
| Improved Modified | A118.15 | Laticrete 254 Platinum (White) | Showers, steam rooms, and large-format stone. High bond, low moisture emission. |
| Epoxy Mortar | A118.3 | SpectraLOCK PRO | Commercial wet areas where zero moisture transmission is required during cure. |
For high-end residential and commercial wet areas, Laticrete 254 Platinum in bright white is the industry benchmark. It offers superior non-sag properties for vertical wall installations and cures with minimal moisture retention, drastically reducing the risk of triggering iron oxidation in the marble.
Step-by-Step Installation Protocol
Executing a flawless white marble installation requires strict adherence to coverage and manipulation standards.
- Dry Layout and Blending: Unbox all marble and perform a dry layout. Natural stone varies wildly from batch to batch. Blend tiles from at least four different boxes to distribute veining and color variations evenly across the installation area.
- Trowel Selection: Use a 1/2-inch by 1/2-inch square-notch trowel for standard 12x12 tiles, and a 3/4-inch U-notch for large-format stone (any edge longer than 15 inches). The goal is to achieve a minimum of 95% mortar coverage in dry areas and 100% coverage in wet areas, as mandated by the Tile Council of North America (TCNA) Handbook.
- Mandatory Back-Buttering: This step is non-negotiable for white marble. Using the flat edge of your trowel, key a thin, uniform layer of bright white thinset directly into the back of the marble tile. This fills the natural pits and fissures on the stone's backside, ensuring 100% mechanical bond and eliminating hollow voids where water could pool and cause staining.
- Setting and Beating: Press the tile into the combed thinset and move it back and forth in one direction (perpendicular to the trowel ridges) to collapse the ridges. Use a white rubber mallet and a beating block to seat the tile fully. Never use a metal hammer, which can leave microscopic iron deposits on the marble surface that will rust later.
Grouting and Sealing Protocols
The grout and sealer you choose will dictate the long-term maintenance and appearance of the white marble.
Grout Selection
Avoid standard cementitious sanded grouts, as the coarse silica sand can scratch the polished surface of white marble during application. Instead, specify a high-performance, fine-aggregate grout like Mapei Ultracolor Plus FA (Fine Aggregate). This product is engineered with a low water-to-cement ratio, which minimizes efflorescence (the white, powdery salt deposits that plague natural stone) and cures rapidly to prevent moisture from migrating into the stone edges.
Sealer Chemistry
White marble must be sealed, but the type of sealer is critical. Never use an 'enhancing' sealer on white marble; enhancers are designed to darken stone and bring out color, which will turn white marble a muddy, unnatural gray. Instead, use a high-quality, solvent-based penetrating impregnator (such as Aqua Mix Sealer's Choice Gold or Miracle Sealants 511 Impregnator). Solvent-based sealers penetrate deeper into the calcite structure than water-based alternatives and do not introduce the moisture required to trigger iron oxidation. Apply two coats prior to grouting to prevent grout staining, and a final coat after the grout has fully cured (typically 72 hours).
2026 Cost Breakdown for Premium White Marble
Installing white marble correctly requires premium materials and specialized labor. Cutting corners on thinset or substrate prep to save money will inevitably result in thousands of dollars in tear-out and replacement costs. Below is the current 2026 pricing structure for a professional-grade installation.
| Project Component | Material / Service | Estimated Cost (Per Sq. Ft.) |
|---|---|---|
| Stone Material | Carrara 12x12 Polished Field Tile | $12.00 - $22.00 |
| Stone Material | Calacatta Gold Large Format | $45.00 - $95.00 |
| Preparation | Liquid Waterproofing Membrane & Primer | $1.50 - $2.50 |
| Setting Material | Premium White Modified Thinset (A118.15) | $0.80 - $1.20 |
| Grout & Sealer | Fine Aggregate Grout & Solvent Impregnator | $1.20 - $1.80 |
| Professional Labor | Certified Stone Installer (Includes back-buttering) | $18.00 - $32.00 |
| Total Installed | Standard Carrara Bathroom Floor/Walls | $34.50 - $60.50 |
By strictly adhering to these material specifications and installation protocols, contractors and homeowners can ensure that white marble installations remain pristine, bright, and structurally sound for decades, completely bypassing the common pitfalls of yellowing and shadowing.