Painting Vinyl Siding: The Ultimate Prep and Paint Playbook
Master the art of painting vinyl siding with our maintenance playbook. Learn heat-safe color selection, deep-cleaning prep, and exact project costs.
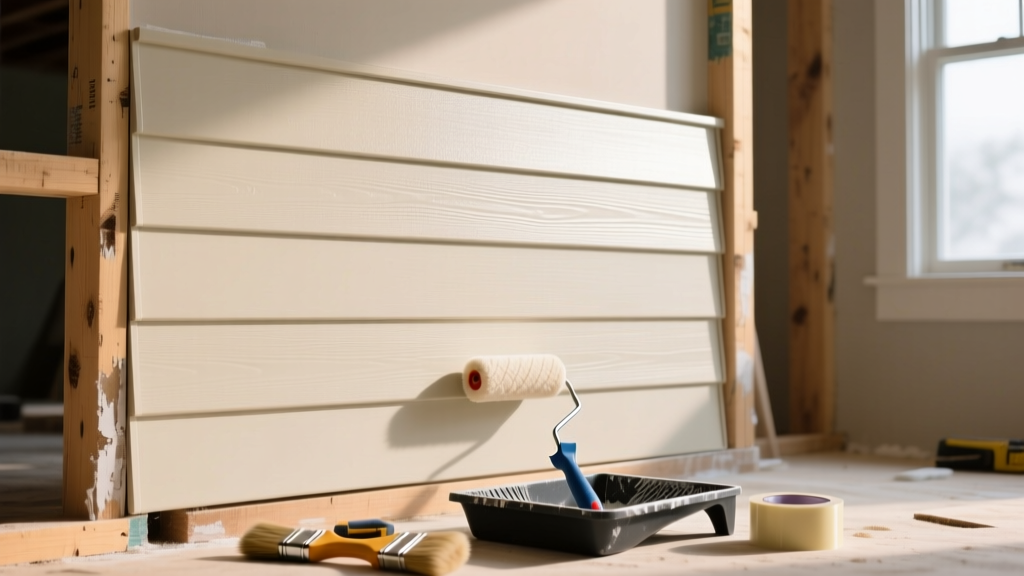
Painting vinyl siding is one of the most debated maintenance tasks in exterior home care. While vinyl is engineered to be a low-maintenance, color-through material, UV degradation, oxidation, and shifting neighborhood aesthetics often drive homeowners to reach for a brush or sprayer. However, treating vinyl like wood or fiber cement is a guaranteed path to warped panels, blistering paint, and voided manufacturer warranties.
This playbook provides a rigorous, step-by-step framework for cleaning, prepping, and painting vinyl siding. By understanding the thermal dynamics of polyvinyl chloride (PVC) and utilizing specialized acrylic formulations, you can safely extend the life of your siding by 10 to 15 years while achieving a factory-like finish.
The Science of Vinyl and Heat: Why Color Dictates Survival
Unlike wood, vinyl siding is thermoplastic. It begins to soften and lose its structural rigidity at approximately 165°F (74°C). When you paint vinyl a dark color, the surface absorbs significantly more solar radiation. On a 90°F summer day, dark brown or navy blue painted vinyl can easily exceed 170°F on the surface, causing the panels to warp, buckle, and permanently deform.
To mitigate this, the paint industry developed Vinyl-Safe® color technology. These specialized pigments reflect infrared (IR) light, even in dark hues, keeping the substrate temperature below the warping threshold. When selecting a color, you must understand the Light Reflectance Value (LRV). The LRV scale runs from 0 (absolute black) to 100 (pure white).
- Safe Zone (LRV 55+): Whites, creams, pastels, and light grays. Standard 100% acrylic exterior paints are generally safe here.
- Danger Zone (LRV below 55): Medium to dark tones. You must use a paint line specifically formulated with IR-reflective pigments, such as Sherwin-Williams VinylSafe® technology.
Phase 1: The Deep-Clean and Prep Protocol
Paint failure on vinyl is rarely due to the paint itself; it is almost always a prep failure. Vinyl oxidizes over time, creating a chalky surface (chalking) that prevents proper mechanical adhesion. Furthermore, microscopic mildew spores trapped under the paint film will multiply and cause blistering.
Step 1: Chemical Wash and Mildew Eradication
Do not rely on water alone. Use a dedicated exterior house wash like Jomax House Cleaner and Mildew Killer, or mix a solution of 3 parts water to 1 part sodium hypochlorite (household bleach) with a surfactant (a few drops of dish soap). Apply with a garden pump sprayer, working from the bottom up to prevent streaking. Let it dwell for 10 minutes, but do not let it dry on the surface.
Step 2: Low-Pressure Rinsing
If you use a pressure washer, the settings are critical. High pressure will force water behind the siding, leading to trapped moisture, mold growth, and interior drywall damage.
- Maximum PSI: 1,500
- Nozzle: 40-degree white tip (wide fan)
- Distance: Maintain at least 12 inches from the surface
- Angle: Spray downward or straight-on; never angle upward into the overlapping seams.
Step 3: Chalk Removal and Priming
After the siding dries completely (minimum 24-48 hours), perform the 'tape test'. Press a piece of masking tape to the siding and pull it off. If heavy chalky residue remains, you must prime. Use a high-adhesion, water-based acrylic primer like Zinsser Bulls Eye 1-2-3. Avoid oil-based primers on vinyl, as they can become brittle and crack when the PVC expands and contracts.
Phase 2: Primer and Paint Selection Matrix
Choosing the right product depends entirely on the current condition of your siding and your target color. The following matrix outlines the exact product specifications required for different scenarios.
| Siding Condition | Target Color Profile | Recommended Primer | Recommended Topcoat |
|---|---|---|---|
| Heavy Chalking / Pitted | Light (LRV > 55) | Zinsser Bulls Eye 1-2-3 (Water-Based) | Benjamin Moore Aura® Exterior Satin |
| Clean / Minor Fading | Light (LRV > 55) | None (Self-Priming) | Sherwin-Williams Duration® Exterior |
| Any Condition | Dark (LRV < 55) | Zinsser Bulls Eye 1-2-3 (Tinted) | Sherwin-Williams VinylSafe® SuperPaint® |
For comprehensive application guidelines and product compatibility, always refer to the manufacturer's exterior painting technical data sheets before purchasing materials.
Phase 3: Application Techniques and Weather Windows
Vinyl expands and contracts dramatically with temperature fluctuations. Painting outside the optimal weather window will result in a film that cracks when the siding contracts in the winter, or sags and drips when it expands in the summer.
The Golden Weather Window
- Ambient Temperature: Between 50°F and 85°F (10°C - 29°C).
- Surface Temperature: Verify with an infrared thermometer. Do not paint if the vinyl surface exceeds 90°F.
- Humidity: Below 70%. High humidity delays drying and traps moisture.
- Wind: Under 10 mph. High wind causes rapid drying (leading to lap marks) and overspray drift.
Spraying vs. Brushing and Rolling
For a factory-smooth finish that mimics original vinyl, airless spraying is the superior method. Use a 15-thousandths to 17-thousandths spray tip (e.g., a 515 or 517 tip) at 2,000 to 2,500 PSI. Always 'back-roll' immediately after spraying using a 3/8-inch microfiber roller to push the paint into the textured grain of the vinyl and ensure uniform adhesion.
If you must brush, use a high-quality nylon/polyester blend brush and strictly follow the overlapping seams to hide brush strokes. Never paint the interlocking bottom lip of the vinyl panel; this will glue the panels together and prevent necessary thermal expansion, guaranteeing warping.
Cost Breakdown: DIY vs. Professional Painting (2026 Estimates)
Understanding the financial commitment helps determine if painting is viable or if full siding replacement is the better investment. The costs below reflect national averages for a standard 2,000 sq. ft. single-story home exterior (approximately 1,500 sq. ft. of paintable wall space).
| Cost Category | DIY Approach | Professional Contractor |
|---|---|---|
| Materials (Paint, Primer, Cleaners) | $800 - $1,400 | Included |
| Equipment Rental (Airless Sprayer, Scaffolding) | $250 - $450 | Included |
| Labor | $0 (Your Time) | $2,500 - $4,500 |
| Total Estimated Cost | $1,050 - $1,850 | $3,500 - $6,000 |
| Cost per Sq. Ft. | $0.70 - $1.25 | $2.35 - $4.00 |
Note: Professional costs vary heavily by region, the height of the home, and the extent of prep work required for heavily oxidized siding.
Post-Paint Maintenance and Troubleshooting
Even with flawless application, environmental factors can cause issues. Use this diagnostic guide to address post-paint anomalies.
Symptom: Paint Blistering or Peeling
Cause: Moisture trapped behind the siding or inadequate mildew removal during prep. Vinyl is a vapor barrier; if interior moisture escapes through the wall cavity and hits the back of cold siding, it condenses. If the primer didn't seal the front face properly, the vapor pressure pushes the paint off. Fix: Scrape the blistered areas, treat with a mildewcide, spot-prime with Zinsser 1-2-3, and ensure your home's interior vapor barriers and bathroom exhaust fans are functioning correctly to reduce cavity moisture.
Symptom: Panel Warping or Buckling
Cause: Thermal overload. The paint color chosen had an LRV that was too low, or non-vinyl-safe paint was used, causing the PVC to overheat and lose its memory. Fix: Unfortunately, warped vinyl cannot be flattened. The affected panels must be unhooked using a siding zip tool and replaced with matching panels. You must then repaint the new panels with a high-LRV, vinyl-safe color.
Symptom: Chalking Returning After One Year
Cause: Use of a flat or matte sheen exterior paint, which inherently contains higher levels of pigment and less binder, leading to rapid UV degradation. Fix: Wash the surface lightly and apply a clear, UV-resistant exterior acrylic topcoat, or repaint using a Satin or Low-Lustre sheen, which contains more acrylic resins to resist chalking.
When to Replace Instead of Paint
Painting is a highly effective maintenance strategy, but it is not a cure for structural failure. You should abandon the painting playbook and budget for full siding replacement if you observe:
- Widespread Brittleness: If the siding cracks easily when pressed with a thumb, the plasticizers have completely leached out. Paint will not restore flexibility.
- Missing Interlocking Joints: If the bottom locks are broken on more than 10% of the panels, wind will easily tear the siding off the wall.
- Severe Fading with Warping: If the existing siding is already warped from sun exposure, painting it will only highlight the unevenness and fail to protect the compromised substrate.
By adhering strictly to thermal limits, utilizing IR-reflective pigments, and executing a meticulous deep-clean protocol, painting vinyl siding transitions from a risky gamble to a highly predictable, cost-effective maintenance strategy.