Evaluating James Hardie Shingle Siding: An Installation Guide
Learn how to evaluate James Hardie shingle siding for your next project. We cover installation labor, cutting protocols, costs, and failure modes.

The Installer's Verdict: Evaluating Labor and Performance
Evaluating fiber cement shingles requires looking past the manufacturer's brochure. For contractors, the true test of a siding material happens on the scaffold. James Hardie dominates the fiber cement market, but their shingle products—specifically HardieShingle and Artisan Shingle—present unique installation nuances compared to standard lap siding. When you evaluate the building materials company James Hardie on shingle siding, the primary differentiators are weight, cutting complexity, and fastener limitations.
Unlike natural cedar shakes, which can be rapidly trimmed with a utility knife and blind-nailed with minimal precision, fiber cement shingles demand strict adherence to clearance tolerances and specialized cutting equipment. However, the trade-off yields a Class 1(A) fire-rated, rot-proof exterior that eliminates the recurring maintenance cycle of wood. For high-end residential builds in 2026, the labor premium is easily justified by the lifecycle performance, provided the installation crew is trained on silica dust management and proper flashing integration.
Product Line Matrix: HardieShingle vs. Artisan Shingle
James Hardie segments its shingle offerings into two distinct tiers. Understanding the physical differences is critical for estimating labor hours and structural load. The standard HardieShingle line is designed for broad architectural applications, while the Artisan line targets luxury builds requiring deep shadow lines.
| Feature | HardieShingle (Straight & Staggered) | Artisan Shingle |
|---|---|---|
| Thickness | 3/16 inch | 5/8 inch (tapered) |
| Panel Dimensions | 16" long x 48" wide (covers 4.8 sq ft) | Individual shingles (various widths) |
| Weight per Sq Ft | ~2.3 lbs | ~4.5 lbs |
| Maximum Exposure | 5 inches | 7 inches |
| Nailing Method | Face nailing required | Blind nailing permitted on top courses |
| Labor Multiplier | 1.2x (compared to standard lap) | 1.8x (compared to standard lap) |
Critical Installation Protocols and Failure Modes
Fiber cement is unforgiving of poor workmanship. Water intrusion and fastener corrosion are the two most common failure modes encountered during remediation projects. To prevent callbacks, crews must adhere to the following protocols.
Silica Dust Management and Cutting Tools
Cutting fiber cement generates respirable crystalline silica. Under OSHA's Respirable Crystalline Silica standard, dry cutting without dust collection is a severe compliance violation and a major health hazard.
- Zero-Dust Shears: For straight cuts and trimming panels to fit around windows, use a specialized fiber cement shear like the Malco FCS1. This tool slices the 3/16" HardieShingle cleanly without generating airborne dust, keeping the site clean and OSHA-compliant.
- Scoring and Snapping: For quick rips, a carbide-tipped scoring tool followed by a snap break works well for standard shingles, though it leaves a slightly rough edge that must be sanded or hidden behind trim.
- Powered Saws with Extraction: When cutting Artisan Shingles (5/8" thick) or making complex angled cuts for gables, use a circular saw equipped with a polycrystalline diamond (PCD) blade (e.g., Diablo 4-tooth fiber cement blade) attached to a HEPA-rated dust extraction vacuum. Never use a continuous rim diamond blade, as it creates excessive heat and ultra-fine silica dust.
Fastener Specifications and Nail Placement
The chemical composition of fiber cement accelerates the corrosion of standard fasteners. Electroplated or standard galvanized nails will bleed rust streaks down the facade within three years.
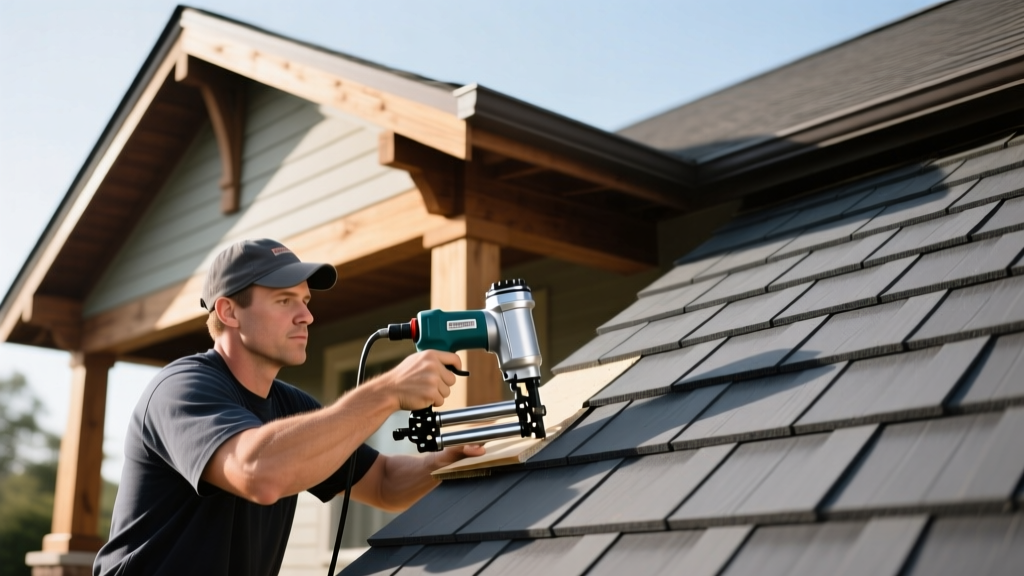
Required Fasteners: Use 1-1/4" to 1-1/2" ring-shank nails made from 304 stainless steel or hot-dipped galvanized steel. The nail head must have a minimum diameter of 5/16". Pneumatic coil nailers specifically calibrated for fiber cement (driving the nail flush, not countersunk) are mandatory for production efficiency.
Placement Rule: For standard HardieShingles, nails must be placed 1 inch from the top edge and 1 inch from the side edges. Because the exposure is 5 inches, the nails will be exposed to the weather. Countersinking breaks the cementitious matrix and creates a moisture pocket; the nail head must sit perfectly flush with the surface.
⚠️ Warning: Clearance and Flashing Gotchas
Fiber cement acts like a sponge when in direct contact with standing water or soil. Maintain a strict 6-inch clearance above grade and a 2-inch clearance above any roofline. At horizontal trim intersections, leave a 1/4" gap and seal with a color-matched, high-quality polyurethane caulk (e.g., OSI QuadMax). Never rely on caulk alone at the bottom edge; always install a Z-flashing drip edge behind the bottom course to direct hydrostatic pressure away from the weather-resistive barrier.
2026 Cost Breakdown: Material and Labor Evaluation
When evaluating James Hardie shingles for a project budget, contractors must account for the hidden costs of accessories and specialized labor. As of 2026, regional supply chain variations have stabilized, but labor rates for certified fiber cement installers remain at a premium.
- Material Cost (HardieShingle Panels): $3.80 – $5.20 per square foot.
- Material Cost (Artisan Shingles): $6.50 – $8.50 per square foot.
- Accessories & Flashing: Add $0.75 – $1.25 per square foot for H-flashing, Z-drip edges, and touch-up paint (ColorPlus technology requires specific factory-matched acrylics for field cuts).
- Labor Cost: $6.00 – $9.50 per square foot. Shingle installation takes approximately 30% longer than lap siding due to the intricate cutting required around window casings, corner boards, and roof pitches.
- Total Installed Cost: Expect to bid between $11.50 and $16.00 per square foot for a complete, warrantied HardieShingle installation.
Contractor's Decision Framework: When to Specify Hardie
Not every project warrants fiber cement shingles. Use this framework to guide homeowners toward the right material choice:
Specify James Hardie Shingles When:
- The build is located in a Wildland-Urban Interface (WUI) zone requiring Class A fire assemblies.
- The home is in a high-humidity coastal region where cedar shakes would succumb to mold, moss, and salt degradation within a decade.
- The homeowner demands the aesthetic of traditional shakes but refuses the 5-year maintenance cycle of staining and sealing natural wood.
Specify Alternative Materials When:
- Budget is the primary constraint: Vinyl shakes or polymer composite shakes (like Tando or DaVinci) offer faster installation and lower material costs, though they lack the acoustic density and premium feel of fiber cement.
- Historical preservation mandates authentic materials: Some strict historic districts prohibit fiber cement, requiring old-growth or sustainably harvested red cedar.
- Complex curved architecture: Fiber cement shingles cannot be bent or flexed around curved walls or turrets without extensive kerf-cutting and structural backing; polymer shakes are superior for radial applications.
Installation FAQs
Can I install HardieShingle directly over rigid foam insulation?
No. Fiber cement shingles require a solid, continuous nailing base. If you are adding exterior rigid foam, you must install vertical wood furring strips (1x3 or 1x4) aligned with the studs to provide structural backing for the fasteners. This also creates a highly effective rain-screen drainage plane.
How do I handle inside and outside corners?
James Hardie does not manufacture pre-formed shingle corner blocks. For outside corners, install HardieTrim boards (typically 4/4 or 5/4 thickness) and butt the shingles against the trim, leaving a 1/8" expansion gap sealed with polyurethane caulk. For inside corners, use a continuous piece of trim or interlock the shingles with a 1/8" gap.
Does the ColorPlus factory finish cover the cut edges?
No. Any field cut made on-site exposes the raw fiber cement core. You must prime and paint these edges using James Hardie's recommended touch-up paint or a high-quality 100% acrylic exterior latex paint that matches the ColorPlus finish. Failure to seal cut edges will lead to localized moisture absorption and eventual delamination.
Written by
Marcus ChenMarcus Chen is a licensed structural engineer (PE) and building materials analyst with over 12 years of experience across residential, commercial, and industrial construction. He holds a Master of Science in Civil Engineering from UC Berkeley and spent six years at Thornton Tomasetti before transitioning to independent consulting and technical writing. Marcus specializes in material selection for seismic-prone regions, concrete reinforcement strategies, and lifecycle cost analysis. His work has been cited by the American Concrete Institute (ACI) and the Structural Engineers Association of California (SEAOC). When he is not on a job site or at his desk, you will find him hiking the Sierra Nevada or restoring a 1920s craftsman bungalow in Oakland, CA.
More from Marcus Chen
View all
Construction Cost
How Much Did the Eiffel Tower Cost to Build?
How much did the Eiffel Tower cost to build in 1889? We adjust for inflation and compare its budget to modern skyscraper construction.
Aug 4, 2026

Fire Resistance
What Is a Fire Resistant Material? Testing & Certification Guide
Discover what is a fire resistant material through ASTM and UL testing. Learn how fire ratings, certifications, and assemblies work in construction.
Aug 4, 2026

Construction Cost
How Much Did the Burj Khalifa Cost to Build?
How much did the Burj Khalifa cost to build? We break down the $1.5B project and extract 5 money-saving strategies for your next build.
Jul 30, 2026