T1-111 Siding Maintenance: The Complete Cleaning & Repair Playbook
Master T1-111 siding maintenance with our expert cleaning playbook. Learn exact washing ratios, rot repair steps, and staining schedules to protect plywood.
The Reality of Textured Plywood Siding
Often searched as T1-111 siding due to a common typographical error, the industry-standard T1-11 (Texture 1-11) plywood siding remains a staple for rustic cabins, sheds, and mid-century residential exteriors. Manufactured with a rough-sawn face and routed vertical grooves, this engineered wood product offers structural rigidity and a distinct aesthetic. However, its layered veneer construction makes it uniquely vulnerable to moisture intrusion, delamination, and UV degradation if neglected.
This maintenance playbook provides exact, field-tested protocols for cleaning, triaging damage, and recoating T1-11 panels. Unlike generic wood care, maintaining textured plywood requires managing the capillary action within its grooves and protecting the exposed end-grains.
Phase 1: The Annual Soft-Wash Protocol
The most common mistake homeowners make with T1-11 siding is using high-pressure water. Pressures exceeding 1,200 PSI will blow past the face veneer, forcing water into the plywood core and causing immediate delamination. Instead, rely on chemical dwell time and low-pressure rinsing.
The Oxygen Bleach Solution
Never use chlorine bleach (sodium hypochlorite) on T1-11 siding. Chlorine degrades lignin—the natural glue holding wood fibers together—leaving the surface fuzzy and prone to rapid dirt accumulation. Instead, use an oxygen bleach solution (sodium percarbonate), which lifts organic stains without damaging the wood cellular structure. For heavy mildew, the EPA mold cleanup guidelines recommend targeted biocides, but for general annual washing, oxygen bleach is the safest choice for engineered wood.
- Mix the Solution: Combine 1 cup of powdered sodium percarbonate (oxygen bleach) with 1 gallon of warm water. For heavy algae, add 1/4 cup of mild liquid dish soap as a surfactant.
- Pre-Wet Vegetation: Saturate nearby shrubs and grass with plain water to protect them from the alkaline cleaning solution.
- Apply and Dwell: Using a garden pump sprayer, apply the mixture from the bottom up to prevent streaking. Allow it to dwell for 15 to 20 minutes. Do not let it dry on the surface; mist with water if necessary.
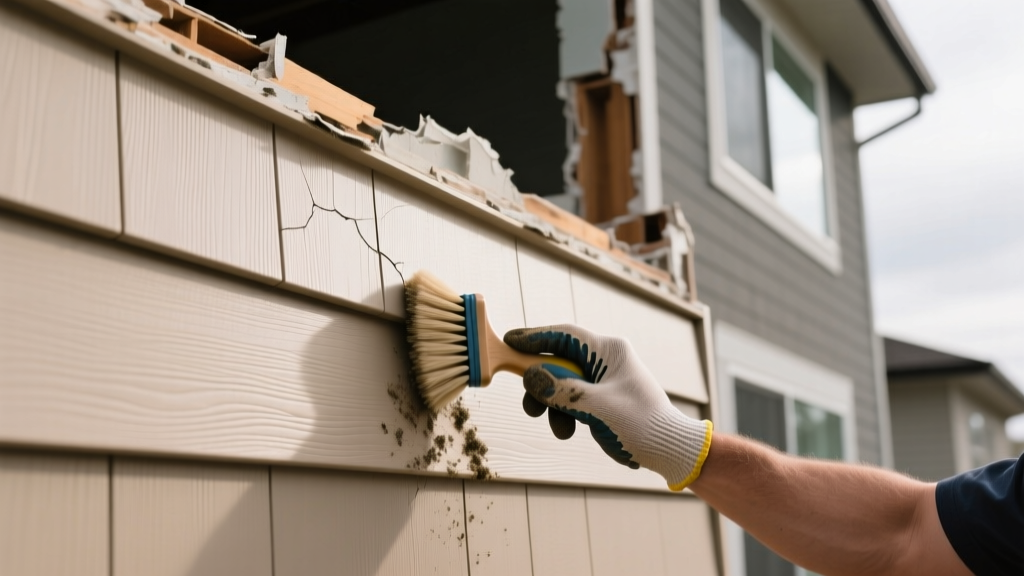
- Agitate the Grooves: Use a soft-bristle nylon brush (never wire) to scrub the 1/8-inch routed grooves where spores and pollen accumulate.
- Low-Pressure Rinse: Use a pressure washer equipped with a 40-degree fan tip, set to a maximum of 1,200 PSI. Keep the wand at least 14 inches from the surface and rinse from top to bottom.
Phase 2: Moisture & Rot Triage Matrix
Textured plywood does not rot uniformly. Damage typically concentrates at panel intersections, around windows, and at the bottom edges. Use this decision matrix to determine whether a panel requires spot repair or full replacement.
| Symptom | Underlying Cause | Required Action | Estimated 2026 Cost |
|---|---|---|---|
| Swollen, spongy bottom edge | Capillary wicking from soil or splashback | Cut out damaged section, install Z-flashing, or replace panel if swelling exceeds 2 inches. | $45 - $75 per linear foot |
| Vertical groove splitting | Veneer delamination from trapped moisture | Inject penetrating epoxy consolidant; clamp and seal with polyurethane caulk. | $15 - $25 per panel (DIY) |
| Black radiating streaks | Iron-tannin reaction from corroding nails | Replace electroplated nails with 304 stainless steel; treat wood with oxalic acid brightener. | $0.50 per fastener + $30 acid kit |
| Chalking and severe fading | UV degradation of previous solid stain coat | Full soft-wash, apply wood brightener, and recoat with 100% acrylic solid stain. | $1.50 - $2.50 per sq. ft. |
⚠️ Warning: The Bottom-Edge Wicking Trap
The single highest failure point for T1-11 siding is the bottom edge. Because plywood is made of cross-laminated veneers, the exposed bottom edge acts like a bundle of straws, wicking ground moisture upward into the panel core. According to installation standards published by APA - The Engineered Wood Association, T1-11 panels must maintain a minimum 6-inch clearance above grade. If your siding touches the soil or sits flush against a flat roof membrane, you must retrofit a custom aluminum Z-flashing drip edge or route a 1/2-inch gap and seal the end-grain with a heavy bead of polyurethane sealant (such as Sikaflex) to halt capillary action.
Phase 3: Fastener and Hardware Audits
T1-11 siding is typically installed with nails or screws driven directly into the studs. Over time, thermal expansion and contraction can back out fasteners, while moisture can corrode inferior metals.
- Identify Corrosion: If you see rust halos or black streaks bleeding from nail heads, the original installer likely used electroplated or galvanized nails that have lost their zinc coating.
- The Fix: Do not simply paint over rust. Drive a 2-inch 304 or 316 stainless steel ring-shank siding nail directly next to the corroded fastener. Pull the old nail, fill the void with an exterior-grade wood filler, and spot-prime with a rust-inhibiting primer before your final topcoat.
- Protruding Fasteners: If nail heads are backing out but not rusted, use a nail set to drive them 1/16-inch below the surface of the face veneer. Never strike the wood directly with a steel hammer, as this crushes the textured grain and creates a depression that will hold water.
Phase 4: The Recoating Playbook (Stain vs. Paint)
When it is time to refresh the exterior, the choice of coating dictates the future maintenance cycle. Paint forms a non-breathable plastic film on the surface of T1-11. When moisture inevitably enters the plywood core from the back or edges, it becomes trapped. As the sun heats the siding, the expanding vapor blisters and peels the paint, leading to a costly scraping nightmare.
Why 100% Acrylic Solid Stain is Mandatory
For T1-11, a 100% acrylic latex solid stain (such as Sherwin-Williams WoodScapes or Benjamin Moore Arborcoat Exterior Solid) is the only recommended finish. Solid stains contain high levels of pigment to block UV rays but lack the heavy binders that create a surface film. They penetrate the routed grooves and allow trapped moisture to vaporize outward.
- Preparation: After the Phase 1 wash, apply an oxalic acid-based wood brightener to neutralize the alkalinity of the oxygen bleach and open the wood pores.
- Moisture Testing: Before coating, tape a 2-foot square of clear plastic wrap tightly to the siding in direct sunlight. Wait 4 hours. If condensation forms under the plastic, the wood is too wet to stain (moisture content must be below 15%).
- Application: Apply the first coat using an airless sprayer, immediately back-rolling with a 3/4-inch nap roller to force the stain deep into the textured grooves and prevent lap marks.
- Target Thickness: Aim for a wet mil thickness of 4 to 5 mils, which dries to roughly 1.5 to 2 dry mils per coat. Two coats are required for previously uncoated or severely weathered T1-11.
Seasonal Maintenance Calendar
To maximize the lifespan of your textured plywood siding, integrate these tasks into your annual property maintenance schedule:
- Spring (Post-Thaw): Inspect the bottom 12 inches of all panels for winter splashback damage. Clear out any soil or mulch that has drifted against the siding to restore the 6-inch ground clearance.
- Summer (Dry Season): Execute the soft-wash protocol and apply solid stain. Summer provides the consistent 50°F+ temperatures and low humidity required for proper acrylic curing.
- Fall (Pre-Winter): Use a leaf blower or soft brush to clear pine needles and organic debris from the vertical grooves and the intersections where the siding meets rooflines. Trapped debris holds moisture and accelerates fungal growth.
- Winter (Monitoring): Observe roof eaves for ice dams. Melting ice that runs behind the top edge of the T1-11 panels will cause catastrophic top-edge delamination. Ensure kick-out flashing is functioning behind the siding's upper lip.
By adhering to this specific playbook, you respect the engineered nature of T1-11 plywood, preventing the structural failures that typically force premature and expensive siding replacements.