Vertical Siding Maintenance: A Pro Cleaning & Care Playbook
Master vertical siding maintenance with our expert cleaning playbook. Learn material-specific washing techniques, PSI limits, and batten repair tactics.
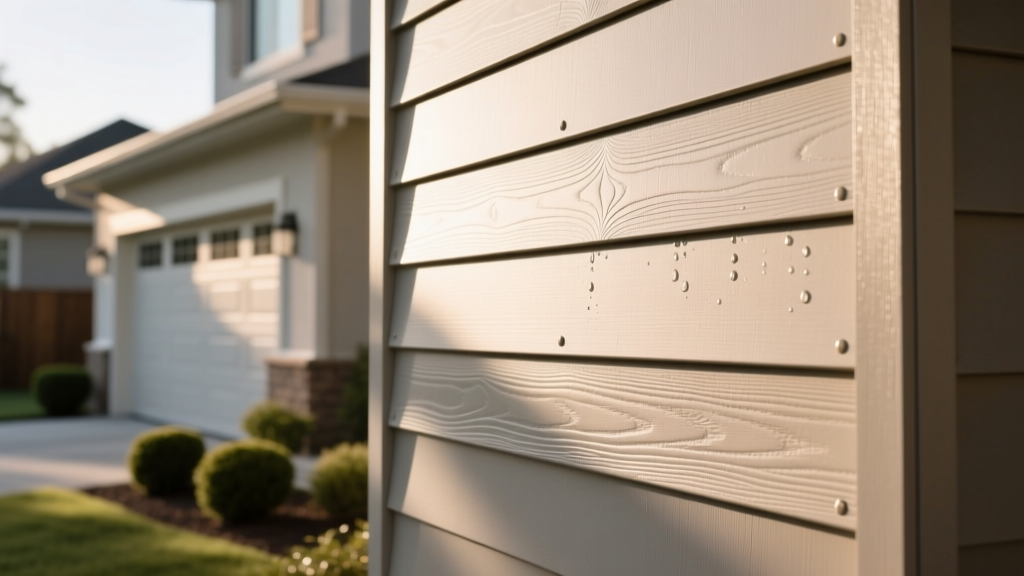
The Physics of Vertical Siding: Why Dirt Traps Form
Unlike horizontal lap siding, which sheds water and debris over overlapping layers, vertical siding—including board and batten, vertical T1-11, and vertical vinyl panels—creates continuous vertical channels. These recesses act as microscopic gutters. Over the course of a season, pollen, dust, and algae spores wash down and concentrate precisely in these grooves. Consequently, a standard circular scrubbing motion will simply push impacted grime from one channel into the next. Maintaining vertical siding requires a strict top-to-bottom, channel-following methodology to extract debris without cross-contaminating adjacent panels.
Never angle a pressure washer wand upward on vertical siding. Because vertical panels often rely on gravity and overlapping battens rather than deep horizontal interlocks, upward-directed water will easily bypass the weather-resistant barrier (WRB) and inject moisture directly into the wall cavity. Always maintain a 45-degree downward angle.
The 4-Phase Vertical Siding Cleaning Protocol
Effective cleaning requires chemical dwell time and mechanical agitation tailored to the specific cladding material. Follow this sequence to prevent streaking and water intrusion.
Phase 1: Site Prep and Pre-Wetting
- Plant Protection: Saturate all adjacent landscaping with plain water. This prevents the roots and leaves from absorbing the alkaline cleaning solutions used in Phase 2.
- Temperature Check: Never wash vertical vinyl or fiber cement in direct, hot sunlight. Surface temperatures exceeding 90°F will cause the cleaning solution to flash-dry, leaving permanent alkaline streaks. Wash the shady side of the structure first, or schedule for an overcast morning.
Phase 2: Chemical Application and Dwell
Apply your chosen cleaning solution using a pump sprayer or a downstream injector on your pressure washer. Start at the bottom and work your way up. This prevents the solution from streaking down dry panels, which can cause uneven bleaching on wood or fiber cement. Allow the solution to dwell for 5 to 10 minutes, but never let it dry on the surface.
Phase 3: Vertical Mechanical Agitation
For stubborn algae in the deep recesses of board and batten profiles, use a car-wash brush with flagged (split-end) bristles on an extension pole. Scrub strictly in vertical, up-and-down strokes. This aligns with the extrusion or wood grain, driving the loosened dirt down the channel rather than grinding it into the side walls of the groove.
Phase 4: The Top-Down Rinse
Rinse from the top down using a 40-degree fan tip. This ensures that the dirty water is pushed down and off the wall, rather than being driven into the seams of the panels below. Keep the wand at least 18 inches from the surface to prevent etching fiber cement or tearing the nailing hem on vinyl.
Chemical Matrix and Equipment Limits by Material
Selecting the wrong chemical can void manufacturer warranties or strip factory-applied UV coatings. Reference this matrix before mixing your solutions.
| Material Type | Recommended Cleaner | Dilution / Application | Max PSI Limit |
|---|---|---|---|
| Vertical Vinyl | Jomax House Cleaner or 30 Seconds Outdoor | 1:5 ratio with water; 5-min dwell | 1,500 PSI |
| Fiber Cement (Board & Batten) | Mild dish soap (Dawn) or TSP substitute | 1/2 cup per gallon; 10-min dwell | 1,200 PSI |
| Cedar / Wood Vertical | Oxygen bleach (Sodium Percarbonate) | 1 scoop per gallon; 15-min dwell | 800 PSI (Garden hose preferred) |
For severe mildew outbreaks, particularly on the north-facing elevations where UV light cannot naturally kill fungal growth, consult the EPA guidelines for mold and mildew cleanup to ensure your biocides are used safely without harming local watersheds.
Annual Inspection: Spotting Hidden Vertical Failures
Cleaning is only half the maintenance equation. Vertical siding systems have unique failure points that require an annual physical inspection. Pay close attention to these specific transition zones:
- The Bottom Batten Skirt: On wood board and batten, the horizontal trim piece at the bottom of the vertical runs (the skirt) is highly susceptible to rot. Water runs down the vertical boards and pools against this horizontal cap. If the skirt is soft to the touch, pry it off and replace it with a PVC trim board (like Azek) to eliminate future rot.
- Clearance to Grade and Rooflines: Vertical siding must maintain a minimum 2-inch clearance above any adjacent roofline, deck, or soil grade. If soil has built up against the bottom edge of vertical T1-11 or fiber cement, the material will wick moisture via capillary action, leading to bottom-edge delamination.
- Horizontal Flashing Z-Bends: Where vertical siding meets a horizontal trim board (such as above a window or at a floor-line transition), Z-flashing should be visible. If caulk has been smeared over this joint instead of using proper metal flashing, water will eventually bypass the sealant.
Pro Tip on Sealants: If you must recaulk vertical siding joints, never use cheap acrylic latex caulk. It will shrink and crack within one freeze-thaw cycle. Use a high-grade polyurethane sealant like OSI Quad Max, which offers color-matching for major fiber cement brands and retains elasticity down to -30°F.
Managing Moisture Behind the Cladding
Because vertical siding channels water rapidly downward, the volume of water hitting the bottom flashings during a heavy storm is significantly higher than with horizontal lap siding. Ensuring your weather-resistant barrier (WRB) and weep screeds are functioning is vital. The Department of Energy's moisture control guidelines emphasize that proper drainage planes are the primary defense against structural rot, regardless of the exterior cladding material. If you notice persistent algae growth at the very bottom edge of your vertical siding, it is often a symptom of a clogged weep screed trapping water behind the panels.
Cost Breakdown: DIY vs. Professional Maintenance
Budgeting for annual or bi-annual maintenance helps preserve the cladding's lifespan. Here is what you can expect to spend in 2026:
- DIY Chemical Cleaning: $40 to $85 per 2,000 sq. ft. (Covers pump sprayer, oxygen bleach or Jomax concentrate, and a pole-mounted scrub brush).
- DIY Equipment Rental: $75 to $120 per day for a commercial-grade gas pressure washer (3,000 PSI, though you will use a low-pressure tip). Add $30 for a downstream chemical injector.
- Professional Soft Wash Service: $0.20 to $0.40 per square foot. For a standard 2,500 sq. ft. two-story home, expect quotes between $500 and $1,000. Professionals will use specialized soft-wash rigs that deliver high volume at low pressure (under 300 PSI), which is vastly safer for vertical vinyl seams than consumer pressure washers.
Frequently Asked Questions
Can I use a bleach solution on vertical vinyl siding?
Yes, but it must be heavily diluted. A maximum ratio of 1 part household bleach to 4 parts water is safe for vinyl. However, bleach does not kill the root structure of algae on porous surfaces; it only bleaches the surface color. For long-term prevention, an oxygen bleach or quaternary ammonium-based cleaner is superior.
Why is my vertical fiber cement siding cracking at the nail lines?
This is typically caused by improper nailing during installation. If the nails were driven too tight, or driven into the blind nailing zone without leaving a 1/32-inch gap for expansion, the panels will crack as they expand and contract thermally. These cracks cannot be repaired with caulk; the affected boards must be unzipped and replaced.
How often should I reseal the bottom edges of my board and batten?
You should inspect the bottom edge sealant annually, but expect to reapply polyurethane sealant every 5 to 7 years. If your home experiences heavy wind-driven rain, the bottom edges take the brunt of the water load and will degrade faster than vertical field joints.