Drywall How to Mud: Joint Compound Taxonomy and Selection Guide
Master drywall how to mud techniques by selecting the right joint compound. Compare setting vs. drying mud taxonomy for taping, filling, and finishing.
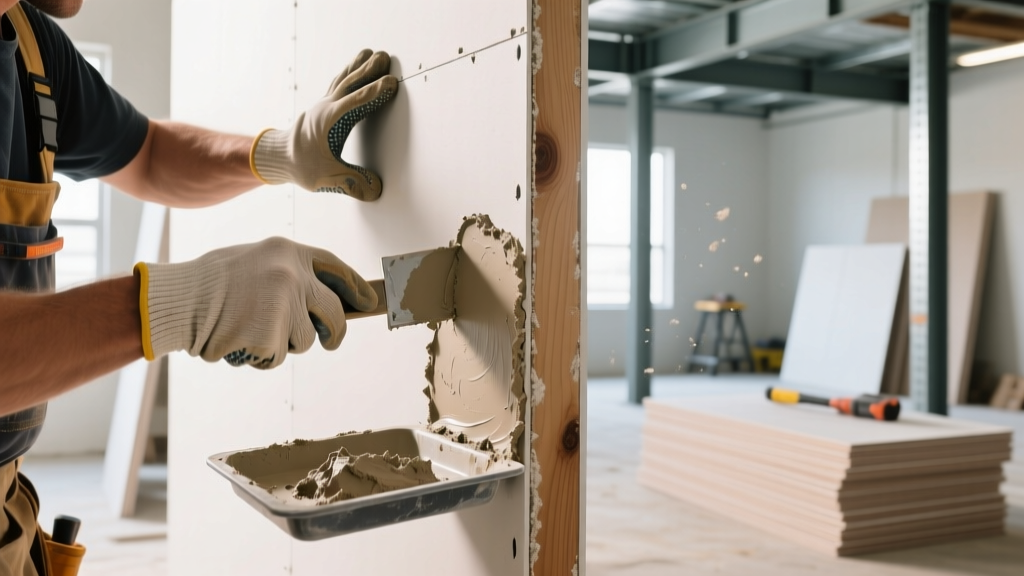
When searching for instructions on drywall how to mud, most tutorials focus exclusively on knife angles, wrist flicks, and sanding grits. However, professional-level finishing relies on a foundational understanding of joint compound taxonomy. The physical and chemical properties of the mud you select dictate not only the application technique but the long-term structural integrity of the wall. Applying a drying-type compound over a high-stress butt joint, or using a setting-type compound for a final skim coat, will result in predictable, costly failures. This guide breaks down the material science of joint compounds to ensure your selection matches the specific demands of each finishing stage.
The Chemistry of Curing: Drying vs. Setting Compounds
Joint compounds fall into two distinct chemical categories, each governed by different curing mechanisms as outlined in Gypsum Association technical standards. Understanding this dichotomy is the first step in mastering material selection.
Drying-Type Compounds (Pre-Mixed)
Pre-mixed compounds, such as USG Sheetrock Brand UltraLight All-Purpose, cure through water evaporation. As the water leaves the mixture and absorbs into the gypsum board paper face or ambient air, the remaining binders (limestone, perlite, vinyl polymers) pull together. Because water physically leaves the product, drying-type muds experience significant volumetric shrinkage—often up to 25-30% in deep voids. They remain re-soluble, meaning a subsequent wet coat can reactivate a dried underlying layer.
Setting-Type Compounds (Powdered / Hot Mud)
Setting-type compounds, like USG Durabond or Easy Sand, cure via a chemical crystallization reaction. When water is added to the calcium sulfate hemihydrate powder, it rehydrates into interlocking gypsum crystals. This process generates a slight exothermic heat and results in near-zero volumetric shrinkage. Once set, the material is chemically stable and will not reactivate when wet mud is applied over it.
Stage-by-Stage Material Selection Matrix
To optimize for both structural integrity and labor efficiency, finishers must transition between compound types as the wall builds up. The following matrix aligns the application stage with the optimal material taxonomy.
| Application Stage | Recommended Material Class | Product Example | Shrinkage Factor | Sanding Profile |
|---|---|---|---|---|
| 1st Coat (Taping) | Setting-Type (45 or 90 min) | USG Durabond 45 | < 1% | Extremely Hard (Do not sand) |
| 2nd Coat (Filling) | Setting-Type or Heavyweight Drying | Easy Sand 90 / All-Purpose | Low to Medium | Moderate |
| 3rd Coat (Topping) | Lightweight Drying-Type | Sheetrock UltraLight Topping | High (Thin layers only) | Very Easy / Fine Dust |
| Skim Coating | Lightweight Drying-Type | ProForm ProMix Plus 3 | High (Requires cross-hatching) | Extremely Easy |
Application Techniques Dictated by Material Type
The question of drywall how to mud is fundamentally altered by the material in your pan. The physical behavior of setting compounds requires a completely different workflow than pre-mixed drying compounds.
Managing Setting-Type (Hot) Mud
Setting compounds demand strict water-to-powder ratios and aggressive time management. For standard embedding compounds, the ideal mix ratio is approximately 15 to 17 fluid ounces of clean, cool water per pound of powder. Always add the powder to the water, never the reverse, to prevent dry clumps from forming at the bottom of the mud pan.
- Temperature Dependencies: The chemical reaction accelerates in hot water and slows in cold water. If working in a 90°F+ environment, use chilled water (around 50°F) to extend your pot life. Conversely, use warm water in freezing conditions to force the set.
- Tool Hygiene: Even microscopic amounts of dried, set mud left on a taping knife or in a mixing bucket will act as a catalyst, drastically accelerating the set time of your fresh batch. Wash tools with a wire brush immediately after use.
Thinning and Moisture Control for Drying Mud
Pre-mixed compounds are manufactured to a specific viscosity for immediate use, but environmental factors often require adjustment. According to USG technical application guidelines, over-thinning destroys the polymer binder network.
Pro Tip: When thinning a 5-gallon bucket of lightweight all-purpose mud for taping, add no more than 16 ounces of water. Add the water in 4-ounce increments, mixing with a low-RPM paddle mixer (under 300 RPM) to avoid whipping air bubbles into the compound, which will cause pitting during application.
Specialty Gypsum Boards and Mud Compatibility
Material selection becomes highly critical when transitioning from standard white board to specialty gypsum panels. The substrate's absorption rate and environmental exposure dictate the mud taxonomy.
Moisture-Resistant Boards (Green/Purple)
Moisture-resistant boards feature treated, low-absorption paper faces. If you apply a standard drying-type pre-mixed mud to the first coat, the water cannot easily wick into the paper. The mud will remain wet for hours, increasing the risk of joint sagging and mold growth behind the tape. Solution: Always use a setting-type compound for the taping and first-filling coats on moisture-resistant boards. The chemical cure is entirely independent of the substrate's absorption rate.
Glass-Mat Gypsum Panels (e.g., DensGlass)
Glass-mat panels used in exterior soffits or high-impact commercial zones have virtually zero surface porosity. Standard paper tape and drying mud will delaminate. You must use fiberglass mesh tape embedded in a high-strength, setting-type embedding compound (like Durabond 45) to achieve a mechanical and chemical bond that withstands thermal expansion and moisture exposure.
Yield and Cost Analysis: Powder vs. Pre-Mixed
While pre-mixed mud offers convenience, analyzing the cost per square foot reveals the economic advantage of powdered compounds for the heavy-build stages of commercial and large-scale residential projects.
Material Yield & Cost Breakdown (2026 Estimates)
- Pre-Mixed UltraLight All-Purpose (4.5 Gallon Bucket): ~$22.00 | Yields 4.5 gallons | Cost per gallon: $4.88
- Powdered Setting Compound (25 lb Bag): ~$18.50 | Yields ~3.8 gallons when mixed | Cost per gallon: $4.86
- Logistical Advantage: A single 25 lb bag of powder weighs less than a 4.5-gallon bucket of pre-mixed mud, yet produces nearly the same volume. For high-rise construction or sites with limited elevator access, powdered mud reduces material transport labor by up to 40%.
Failure Mode Troubleshooting: When Taxonomy is Ignored
Most drywall finishing failures are not the result of poor knife technique, but rather the misapplication of the joint compound taxonomy. Use this diagnostic framework to identify material-based failures.
- Symptom: Deep cracking down the center of butt joints.
- Cause: Using a drying-type compound to fill the deep, untapered void of a butt joint. As the water evaporates, the massive volumetric shrinkage pulls the compound apart.
- Fix: Pre-fill butt joints with a setting-type compound (Easy Sand 90) which exhibits zero shrinkage, then tape over it with a drying-type all-purpose mud.
- Symptom: Pitting (tiny craters) across the final skim coat.
- Cause: Over-mixing pre-mixed lightweight mud at high RPMs, folding microscopic air bubbles into the polymer matrix. When the knife compresses the mud against the wall, the bubbles pop, leaving craters.
- Fix: Mix topping muds at low speeds. If pitting occurs, apply a micro-thin second skim coat, pressing firmly with a 12-inch trowel to force mud into the craters.
- Symptom: Tape blistering and peeling on previously painted walls.
- Cause: Applying drying-type mud over semi-gloss or gloss paint. The water in the mud cannot penetrate the sealed surface, causing the paper tape to float and blister as it sits in a puddle of trapped moisture.
- Fix: Mechanically scuff the painted surface with 80-grit sandpaper, apply a bonding primer, and use a setting-type embedding compound to secure the tape, bypassing the need for substrate absorption.
Mastering the application of joint compound requires treating the material as a specialized chemical building block rather than a generic paste. By aligning the specific curing properties of setting and drying compounds with the structural demands of each taping stage, you eliminate shrinkage, prevent delamination, and drastically reduce the labor hours required for final sanding. For comprehensive industry standards on finishing tolerances and material testing, refer to the Northwest Wall and Ceiling Bureau (NWCB) technical guidelines and local building codes governing ASTM C474 compliance.