Flexible Gypsum Board Selection Guide for Curved Walls
Select the right flexible gypsum board for curved walls. Compare 1/4-inch drywall specs, bending radii, framing requirements, and fire-rated workarounds.

The Mechanics of 1/4-Inch Flex Board
Standard 1/2-inch drywall is rigid and will snap if forced into a radius tighter than 10 feet. Flexible gypsum board solves this by utilizing a specialized 1/4-inch core formulation and reinforced face paper. Unlike standard 1/4-inch drywall—which is primarily used for double-layering over existing surfaces or creating basic arches—true flexible gypsum board is engineered with a higher-density, flexible gypsum core that resists snapping under tension. This allows the panels to conform to radii as tight as 3 feet when wet, and 5 feet when installed dry.
However, selecting the right panel requires understanding the physical limitations of the material. Because the board is only 1/4-inch thick, it lacks the structural rigidity to span wide framing gaps and does not inherently provide fire or moisture resistance. Architects and contractors must plan for secondary support systems and specialized finishing techniques to ensure the curved wall meets both structural and aesthetic standards.
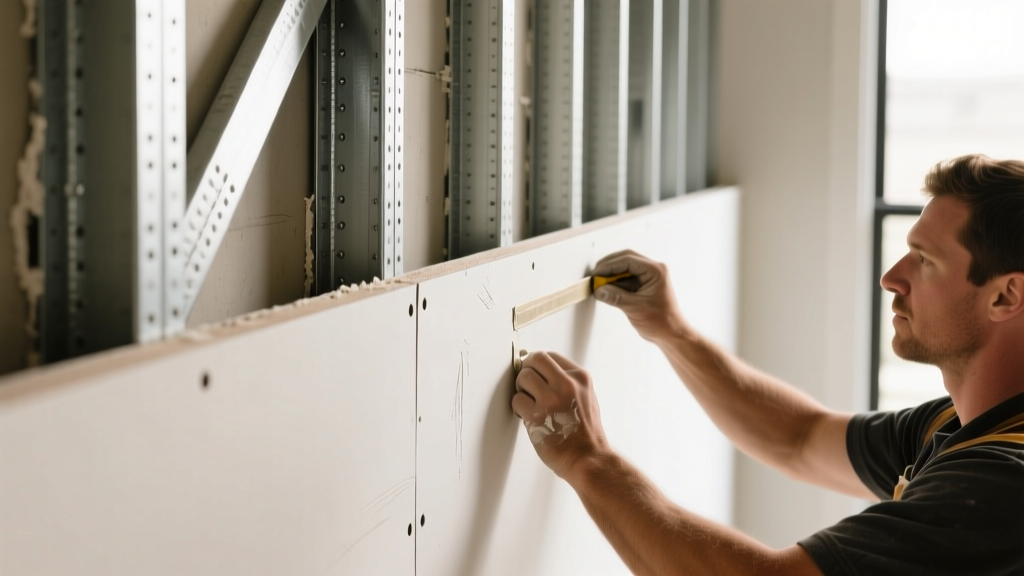
Product Specifications & 2026 Pricing Matrix
The market for flexible drywall is dominated by a few major manufacturers. As of early 2026, supply chain stabilization has brought panel pricing back to predictable ranges, though regional freight surcharges can still impact final delivered costs. Below is a comparison of the leading flexible gypsum board products available on the market.
| Brand / Product Line | Thickness | Edge Profile | Min. Dry Radius | Min. Wet Radius | Est. Price (4x8 Sheet) |
|---|---|---|---|---|---|
| USG Sheetrock Brand Flex | 1/4" | Tapered | 5 ft. | 3 ft. | $17.00 - $21.00 |
| CertainTeed ToughRock Flex | 1/4" | Tapered | 5 ft. | 3 ft. | $16.00 - $20.00 |
| GP Gypsum (Standard 1/4") | 1/4" | Tapered | 10 ft. | 5 ft. | $14.00 - $16.00 |
Bending Thresholds: Dry vs. Wet Application
The installation method you choose dictates the minimum radius you can achieve. According to guidelines published by the Gypsum Association, the orientation of the panel and the moisture content are the primary variables in bending success.
Dry Bending (Radii 5 ft. to 10 ft.)
For gentle curves, panels can be bent dry. The panels must be installed with the long dimension (the 8-foot edge) running perpendicular to the framing. This means the board bends along its 4-foot width. Install the first sheet horizontally, forcing it against the curved framing, and secure it with closely spaced fasteners. Dry bending is faster and eliminates the risk of mold growth or paper delamination, but it exerts significant outward pressure on the framing.
Wet Bending (Radii 3 ft. to 5 ft.)
For tighter curves, the back paper of the gypsum board must be hydrated to increase plasticity.
- The Technique: Use a pump-action garden sprayer filled with clean, room-temperature water. Lightly mist the back paper of the panel. Do not flood the board; standing water will dissolve the gypsum core and ruin the panel.
- Dwell Time: Allow the water to absorb for 15 to 20 minutes. The paper should feel damp and pliable, not soggy.
- Execution: Carefully roll the panel onto the curved framing, starting from the center and working outward to push air pockets and excess moisture toward the edges.
- Drying: Ensure adequate job-site ventilation. The wall must dry completely (usually 24-48 hours) before taping or applying joint compound to prevent trapped moisture from causing mold behind the finish.
Framing Requirements for Tight Radii
Flexible gypsum board is only as stable as the framing behind it. Standard 16-inch on-center (OC) stud spacing is entirely inadequate for curved walls, as the 1/4-inch drywall will bow between the studs, creating a faceted, polygonal appearance rather than a smooth curve.
Steel Stud Systems
For commercial applications, use slotted web track or specialized radius track. The track is pre-cut to allow bending, and the studs must be placed at a maximum of 8 inches OC for radii under 10 feet, and 4 inches OC for radii approaching the 3-foot minimum. The studs must be secured to the track with screws, not crimping, to allow for slight adjustments during the drywall installation.
Wood Framing Systems
Wood studs must be kerfed to bend to the floor and ceiling plates. Make a series of relief cuts (kerfs) into the back of a 2x4 or 2x6 plate, cutting roughly 2/3 of the way through the wood every 1 to 2 inches depending on the tightness of the radius. Once bent into position, secure the kerfed plate to the subfloor, then glue and block the kerfs to restore structural rigidity before standing the vertical studs.
The Fire-Rating Dilemma (And Pro Workarounds)
The most significant limitation of flexible gypsum board is its inability to achieve a standalone fire rating. True 1-hour or 2-hour fire-rated assemblies require 5/8-inch Type X gypsum board, which is far too thick and rigid to bend to tight radii. If your project specifications call for a fire-rated curved corridor or elevator shaft wall, you cannot simply apply 1/4-inch flex board.
According to CertainTeed Drywall Systems and standard UL designs, contractors must use one of the following workarounds to maintain the fire rating on a curved assembly:
- The Score-and-Snap Method (5/8" Type X): Instead of using flex board, contractors take standard 5/8-inch Type X drywall and score the back paper every 2 to 3 inches. The board is snapped along the score lines but held together by the face paper. This creates a "hinged" board that can conform to radii as tight as 3 feet. While labor-intensive, this is the most code-compliant method for single-layer fire-rated curves.
- Double-Layer 1/4" Assemblies: Some UL designs permit two layers of 1/4-inch gypsum board over a specific metal stud configuration to achieve a 1-hour rating. However, this requires verifying the exact UL design number, as not all 1/4-inch boards possess the necessary core additives to qualify.
- Flexible Metal Lath and Plaster: For extremely tight, fire-rated curves where drywall fails entirely, transitioning to expanded metal lath and Portland cement plaster (stucco) or gypsum plaster is the traditional, code-approved fallback.
Fastener Schedules & Curved Finishing
Attaching and finishing flexible gypsum board requires strict adherence to modified fastener schedules and specialized taping materials.
Fastener Specifications
Use 1-1/4-inch Type S (for steel) or Type W (for wood) drywall screws. Do not use nails, as the hammering impact will shatter the 1/4-inch core.
- Edge Spacing: Maximum 7 inches on center.
- Field Spacing: Maximum 12 inches on center.
- Dimpling: Drive screws just deep enough to dimple the face paper without breaking it. If the paper tears, the screw loses all holding power in the thin core, and a second screw must be placed 2 inches away.
Taping and Corner Beads
Standard fiberglass mesh tape is generally discouraged for curved inside corners, as it lacks the memory to hold a tight radius and can bridge the gap, leading to cracking. Use high-quality paper tape, which can be lightly dampened to conform to inside curves. For outside bullnose corners, never use nail-on metal beads. Instead, select a flexible vinyl bullnose bead and secure it using a specialized drywall bead spray adhesive, pressing it firmly into the curve and holding it until the adhesive sets.
Written by
David NakamuraDavid Nakamura is a licensed architect (AIA) and construction technology writer focused on sustainable building methods, mass timber engineering, and high-performance building envelopes. He holds a Master of Architecture from the University of Washington and is a certified Passive House Consultant (CPHC). David spent eight years at the Seattle firm Mithun, where he led the design of three LEED Platinum projects, before founding his own practice specializing in net-zero residential design. He serves on the editorial advisory board of GreenBuilder Magazine and has authored peer-reviewed papers on cross-laminated timber (CLT) connections for the Journal of Structural Engineering. In his spare time, David teaches woodworking at Pratt Fine Arts Center and kayaks the Puget Sound.
More from David Nakamura
View all
Construction Cost
Labor Cost to Build a Deck Per Sq Ft: 2026 Installation Guide
Discover the exact labor cost to build a deck per sq ft in 2026. This installation guide breaks down contractor rates, complexity factors, and hidden fees.
Aug 4, 2026

Construction Cost
How Much Does It Cost to Build a 3 Bedroom House? Financing Guide
Learn exactly how much it costs to build a 3 bedroom house and explore 2026 financing options, construction loan types, and budget frameworks for your build.
Aug 4, 2026

Construction Cost
Cost to Build a Tennis Court: 2026 Guide
How much does it cost to build a tennis court in 2026? Breakdowns for asphalt, concrete, and synthetic surfaces plus fencing and lighting.
Jul 30, 2026