Level 5 Drywall Specs: Performance Ratings for Critical Lighting
Master Level 5 drywall specifications, skim coat performance ratings, and ASTM C840 standards to eliminate joint banding under critical lighting.
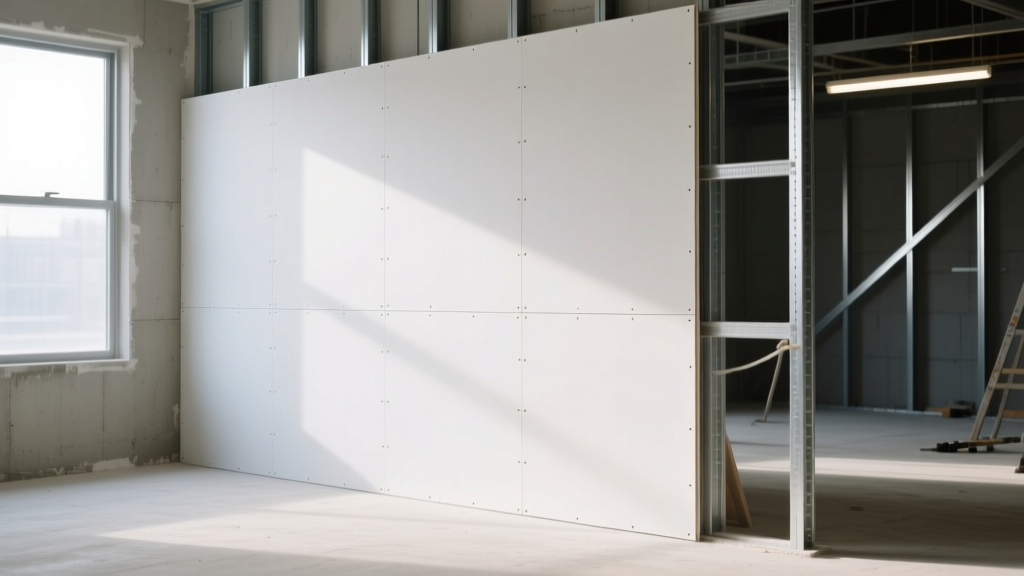
The Engineering Behind Level 5 Drywall Finishes
Specifying a Level 5 drywall finish is not merely an aesthetic upgrade; it is a structural surface treatment designed to solve the optical physics of light reflection. According to the Gypsum Association's GA-214 standard, a Level 5 finish requires all joints, angles, and fastener heads to be treated to a Level 4 standard, followed by the application of a thin, continuous skim coat of joint compound over the entire surface.
The primary performance objective of this skim coat is porosity and texture equalization. The paper face of standard gypsum board has a distinctly different surface profile and absorption rate than the calcium carbonate and limestone dust found in joint compounds. When subjected to critical or grazing light (such as sunlight from adjacent windows or wall-washing LED fixtures), these material differences cause "joint banding" or "photographing," where the taped seams become visibly distinct from the field of the board. The Level 5 skim coat creates a monolithic, uniform membrane that eliminates these differential absorption rates, ensuring a flawless topcoat.
Level 4 vs. Level 5: Performance Specification Matrix
Understanding the precise demarcation between Level 4 and Level 5 is critical for architects and contractors to avoid change orders and failed inspections. The table below outlines the exact specification thresholds.
| Specification Metric | Level 4 Finish | Level 5 Finish |
|---|---|---|
| Joint & Fastener Treatment | 3 coats (tape, fill, finish) | 3 coats (tape, fill, finish) |
| Full Surface Skim Coat | None | Mandatory (1/32" to 1/16" thickness) |
| Surface Porosity | Mixed (Paper vs. Compound) | Uniform (100% Compound) |
| Critical Lighting Tolerance | Fails under grazing/raking light | Passes severe raking light conditions |
| Maximum Paint Sheen | Flat to Matte | Eggshell, Satin, Semi-Gloss, or High-Gloss |
| ASTM C840 Compliance | Section 10.5.4 | Section 10.5.5 |
Material Specifications: Selecting the Right Skim Coat Compound
Executing a Level 5 finish requires specific material selections. Using standard all-purpose joint compound for a full-wall skim coat will result in excessive shrinkage, deep cracking, and unmanageable sanding requirements.
Drying-Type vs. Setting-Type Compounds
For full-surface skim coating, drying-type topping compounds are the industry standard. Products like USG Sheetrock Brand UltraLight Topping Joint Compound are engineered with high limestone content and low binder ratios, which minimizes shrinkage and provides an exceptionally soft, easy-to-sand surface. A standard 3.5-gallon bucket of UltraLight Topping weighs approximately 50 lbs, significantly reducing installer fatigue compared to older 70-lb all-purpose formulations.
- Application Tooling: Use an 18-inch or 24-inch skimming blade attached to a flexible blade holder. This ensures the compound is pulled taut across the board, maintaining the required 1/32-inch thickness without leaving heavy ridges.
- Dilution Rates: Topping compound often requires slight thinning for skim coating. Add no more than 16 ounces of clean water per 3.5-gallon bucket. Over-thinning compromises the binder integrity and leads to dusting upon sanding.
- Sanding Grit: Final sanding of the skim coat must be performed with 150-grit to 220-grit abrasive screens or sanding sponges. Coarser grits (e.g., 100-grit) will score the soft topping compound, leaving permanent scratches that will telegraph through high-gloss paints.
Do not accept "high-build drywall primer" or "Level 5 primer surfacer" as a substitute for a physical joint compound skim coat. While products like Sherwin-Williams PrepRite Drywall Conditioner or USG First Coat can fill micro-pitting and equalize porosity slightly, they lack the physical mass to bridge the texture differential between the paper face and the taped joints. According to the Association of the Wall and Ceiling Industry (AWCI), paint-based surfacers do not meet the GA-214 definition of a Level 5 finish. If the architectural drawings specify Level 5, a trowel-applied skim coat is legally and technically required.
Cost and Labor Metrics for 2026
Upgrading from Level 4 to Level 5 represents a significant increase in both labor hours and material consumption. Below are the current 2026 baseline metrics for commercial and high-end residential projects.
| Cost Category | Level 4 Baseline | Level 5 Skim Coat Addition | Total Level 5 Cost |
|---|---|---|---|
| Material Cost (per 1,000 sq ft) | $180 - $220 | $140 - $180 (approx. 4-5 buckets) | $320 - $400 |
| Labor Cost (per sq ft) | $1.25 - $1.75 | $1.10 - $1.60 | $2.35 - $3.35 |
| Additional Drying Time | N/A | 24 hours minimum | Add 1 day to schedule |
| Sanding Labor Multiplier | 1.0x | 1.5x (requires pole-sanding entire field) | N/A |
Decision Framework: When to Specify Level 5
Over-specifying Level 5 drywall inflates project budgets unnecessarily. Use this diagnostic framework to determine if the performance rating is required for specific rooms or zones:
- Evaluate the Light Source: Are there large, unshaded windows adjacent to the wall? Are wall-washing LED strips or recessed cans positioned within 24 inches of the wall surface? If yes to either, the grazing light will expose Level 4 imperfections. Specify Level 5.
- Assess the Paint Sheen: Is the interior design specification calling for eggshell, satin, semi-gloss, or high-gloss architectural coatings? Higher sheens amplify surface variations. Flat and matte paints diffuse light and can often mask Level 4 joints. If sheen is above matte, specify Level 5.
- Consider the Framing Substrate: Is the drywall being applied over steel stud framing at 24 inches on-center? Wider framing spacing increases the risk of board deflection and joint ridging. In these scenarios, a Level 5 skim coat acts as a structural dampener for minor framing irregularities.
Common Failure Modes and Edge Cases
Even when specified correctly, Level 5 finishes can fail if installation parameters are ignored. Understanding these failure modes is critical for quality assurance.
1. Joint Photographing and Ghosting
If the skim coat is applied too thinly (less than 1/32 inch) or is over-sanded to the point where the underlying Level 4 tape and fastener coats are exposed, the porosity differential returns. This results in "photographing," where the joints appear as dark or light bands through the final paint. Correction: Inspect the sanded surface with a 500-lumen raking light before priming. Any visible tape edges require a localized secondary skim coat.
2. Skim Coat Delamination
Delamination occurs when the skim coat loses adhesion to the gypsum board's paper face. This is almost exclusively caused by applying the topping compound over a dusty surface or over a Level 4 finish that was sealed with an incompatible PVA primer prior to skimming. Correction: The Level 4 base must be completely bare, unprimed, and dust-free (wiped with a damp sponge or tack cloth) before the Level 5 skim coat is applied. Never skim coat over cured PVA primer.
3. Trowel Chatter and Ridge Telegrafing
When installers use stiff, damaged, or undersized skimming blades, the blade "chatters" across the wall, leaving microscopic ridges. While these may be invisible to the naked eye during installation, high-gloss paints will catch the shadows of these ridges. Correction: Mandate the use of flexible, stainless-steel 24-inch skimming blades, and require a final pole-sand with 180-grit mesh screens in a circular motion to shear off any micro-ridges.