How to Repair, Remove, and Maintain Stripped Drywall Anchors
Learn expert techniques to repair, remove, and maintain stripped drywall anchors in gypsum board, including hole restoration and rust cleaning.
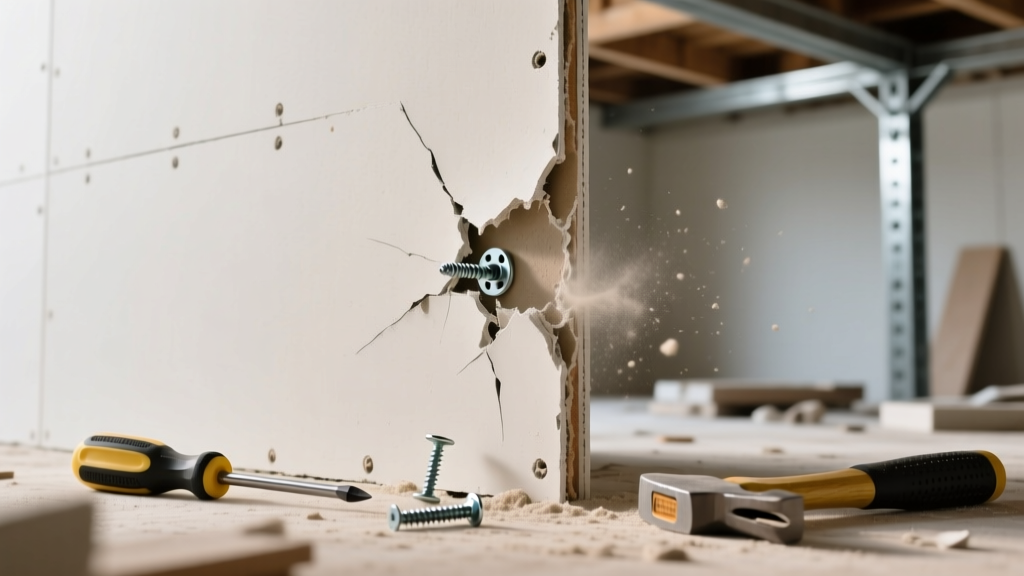
The Anatomy of Drywall Anchor Failure in Gypsum Board
Gypsum board is a highly versatile building material, but its brittle calcium sulfate dihydrate core makes it inherently weak at localized fastening points. When a drywall anchor fails, it is rarely the fault of the hardware itself; rather, it is a structural breakdown of the gypsum core or the paper facing. Standard 1/2-inch regular gypsum board has a lower shear and tensile capacity than 5/8-inch Type X fire-rated board, which features a denser core and glass fibers to hold the fastener under stress.
Maintaining the integrity of wall-mounted fixtures requires understanding how load distribution works. Tensile loads (pulling straight out) rely heavily on the paper face and the immediate 1/4-inch of the gypsum core. Shear loads (pulling downward) rely on the compressive strength of the gypsum above the anchor. When maintenance is neglected, micro-fractures in the gypsum expand, leading to catastrophic pull-out, wall damage, and potential injury.
Diagnostic Matrix: Identifying Your Anchor Failure Mode
Before attempting a repair, correctly diagnose why the drywall anchor failed. Misdiagnosis leads to repeated failures and progressively larger holes in the gypsum board.
| Symptom | Root Cause | Immediate Action Required |
|---|---|---|
| Anchor spins freely when tightening | Core stripping; the hole has been drilled or worn larger than the anchor's expansion limit. | Extract anchor, clean cavity, fill with setting-type compound, and upgrade anchor size. |
| Anchor pulls out with a cone of gypsum | Exceeding tensile load limit; improper use of expansion anchors for heavy overhead loads. | Patch the crater. Switch to a mechanical toggle (e.g., Snaptoggle) that distributes load across the back of the board. |
| Rust stains bleeding through paint | Moisture reacting with cheap zinc-plated or uncoated steel anchors. | Clean the stain, seal with oil-based primer, and replace with stainless steel or polymer anchors. |
| Drywall paper face tears around the head | Fixture vibration or overtightening the screw without a washer. | Re-secure using a wider flange anchor or add a fender washer to distribute surface pressure. |
Step-by-Step Playbook: Removing Stuck or Stripped Anchors
Removing a failed drywall anchor without destroying the surrounding paper face requires precision. Ripping the anchor out with brute force will delaminate the paper from the gypsum core, creating a massive repair job.
Method 1: The Score-and-Twist (For Plastic Expansion Anchors)
- Score the Perimeter: Take a sharp utility knife and carefully score the paint and drywall paper in a 1/8-inch circle immediately around the anchor's flange. This prevents the paper from tearing outward when you pull.
- Relieve Internal Pressure: If the screw is still inside, remove it. If the anchor is stripped and spinning, insert a 1/16-inch drill bit into the center of the anchor and drill just deep enough to destroy the internal threads and relieve outward expansion pressure.
- Extract: Grip the flange with needle-nose pliers. Twist counter-clockwise while pulling gently outward. The scoring ensures a clean exit.
Method 2: The Flush-Cut (For Threaded Metal Anchors)
Self-drilling metal anchors (like E-Z Ancor) often strip out of 1/2-inch drywall if overloaded. Because they have wide, aggressive threads, pulling them out destroys the core.
- Use an oscillating multi-tool with a flush-cut bi-metal blade, or a rotary tool with a cutting disc, to slice the anchor off perfectly flush with the drywall surface.
- Drive the remaining threaded shaft deep into the cavity using a hammer and nail set, ensuring it sits at least 1/4-inch below the surface for patching.
The Cavity Cleaning and Repair Protocol
A stripped hole cannot simply be filled with lightweight vinyl spackle if you intend to re-drill and re-anchor in the same location. Vinyl spackle lacks the structural compressive strength to hold a new drywall anchor.
1. Debris Extraction
Use a Shop-Vac with a narrow crevice tool to vacuum the inside of the stripped hole. Gypsum dust acts as a dry lubricant; if left inside the cavity, it will prevent new joint compound from bonding to the raw core and cause the new anchor to spin.
2. Structural Filling
For holes up to 1/2-inch in diameter, use a setting-type joint compound. Products like USG Durabond 45 or Easy Sand 20 undergo a chemical curing process rather than drying by evaporation. This creates a rock-hard, gypsum-like plug that restores the structural integrity of the wall.
- Mix the compound to a peanut-butter consistency.
- Press it deeply into the hole using a 2-inch putty knife, ensuring no air pockets remain.
- Overfill slightly, as setting compounds do not shrink like air-dry spackles.
- Once cured (45 to 90 minutes), sand flush with 120-grit sandpaper.
Addressing Rust Bleed and Surface Staining
In high-humidity environments (bathrooms, basements, or coastal regions), standard zinc-plated drywall anchors will oxidize. This rust bleeds through water-based latex paints, creating ugly orange-brown halos around the fastener point.
Upgrading: Selecting the Correct Replacement Anchor
When maintaining wall fixtures, always upgrade to the correct anchor class for the load. The ITW Construction Products (Toggler) engineering data provides clear distinctions between anchor types for standard 1/2-inch gypsum board.
Heavy Loads (50 lbs - 300+ lbs)
Strap Toggles (e.g., Toggler Snaptoggle BA or BB): These require a 1/2-inch hole but offer the highest tensile strength. The metal channel flips flat against the back of the drywall, distributing the load over a massive surface area. Best for: Wall-mounted TVs, heavy shelving, grab bars.
Medium Loads (20 lbs - 50 lbs)
Self-Drilling Threaded Anchors (e.g., E-Z Ancor Twist-N-Lock): Made from engineered nylon or zinc, these cut their own threads into the gypsum. They are excellent for medium loads but must be installed flush; overtightening will strip the gypsum core. Best for: Curtain rods, medium mirrors, towel racks.
Light Loads (Under 20 lbs)
Plastic Expansion Anchors: The standard conical ribbed anchors. They rely purely on friction and the compression of the gypsum core. Best for: Lightweight picture frames, small decorative hooks, smoke detectors.
Preventative Maintenance for High-Stress Installations
To minimize future maintenance, implement these preventative measures during the initial installation of drywall anchors:
- Use a Fender Washer: When mounting heavy items with a toggle bolt, place a 1-inch stainless steel fender washer between the bolt head and the fixture. This prevents the bolt head from pulling through the fixture's mounting hole and distributes the clamping force evenly across the drywall paper.
- Drill Pilot Holes Accurately: Never use a drill bit larger than the anchor manufacturer's specification. For a standard 1/4-inch plastic anchor, use exactly a 1/4-inch bit. If the bit wanders and creates an oval hole, the anchor will never achieve full expansion friction.
- Locate the Stud When Possible: The ultimate preventative maintenance is avoiding drywall anchors altogether. For any fixture exceeding 50 lbs, or any fixture subject to dynamic movement (like a swinging articulating TV arm or a heavy door stop), bypass the gypsum board entirely and lag-screw directly into the wood or metal framing studs.