Mastering the Sheetrock Saw: Precision Cutting Techniques for Drywall
Master the sheetrock saw for drywall installation. Learn plunge cut techniques, tool comparisons, and pro tips to prevent blown-out edges and core fractures.
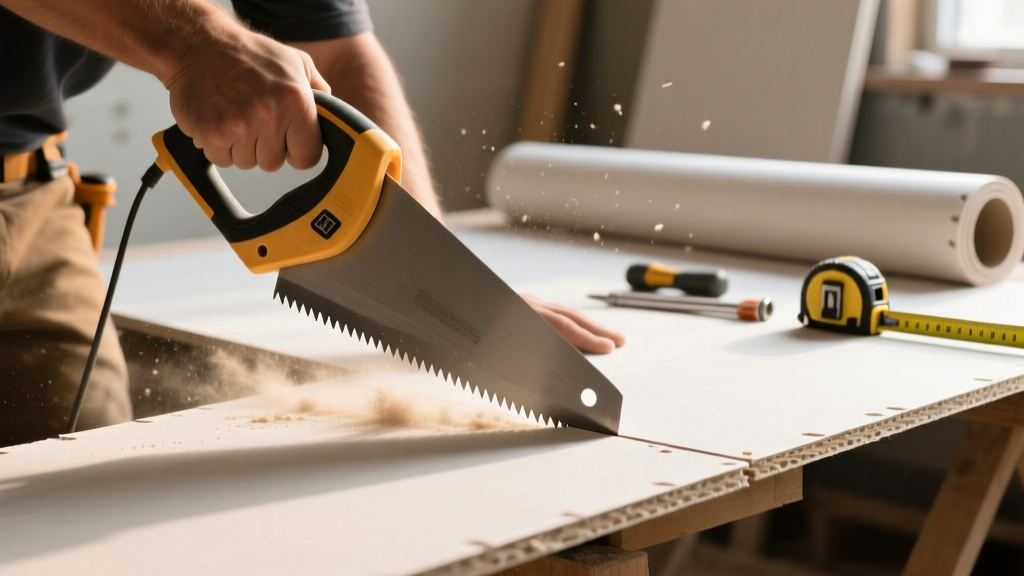
The Anatomy of a Professional Sheetrock Saw
While power tools often dominate the modern job site, the manual sheetrock saw (commonly referred to as a drywall saw or keyhole saw) remains an indispensable instrument for precision drywall installation. Unlike standard wood-cutting handsaws, a sheetrock saw is engineered specifically to navigate the unique material properties of gypsum board—a brittle calcium sulfate dihydrate core encased in heavy paper facing.
To use this tool effectively, you must understand its specialized design features:
- Aggressive Needle-Nose Tip: The sharpened, elongated point is designed to pierce the drywall paper and core without pre-drilling, enabling rapid plunge cuts.
- Tooth Configuration (7 to 8 TPI): Professional sheetrock saws typically feature 7 to 8 Teeth Per Inch. This coarse pitch prevents the gypsum dust from clogging the gullets, which is a common failure point when using finer-toothed saws.
- Set and Rake Angles: The teeth are aggressively filed with a specialized rake angle that cuts efficiently on the pull stroke, minimizing the risk of tearing the front paper facing.
- Pommel Design: The blunt end of the handle is intentionally flattened and reinforced. Installers use this pommel as a makeshift hammer to tap the blade tip through the drywall when initiating a plunge cut.
Tool Matrix: Sheetrock Saw vs. Power Alternatives
Choosing the right cutting tool depends on the specific application, dust tolerance, and required precision. Below is a comparison matrix evaluating the manual sheetrock saw against common power alternatives used in gypsum board installation.
| Tool Type | Cutting Speed | Dust Generation | Edge Cleanliness | Ideal Application |
|---|---|---|---|---|
| Manual Sheetrock Saw | Moderate | Very Low | High (if pulled) | Electrical boxes, tight plumbing penetrations, small patch repairs |
| Rotary Cutout Tool (e.g., RotoZip) | Very Fast | Extreme | Moderate | High-volume production cuts, large window/door openings |
| Oscillating Multi-Tool | Slow | Low | Very High | Precision trimming, flush cuts against adjacent walls, delicate repairs |
| Score-and-Snap (Utility Knife) | Fast (straight lines) | None | Perfect (straight) | Board dimensioning, straight edge cuts, tapered edge trimming |
Step-by-Step: Executing the Perfect Plunge Cut
The most critical skill when using a sheetrock saw is the plunge cut, typically used to cut out electrical outlet boxes, switch plates, and plumbing pipes after the drywall sheet has been hung. A poorly executed plunge cut will result in blown-out edges that require extensive taping and mudding to conceal.
Step 1: Locate and Mark the Penetration
Before hanging the board, measure the exact center-point of the electrical box or pipe relative to the floor and adjacent studs. Once the board is secured, transfer these measurements to the face of the drywall. Use a drywall square to draw the exact perimeter of the single-gang or double-gang box.
Step 2: The Plunge Initiation
Place the sharpened tip of the sheetrock saw just inside the corner of your marked line. Hold the saw firmly by the grip, and strike the flat pommel of the handle with the heel of your free hand. Do not use a metal hammer, as this can shatter the hardened steel tip or crack the plastic handle. The aggressive point should punch cleanly through the paper and gypsum core.
Step 3: The Pull-Stroke Technique
Once the blade is fully inserted, begin cutting along the marked line. Always cut on the pull stroke. Pushing the saw away from your body forces the brittle gypsum core to compress and eventually blow out the backside of the board, while simultaneously tearing the front paper facing. Pulling the saw toward your body shears the material cleanly.
Step 4: Navigating the Corners
When you reach a corner of the electrical box, do not attempt to turn the saw sharply. Instead, pull the blade completely out, reposition the tip at the start of the next line, and perform a micro-plunge (or simply insert the blade into the existing kerf) to continue. This prevents the saw teeth from binding and snapping the drywall corner.
Avoiding Blown-Out Edges and Core Fractures
Even with proper pull-stroke technique, installers frequently encounter "blowouts"—where the gypsum core fractures irregularly beyond the cut line. This is usually caused by a lack of backside support or using a dull blade.
"A sheetrock saw blade is a consumable item. The abrasive nature of gypsum and the embedded silica will dull the induction-hardened teeth after approximately 40 to 50 plunge cuts. If you find yourself applying excessive downward pressure, the blade is dull and is crushing the core rather than cutting it. Replace the saw immediately."
— Senior Drywall Foreman, Commercial Interior Systems
The Backside Support Method
When cutting large penetrations (such as a 4-inch recessed can light hole or a large plumbing access), the unsupported weight of the drywall cutout can cause it to snap prematurely. To prevent this, place your free hand flat against the back of the drywall (if accessible from an open stud bay) or press firmly against the front face immediately adjacent to the cut line to stabilize the gypsum core during the final strokes.
Dust Mitigation and Safety Protocols
While a manual sheetrock saw generates significantly less airborne dust than a rotary cutout tool, the dust it does produce is not harmless. Gypsum board contains crystalline silica, a known respiratory hazard. According to the Centers for Disease Control and Prevention (CDC/NIOSH), prolonged exposure to drywall dust can lead to chronic respiratory issues and silicosis.
When performing overhead cuts or working in confined, unventilated spaces, installers must adhere to strict safety protocols:
- Respiratory Protection: Wear a NIOSH-approved N95 respirator at a minimum. For extended cutting sessions, a half-face elastomeric respirator with P100 particulate filters is highly recommended.
- Eye Protection: Gypsum chips frequently eject upward during the initial plunge. ANSI Z87.1-rated safety glasses with side shields are mandatory.
- Housekeeping: Avoid using compressed air to blow dust off your clothing or the work area, as this re-suspends hazardous silica particles. Use a HEPA-filtered vacuum or wet-sweeping methods as outlined by the Gypsum Association's GA-216 application standards.
Blade Maintenance and Job Site Longevity
To maximize the lifespan of your sheetrock saw on the job site, never leave it resting on a damp concrete floor or exposed to overnight moisture, as the high-carbon steel blade will rapidly oxidize despite factory coatings. Wipe the blade down with a lightly oiled rag at the end of each shift to dissolve accumulated gypsum sap and prevent rust. If the saw features a replaceable blade (common in higher-end models like the Stanley FatMax series), keep a stock of replacement blades in your pouch to avoid the temptation of forcing a dull blade through Type X fire-rated board, which is denser and more abrasive than standard gypsum panels.