How to Install Drywall Screw Anchors: Weight & Scenario Guide
Learn how to install drywall screw anchors by matching hardware to specific weight loads, drywall thicknesses, and real-world mounting scenarios.
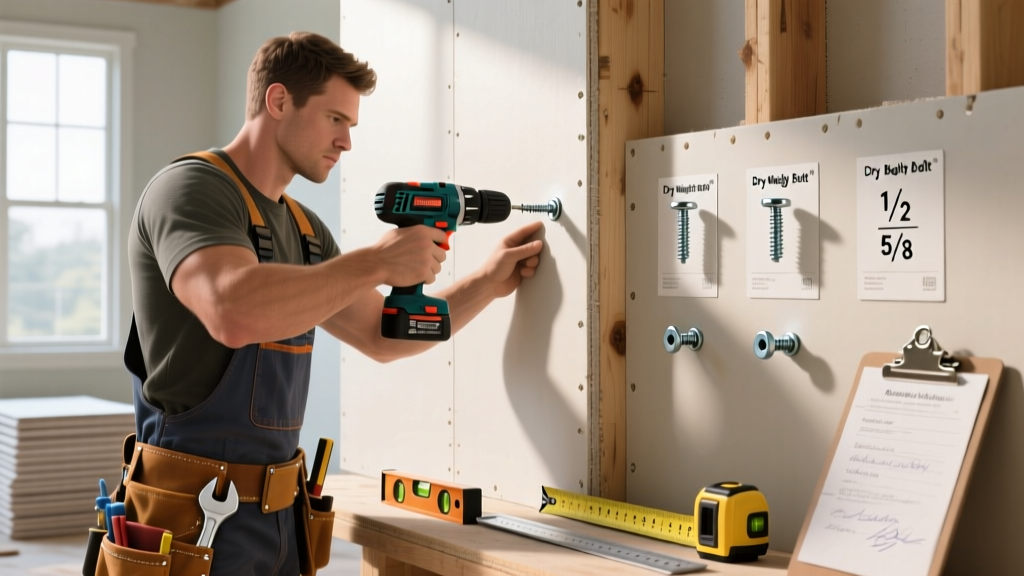
The Physics of Gypsum Board Load Distribution
Gypsum board possesses high compressive strength but relatively low shear and pull-out resistance. The paper facing and compressed chalk core cannot support concentrated point loads without mechanical assistance. Understanding how to install drywall screw anchors requires matching the anchor’s deployment mechanism to the specific load vector, drywall thickness (1/2" standard vs. 5/8" Type X), and environmental conditions. A 50-lb load hanging from a 1/2" standard board exerts vastly different shear stress than the same load on a 5/8" fire-rated Type X board, which features a denser, fiberglass-reinforced core. According to Gypsum Association technical resources, failing to account for board density and thickness is the primary cause of anchor pull-out failures in commercial and residential applications.
Drywall Anchor Decision Matrix
Use this scenario-matching matrix to select the correct hardware before drilling. Load limits assume standard 16-inch on-center framing where the anchor is placed in the field of the board, not near seams or corners.
| Anchor Type | Mechanism | Max Load (1/2" Standard) | Max Load (5/8" Type X) | Ideal Scenario |
|---|---|---|---|---|
| Self-Drilling Threaded | Core displacement | 30 lbs | 45 lbs | Picture frames, light shelving, towel rings |
| Molly Bolt (Hollow Wall) | Sleeve expansion | 50 lbs | 75 lbs | Medium mirrors, heavy artwork, small cabinets |
| Strap Toggle (Snaptoggle) | Backside channel | 200+ lbs | 250+ lbs | Wall-mounted TVs, heavy shelving, grab bars |
| Traditional Toggle Bolt | Spring-loaded wings | 100 lbs | 130 lbs | Dropped ceilings, hollow door mounting |
Scenario 1: Light Loads (Up to 30 lbs) – Self-Drilling Threaded Anchors
Self-drilling anchors (such as the Hillman E-Z Ancor or equivalent zinc-alloy models) displace the gypsum core rather than removing it. They are ideal for light, static loads where minimal wall damage is preferred.
Installation Protocol
- Tool Selection: Use a #2 Phillips bit. Avoid impact drivers; the high torque will instantly strip the gypsum core.
- Drive the Anchor: Set your drill’s torque clutch to a low setting (3-4). Drive the anchor until the flange is perfectly flush with the wall surface. Do not countersink it into the paper.
- Insert the Screw: Thread your fixture and screw into the anchor. Stop driving the moment you feel firm resistance.
Scenario 2: Medium Loads (30 to 50 lbs) – Molly Bolts
Molly bolts utilize a metal sleeve that expands and flattens against the backside of the drywall, creating a wide bearing surface. This prevents the anchor from pulling through the front paper facing under medium shear loads.
Installation Protocol
- Drill the Pilot Hole: Use the drill bit size specified on the packaging (typically 3/16" or 1/4" for medium-duty mollys). Keep the drill perfectly perpendicular to the wall.
- Seat the Anchor: Tap the molly bolt into the hole with a hammer until the flange sits flush. Ensure the anti-rotation barbs on the flange pierce the paper facing.
- Expand the Sleeve: Tighten the screw with a screwdriver or low-torque drill. You will feel a distinct increase in resistance as the metal sleeve collapses and flattens against the back of the drywall.
- Mount the Fixture: Remove the screw, place your fixture over the flange, and re-insert the screw.
Note: Molly bolts are permanent. Once expanded, they cannot be removed without tearing the backside of the drywall. Refer to USG drywall specifications for specific load-bearing tolerances on their UltraLight panels, which may require wider flange mollys due to the lighter core density.
Scenario 3: Heavy & Dynamic Loads (50 to 300+ lbs) – Strap Toggles
For wall-mounted televisions, heavy floating shelves, or ADA-compliant grab bars, traditional spring toggles are outdated. Strap toggles (like the Toggler Snaptoggle) use a rigid, 3.5-inch zinc-plated steel channel that distributes massive loads across a wide span of the backside paper, virtually eliminating pull-out risk in intact drywall.
Installation Protocol
- Drill a 1/2" Hole: Use a 1/2" spade or twist bit. The hole must be large enough for the metal channel to pass through vertically.
- Insert the Channel: Push the metal channel through the hole. Hold the two plastic straps to keep the channel flush against the back of the drywall.
- Zip and Snap: Slide the plastic cap up the straps until it sits flush against the wall surface. Bend the straps toward the cap until they snap off cleanly at the score line.
- Drive the Bolt: Thread the provided machine bolt through your fixture and into the metal channel. Tighten securely.
Troubleshooting Common Installation Failures
- Symptom: The anchor spins endlessly in the hole during tightening.
Cause: The gypsum core is stripped or pulverized.
Fix: Do not use a larger self-drilling anchor. Inject a few drops of cyanoacrylate (CA) glue into the hole, let it cure for 5 minutes to harden the core, and re-drive. Alternatively, upgrade to a strap toggle. - Symptom: The drywall paper tears and bubbles around the anchor head.
Cause: The anchor flange is too small for the load, or the anti-rotation barbs failed to bite.
Fix: Switch to an anchor with a wider bearing flange, or score an 'X' in the paper with a utility knife before tapping the anchor in to allow the barbs to bite directly into the dense core. - Symptom: The fixture pulls away from the wall, taking a cone of drywall with it.
Cause: Dynamic loading (e.g., a pull-up bar or articulating TV mount) exceeded the localized shear strength of the board.
Fix: Never mount dynamic loads solely in drywall. You must locate the wood or steel studs using a magnetic stud finder or thermal camera and lag directly into the framing.
Code Compliance and Structural Sourcing
When installing anchors in commercial spaces, multi-family housing, or healthcare facilities, compliance with local building codes and the Americans with Disabilities Act (ADA) is mandatory. ADA grab bars, for instance, require a minimum 250-lb load capacity, which cannot be safely achieved using drywall alone; blocking or structural backing must be installed prior to hanging the gypsum board. Always verify the specific pull-out ratings of your chosen fastener against the manufacturer's technical data sheets, and consult the Gypsum Association's GA-216 guidelines for application and finishing standards when integrating heavy wall-mounted loads into your framing plans.