Maintaining Toggle Bolts for Drywall: A Repair and Care Playbook
Master the maintenance, cleaning, and repair of toggle bolts for drywall. Prevent anchor failure, core crushing, and wall damage with this expert playbook.
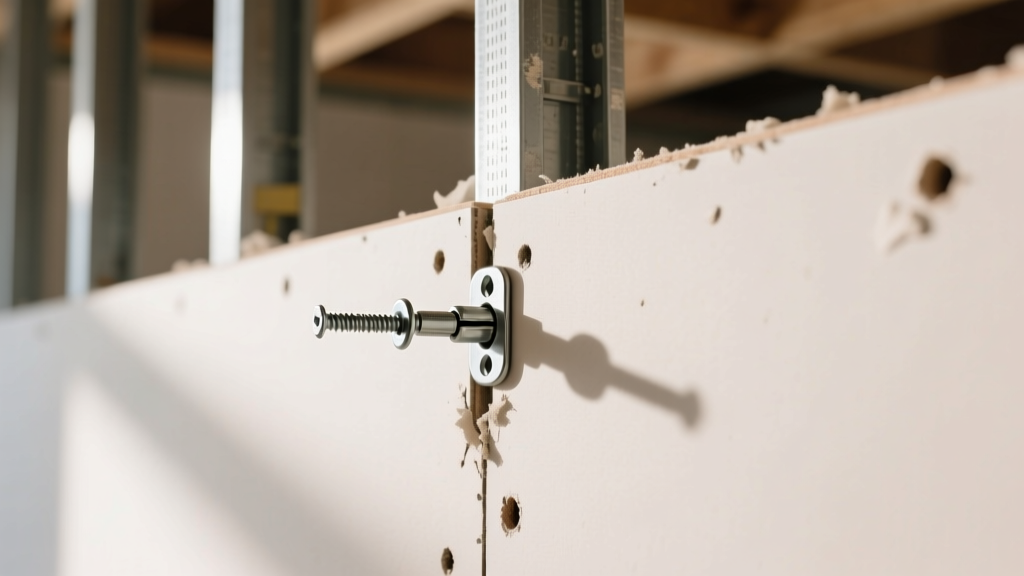
The Physics of Gypsum Core Degradation
Toggle bolts for drywall remain the undisputed standard for mounting heavy, dynamic loads—such as large televisions, floating cabinets, and heavy mirrors—when wall studs are unavailable. However, the installation is only the first step. The long-term viability of the mount depends entirely on the structural integrity of the gypsum core (calcium sulfate dihydrate) surrounding the anchor. Over time, micro-vibrations, thermal expansion, and sheer gravity cause the gypsum crystals around the bolt hole to fracture and compress.
According to installation guidelines published by the Gypsum Association, the paper face of the drywall provides significant tensile strength, but once the paper-to-core bond is compromised by moisture or overtightening, the anchor relies solely on the friable gypsum core. A standard 1/4-inch strap toggle bolt installed in 1/2-inch drywall boasts an ultimate pull-out strength of roughly 250 pounds. Yet, the industry-mandated working load limit is 25% of that ultimate strength (62.5 pounds). Exceeding this working load over months or years accelerates core degradation, leading to catastrophic anchor pull-out.
Diagnostic Checklist: Identifying Early Anchor Failure
Routine visual and physical inspections are critical for heavy wall mounts. Do not wait for the fixture to sag. Perform this diagnostic check every six months for heavy loads.
- Haloing (Paper Delamination): Look for a faint, raised blister or 'halo' in the paint immediately surrounding the bolt head. This indicates the drywall paper is separating from the gypsum core due to outward pressure.
- Micro-Cracking: Inspect the paint within a 2-inch radius of the anchor. Hairline fractures radiating outward signal that the gypsum core is crushing under the clamping force.
- Bolt Head Sinking: If the bolt head or washer has sunk deeper into the wall than it was at installation, the gypsum core has compressed. The clamping friction is now compromised.
- Fixture Deflection: Place a digital level on the mounted item. A tilt of more than 1/8-inch over a 4-foot span indicates uneven anchor degradation or bolt stretching.
The Routine Maintenance Schedule
Proactive maintenance extends the lifespan of drywall anchors and prevents costly wall repairs. Follow this schedule based on the weight class of your mounted item.
| Timeframe | Action Required | Tools Needed | Target Load Class |
|---|---|---|---|
| Monthly | Visual inspection for paint cracking and haloing. | LED flashlight, magnifying glass. | All loads (>30 lbs) |
| Quarterly | Check fixture level and listen for drywall 'creaking' under load. | Digital level, stethoscope (optional). | Heavy loads (>75 lbs) |
| Bi-Annually | Verify torque on the machine screw; ensure it is snug but not crushing the wall. | Appropriate screwdriver, torque limiter. | Dynamic loads (TV arms, shelves) |
| Annually | Inspect for rust on the bolt head; apply dry lubricant if needed. | PTFE (Teflon) dry spray lubricant. | High-humidity areas (bathrooms) |
Cleaning Protocols for Heavy Wall Mounts
Cleaning behind heavy items like televisions or large mirrors introduces moisture and physical stress to the drywall anchors. Improper cleaning is a leading cause of premature anchor failure in residential settings.
1. Avoid Liquid Wick-Through
When dusting or wiping down the wall around the mount, never spray liquid cleaner directly onto the wall. Liquid can pool around the bolt head and wick into the micro-gap between the machine screw and the drywall paper. This moisture weakens the paper-to-core bond and promotes rust on zinc-plated toggle components. Always spray the microfiber cloth first, then wipe.
2. Manage Vacuum Suction Stress
When using a vacuum hose with a brush attachment to remove dust from behind a wall-mounted TV, do not press the attachment flush against the drywall. The suction can pull the flexible drywall paper outward, applying unexpected tensile stress to the toggle bolts. Maintain a 1-inch gap between the vacuum nozzle and the wall surface.
3. Articulating Arm Maintenance
For full-motion TV mounts, the articulating arms act as levers, multiplying the pull-out force on the toggle bolts when extended. Before cleaning behind the TV, always push the mount back to its flush, retracted position. This minimizes the shear load on the anchors while you apply physical pressure to the screen and bracket during cleaning.
Removal and Core Repair: When Maintenance Fails
If diagnostic checks reveal core crushing, or if you need to relocate the fixture, proper removal and patching are required to restore the wall's integrity. The repair protocol depends on the type of toggle bolt used.
Removing Strap Toggles (e.g., Cobra Anchors)
- Unscrew the machine screw from the strap toggle until only two threads are engaged.
- Push the machine screw inward to detach the toggle strap from the screw.
- The Drop: The plastic or metal strap will fall behind the drywall. Do not attempt to fish it out; it will not damage the wall cavity or interfere with insulation.
- Use a utility knife to score a 1/8-inch bevel around the 1/2-inch installation hole.
- Fill the cavity with Durabond 45, pressing it deeply into the void to rebuild the core density.
Removing Spring Toggles (Butterfly Anchors)
- Unscrew the machine screw completely.
- The spring-loaded metal wings will snap shut and fall into the wall cavity.
- Because spring toggles require significantly larger installation holes (often 3/4-inch or larger for heavy-duty variants), you must pack the hole tightly with setting-type compound in two separate lifts to prevent shrinkage cracking.
Troubleshooting Matrix: Common Toggle Bolt Issues
Use this matrix to quickly diagnose and resolve issues encountered during the maintenance of drywall anchors. This aligns with standard application practices outlined in ASTM C840 for gypsum panel products.
| Symptom | Root Cause | Corrective Action |
|---|---|---|
| Machine screw spins freely but won't unthread. | The toggle strap has detached or fallen off the screw inside the wall cavity. | Pull the fixture away from the wall; the screw will slide out. Install a new toggle bolt in a fresh location. |
| Bolt head is rusting and staining the paint. | High ambient humidity or use of non-corrosion-resistant zinc plating. | Replace with 18-8 stainless steel toggle bolts. Sand the stain, apply a stain-blocking primer (e.g., BIN), and repaint. |
| Drywall paper tears when tightening the bolt. | Missing a load-distributing washer or overtightening the screw. | Always use a flat fender washer between the bolt head and the fixture. Tighten only until the fixture is flush and secure—never 'crank' it. |
| Fixture sags downward despite tight bolts. | Shear load has exceeded the drywall's edge-bearing capacity, elongating the hole vertically. | Remove the fixture. Patch the elongated holes with setting compound. Re-mount using a horizontal wood backing board attached to studs, or switch to a high-load snap-toggle rated for shear forces. |
For comprehensive specifications on drywall thickness and load-bearing capacities, refer to the USG Corporation drywall product catalog. Proper maintenance of toggle bolts is not merely about keeping a fixture on the wall; it is about preserving the structural continuity of the gypsum board itself. By adhering to strict load limits, managing moisture during cleaning, and utilizing setting-type compounds for repairs, you ensure that heavy wall mounts remain secure and damage-free for the lifespan of the building.