Troubleshooting Defects From Faulty Gypsum Board Installation Tools
Diagnose and repair drywall defects caused by worn or misadjusted gypsum board installation tools. Expert fixes for screw pops and torn edges.
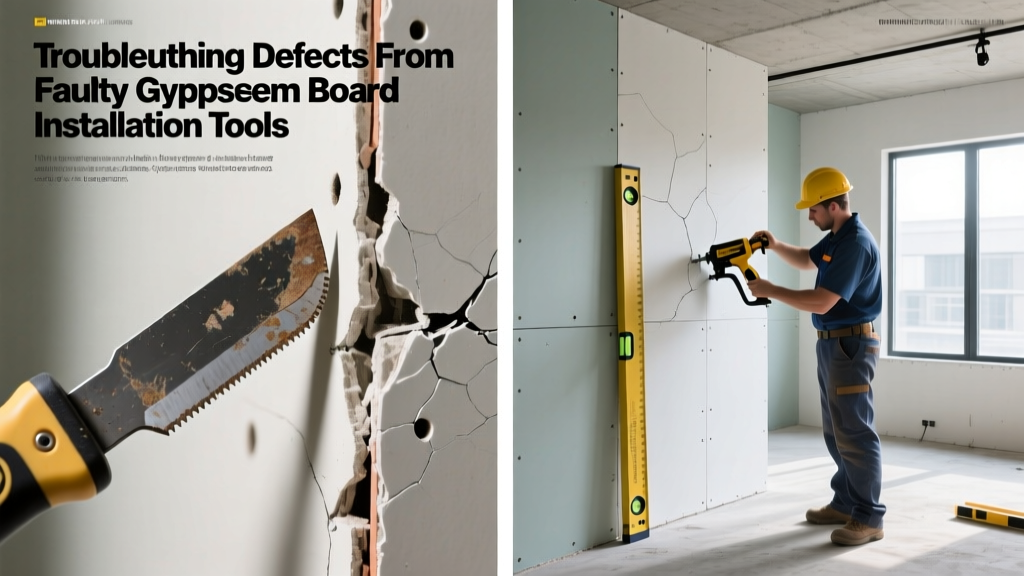
Drywall callbacks destroy profit margins. While contractors frequently blame warped framing or defective panels for finishing failures, forensic analysis of job-site defects reveals that degraded, dull, or improperly calibrated gypsum board installation tools are the root cause in the majority of cases. A worn screw gun nose piece or a pitted taping knife introduces microscopic errors that compound during the finishing stages, resulting in popped fasteners, blistered tape, and visible joint ridges. Troubleshooting these issues requires isolating the tool failure from the material failure and executing targeted repairs.
Diagnostic Matrix: Tool-Induced Drywall Defects
Before attempting physical repairs, identify the specific tool malfunction causing the defect. Use this diagnostic matrix to trace the symptom back to the equipment failure.
| Visible Defect | Primary Tool Culprit | Mechanical Failure Mode | Immediate Repair Strategy |
|---|---|---|---|
| Screw Pops / Dimples | Collated Screw Gun | Depth nose worn; clutch engaging late | Leave bad screw; drive new screw 1.5" away; fill void with setting compound |
| Torn Face Paper at Edges | Utility Knife / Rotary Router | Dull blade dragging; HSS router bit worn by silica | Clean edge with rasp; seal exposed core with PVA or setting mud before taping |
| Joint Ridges / Blisters | Taping Knife / Mud Pan | Blade crown flattened; pan edge nicked | Sand ridge flat; re-skim with wider, stiffer stainless steel knife |
| Punched Paper (No Hold) | Screw Gun / Bit | Bit tip stripped; torque set too high | Replace bit; apply Easy Sand 20 to dimple; add secondary fastener |
Fastener Failures: Screw Gun Calibration and Depth Noses
The most common and costly defect in drywall hanging is the over-driven screw. According to Gypsum Association standards, a fastener must dimple the face paper without breaking it to achieve maximum holding power. When the face paper is punctured, the screw's withdrawal resistance drops to near zero, relying entirely on friction in the gypsum core, which inevitably leads to a pop when the framing shifts.
The Depth Nose Wear Cycle
Modern collated screw guns (such as the Makita XSF03Z or DeWalt 20V MAX) utilize a depth-sensitive nose piece that disengages the clutch when it hits the panel surface. The plastic or composite nose piece wears down after driving approximately 8,000 to 10,000 screws. As the nose recedes, the bit travels further before the clutch trips, driving the screw too deep and tearing the paper.
Executing the Repair
- Leave the defective screw in place. Removing it causes more core damage.
- Drive a new screw 1.5 inches away along the same framing member, ensuring the clutch is properly adjusted to dimple, not pierce, the paper.
- Prefill the over-driven void with a setting-type joint compound like USG Easy Sand 20. Standard air-drying mud will shrink into the deep void and crack. Follow the USG technical documentation for exact mixing ratios to ensure a rock-hard fill.
- Tape over the repair using standard paper tape or fiberglass mesh embedded in setting compound.
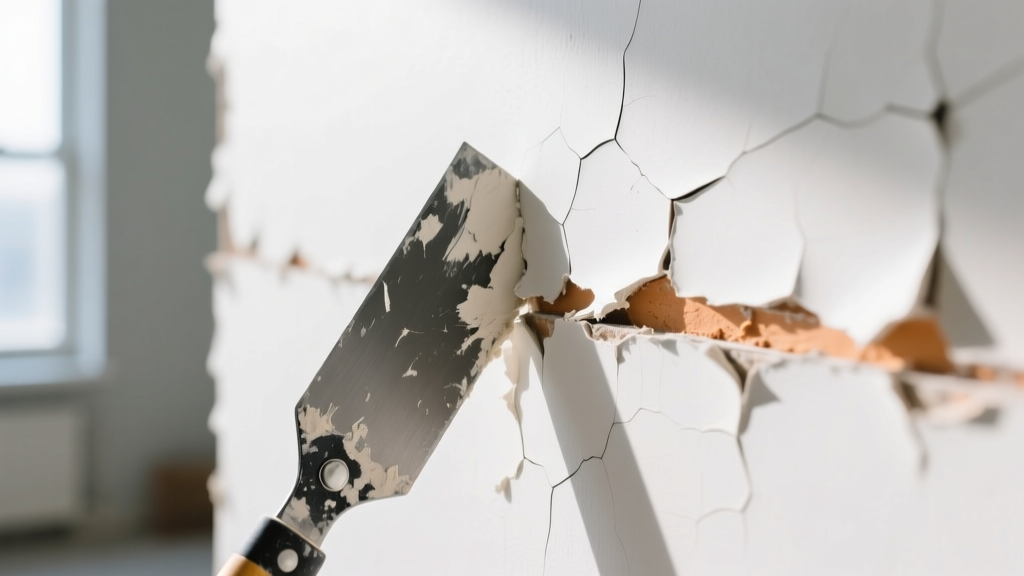
Edge Blowouts: Scoring Knives vs. Rotary Routers
Clean, square edges are mandatory for tight butt joints. When edges are jagged or the back paper is blown out, the joint will require excessive compound to hide, leading to visible ridges and increased sanding time.
The Silica Factor in Rotary Routers
When cutting openings for electrical boxes or HVAC registers, contractors frequently use rotary routers (e.g., Bosch Colt). The gypsum core contains high levels of silica, which is highly abrasive. Standard high-speed steel (HSS) router bits dull within a few dozen cuts. A dull bit does not slice the back paper; it grabs and tears it, causing a 'blowout' on the backside of the panel.
Repairing Blown-Out Edges
If a cutout has a blown-out back edge, the loose paper will absorb moisture from the joint compound, swell, and create a blister that cannot be sanded flat.
- Step 1: Use a drywall rasp to aggressively knock down the blown-out gypsum and torn paper until the edge is flush and square.
- Step 2: Paint the exposed, fuzzy gypsum core with a PVA drywall primer or a thin wash of setting-type compound to seal the pores.
- Step 3: Allow to dry completely before applying bedding compound. This prevents the dry edge from sucking the moisture out of your tape joint, which is a primary cause of tape adhesion failure.
Joint Ridges and Blisters: Taping Knife Metallurgy
Ridges at the tapering edges of drywall joints are rarely caused by the framing; they are almost exclusively the result of using taping knives that have lost their structural integrity or 'crown'.
Carbon Steel vs. Stainless Steel Blades
Carbon steel taping knives are cheaper and hold a stiff edge, but they are highly susceptible to micro-pitting from rust if not dried perfectly after washing. These microscopic pits act like sandpaper, dragging through the wet compound and leaving score marks that require extra sanding. Furthermore, carbon steel loses its temper (flex) over time. A worn 6-inch carbon steel knife will flatten out, applying equal pressure across the entire blade. This squeezes all the compound out from under the tape, resulting in a starved joint and blisters.
Upgrade to high-carbon stainless steel blades (such as those from Hyde or Spec Mix). Stainless steel maintains its flexible 'crown' profile significantly longer, applying heavier pressure to the edges of the blade while leaving a thick bed of mud in the center of the joint.
Fixing an Existing Ridge
If a ridge has already dried due to a worn knife or over-sanding:
- Use a pole sander with 120-grit abrasive to knock down the high spots. Do not attempt to scrape it with a knife, which will gouge the paper face.
- Wipe the joint with a damp sponge to remove silica dust, which acts as a bond-breaker.
- Apply a skim coat using a knife that is at least 4 inches wider than the previous coat (e.g., move from a 10-inch to a 14-inch knife). The wider blade bridges the ridge and feathers the transition out into the field of the board.
Preventative Maintenance Schedule for Installation Tools
To eliminate tool-induced defects, implement this maintenance schedule on the job site. Data from the Northwest Wall and Ceiling Bureau suggests that proactive tool replacement reduces finishing callbacks by up to 30%.
Tool Lifecycle & Replacement Matrix
- Screw Gun Depth Noses: Inspect every 50 sheets. Replace immediately if the plastic shows a concave wear groove.
- Ph2 Driver Bits: Replace every 15-20 sheets. A stripped bit will cam-out, tearing the paper and damaging the screw head.
- Rotary Router Bits (Carbide): Replace every 100 cutouts. Inspect flutes for packed gypsum; clean with a wire brush to prevent overheating.
- Utility Knife Blades: Snap or replace every 5 sheets. Dull blades cause the user to apply excess downward pressure, resulting in erratic, wavy cuts.
- Taping Knives: Inspect weekly. Discard any blade with visible edge nicks, rust pitting, or a flattened crown profile.
By shifting the diagnostic focus from the drywall materials to the condition and calibration of the gypsum board installation tools, contractors can systematically eliminate the root causes of finishing defects, ensuring flat, seamless walls and significantly reducing costly rework.
Written by
James ThorntonJames Thornton is a construction industry veteran with 25 years of hands-on experience in wood framing, lumber grading, and residential building codes. He started as a framing carpenter in rural Oregon, earned his ICC Residential Building Inspector certification, and eventually became a senior plan reviewer for the City of Portland Bureau of Development Services. James holds a B.S. in Wood Science & Technology from Oregon State University and is a certified lumber grader through the West Coast Lumber Inspection Bureau (WCLIB). He has inspected over 3,000 residential construction sites and authored the city's internal guide on advanced framing techniques (2x6 at 24" O.C.). James lives in Bend, OR, where he builds custom timber-frame cabins and competes in lumberjack sports.
More from James Thornton
View all
Insulation
Best Home Insulation Materials: Complete 2026 Guide
Compare top home insulation materials for 2026. Find R-values, installed costs per square foot, and best uses for fiberglass, spray foam, and mineral wool.
Aug 4, 2026

Sustainable Building
Certify Your Green Building Material for LEED and WELL
Step-by-step guide to certifying a green building material for LEED v5 and WELL v2. Master EPDs, HPDs, and VOC limits for 2026 project specifications.
Aug 4, 2026

Stone & Masonry
Veneer Stacked Stone Panels: Interior Design & Style Showcase
Discover how veneer stacked stone panels transform interiors. Explore modern design profiles, material pairings, and technical installation specs.
Aug 4, 2026