Veneer Plaster Wall vs Drywall: Scenario Matching Guide
Compare veneer plaster wall systems to standard drywall. Explore 2026 costs, substrate specs, and scenario-based application frameworks.
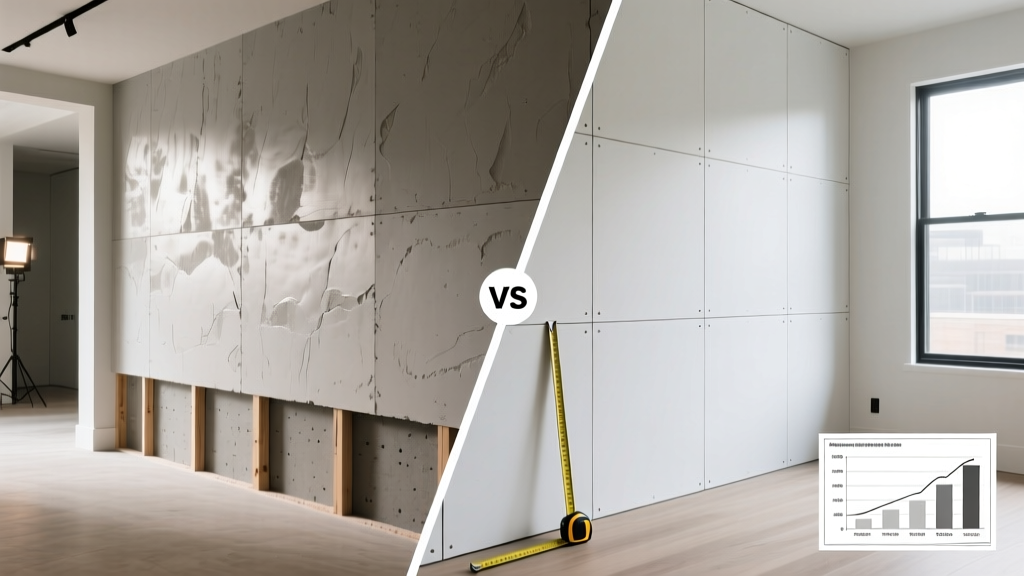
The Core Dilemma: Veneer Plaster Walls vs. Taped Drywall
Specifying interior wall finishes requires balancing acoustic performance, impact resistance, aesthetic depth, and budget constraints. While standard taped drywall (Level 4 or 5 finish) dominates modern construction, the veneer plaster wall system remains the superior choice for specific high-performance and luxury applications. A veneer plaster wall consists of a specialized, highly absorptive gypsum base board (commonly called blue board) covered with a thin, 1/16-inch to 1/8-inch layer of calcined gypsum plaster. Unlike traditional three-coat lath and plaster systems that take weeks to cure, modern veneer plaster sets chemically within hours, providing a monolithic, rock-hard surface.
According to the Gypsum Association, the fundamental difference lies in the surface continuity. Taped drywall relies on joint compound—a limestone and vinyl-based paste that air-dries and shrinks. Veneer plaster is a crystalline gypsum matrix that chemically sets, expanding slightly to eliminate shrinkage cracks and creating a seamless, continuous membrane across the entire wall plane.
2026 Cost & Time Snapshot
- Standard Level 4 Drywall: $1.85 – $2.75 per sq. ft. (installed). Requires 3 coats of compound, sanding, and 24-48 hours of drying time between coats.
- 2-Coat Veneer Plaster Wall: $4.50 – $6.50 per sq. ft. (installed). Material costs are higher, but specialized labor drives the premium. Sets in 2-4 hours; no sanding required.
- Level 5 Drywall (Skim Coat): $3.25 – $4.50 per sq. ft. Often specified as a cheaper alternative to plaster, but lacks the impact resistance and acoustic density of a true plaster wall.
Scenario Matching Matrix: When to Specify a Plaster Wall
Choosing between a veneer plaster wall and standard drywall should not be a default decision. Use this scenario matrix to match the application environment with the optimal system.
| Application Scenario | Recommended System | Substrate Requirement | Key Advantage |
|---|---|---|---|
| Historic Renovation | 2-Coat Veneer Plaster (Diamond Finish) | 1/2" Imperial Gypsum Base | Replicates the hard, acoustic density and subtle light-refraction of original 19th-century lime plaster. |
| Hospital / High-Abuse Corridors | Veneer Plaster over Abuse-Resistant Board | 5/8" Abuse-Resistant Blue Board | Monolithic surface prevents cart-impact cracking at the joints; highly resistant to indentation. |
| Luxury Master Bath (Non-Wet Zone) | Lime-Gypsum Veneer Plaster | Moisture-Resistant Gypsum Base (Green/Blue) | Lime content allows the plaster wall to breathe, regulating humidity and resisting mold better than standard paper-faced drywall. |
| Standard Commercial Office | Level 4 Standard Drywall | 1/2" Standard Gypsum Board | Cost-effective, easily patched, and sufficient for low-impact, low-glare environments. |
Substrate Selection: The Critical Role of Blue Board
The most common failure in DIY or inexperienced contractor plaster wall installations is applying veneer plaster directly over standard gray-paper drywall. Standard drywall paper is sized to resist moisture, which prevents the rapid water absorption required for the plaster to cure correctly. If applied to standard board, the plaster will slide, fail to bond, and eventually delaminate.
You must specify a specialized gypsum base. USG Corporation's veneer plaster systems rely on Imperial® Gypsum Base, which features a highly absorptive blue face paper designed to pull water out of the plaster mix at a precise, controlled rate. Similarly, National Gypsum's Gold Bond Kal-Kote systems require their specialized Kal-Kote base board. These substrates ensure the calcined gypsum rehydrates and interlocks its crystalline structure uniformly.
Expert Specification Note: If you are forced to apply a veneer plaster over an existing standard drywall substrate or painted surface, you must first apply a mechanical bonding agent, such as USG Plaster Bonder. This pink-tinted liquid creates a gritty, high-tack film that bridges the non-porous surface and the plaster. Never skip this step, or the plaster wall will fail via sheet delamination.
Failure Modes and Edge Cases in Plaster Wall Systems
Understanding how plaster walls fail is critical for quality assurance during the application phase. Unlike drywall joint compound, which can be sanded and corrected, veneer plaster sets chemically. Once it cures, errors are permanent and require chipping out.
1. Plastic Shrinkage Cracking (Map Cracking)
This occurs when the plaster loses moisture to the environment faster than it can chemically set. It presents as a web of fine, shallow cracks across the wall surface. The Fix: Maintain ambient temperatures between 55°F and 70°F. Block direct HVAC airflow onto fresh plaster. If the substrate is overly dry or hot, mist the blue board with clean water before applying the finish coat to slow the moisture draw.
2. Joint Telegraphing
While plaster walls are monolithic, the joints of the underlying gypsum base can still telegraph through if not treated correctly. The Fix: Never use standard drywall mesh tape. Use specifically manufactured fiberglass plaster tape (like USG Imperial Tape). Embed the tape in a scratch coat of the same veneer plaster or a setting-type joint compound (like Durabond 90), feathering it wide before the final finish coat is applied.
3. Burnish Marks and Trowel Chatter
Applying excessive pressure with a steel trowel during the final set compresses the surface pores, creating shiny, uneven patches known as burnish marks. The Fix: Use a clean, slightly damp sponge float or a plastic trowel for the final pass if a matte, uniform texture is desired. Reserve hard steel troweling only for specific, high-gloss Venetian-style finish requirements.
Warning: The Retarder Trap
Contractors often add chemical retarders to the mixing water to extend the working time of veneer plaster on large commercial jobs. Over-retarding weakens the crystalline structure, resulting in a soft, chalky plaster wall that will dent easily and fail to hold paint properly. Always rely on the manufacturer's baseline set times (e.g., Imperial Finish sets in 90 minutes) and mix only as much material as the crew can apply within that window.
Step-by-Step Application Fit: The Two-Coat Veneer System
For the most durable, architecturally specified plaster wall, the two-coat system is the industry standard. This provides a base layer for structural integrity and a top layer for aesthetic finish.
- Substrate Preparation: Ensure all Imperial Gypsum Base joints are taped and filled with a setting-type compound. Allow to cure completely. Vacuum all dust from the board surface.
- Scratch/Brown Coat (Base Coat): Mix a structural base plaster (e.g., USG Imperial Basecoat). Apply a 1/16-inch layer over the entire wall. Scratch the surface horizontally with a rake or stiff brush to provide a mechanical key for the finish coat. Allow to set until firm but not fully dry (typically 45-60 minutes).
- Finish Coat Application: Mix the finish plaster (e.g., USG Diamond Veneer Finish, which offers a hard, white, smooth finish). Apply a thin 1/16-inch layer over the base coat using a stainless steel trowel.
- Troweling Sequence: As the plaster begins to lose its sheen and firm up, perform a tight trowel pass to compress the surface and eliminate voids. For a sand-finish texture, use a sponge float during this stage.
- Curing and Priming: Allow the plaster wall to cure for a minimum of 48 hours. The wall must be completely bone-dry and uniformly white before applying a high-quality PVA drywall primer or an alkali-resistant primer to prevent paint burnout.
Final Specification Checklist
Before signing off on a veneer plaster wall specification for your next project, verify the following parameters to ensure application-fit and long-term performance:
- [ ] Substrate Match: Is the correct absorptive base board (blue board) specified, or is a bonding agent included in the bill of materials for existing surfaces?
- [ ] Acoustic Requirements: Does the project require STC ratings above 50? (Veneer plaster over 5/8" board with sound-attenuating batts outperforms standard drywall assemblies).
- [ ] Lighting Conditions: Are there large, oblique natural light sources or wall-washing LED fixtures? (If yes, a plaster wall or Level 5 drywall skim coat is mandatory to hide joint shadowing; standard Level 4 will fail visually).
- [ ] Trade Sequencing: Is the HVAC system balanced and capable of maintaining 55°F+ ambient temperature without blowing directly onto fresh plaster during the 48-hour cure window?
By matching the specific environmental and aesthetic demands of your project to the unique material properties of calcined gypsum, you can leverage the veneer plaster wall to deliver a premium, highly durable interior finish that standard taping and mudding simply cannot replicate.