How to Refinish Hardwood Floors: 2026 Cost & Material Calculator
Calculate exact material quantities and 2026 costs to refinish hardwood floors. Includes sandpaper matrices, finish yields, and DIY vs pro pricing.
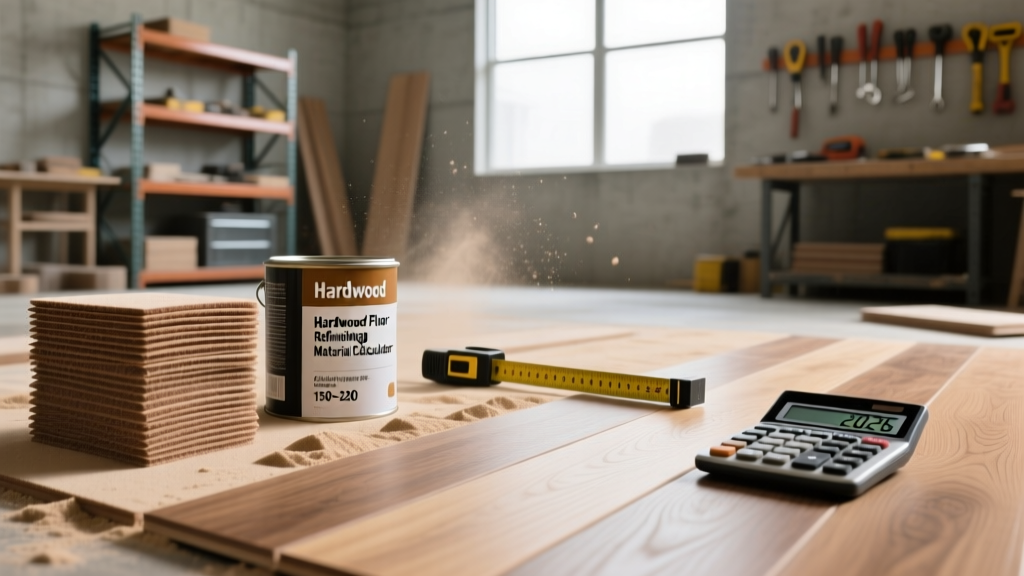
The Hardwood Refinishing Math: What You Actually Need
Refinishing hardwood floors is fundamentally an exercise in material yield management and surface preparation. The most common point of failure for DIYers is not the application of the finish, but the miscalculation of abrasives and the improper sequencing of sandpaper grits. According to the National Wood Flooring Association (NWFA), over 70% of botched DIY floor refinishing jobs require professional intervention due to uneven sanding (dish-out) or finish adhesion failure caused by skipping grit sequences.
To accurately estimate your project, you must calculate three distinct variables: abrasive consumption based on floor condition, finish coverage based on product solids content, and equipment rental duration. This guide provides the exact 2026 material matrices and cost formulas to budget your project down to the square foot.
2026 Quick Cost Snapshot (Per Square Foot)
- DIY Refinishing (Materials + Rental): $1.85 – $3.20 / sq. ft.
- Professional Refinishing (Labor + Materials): $4.50 – $8.50 / sq. ft.
- Stain & Finish Only (Screen and Recoat): $1.10 – $1.75 / sq. ft.
Material Quantity Calculator: Sandpaper, Stain, and Finish
The amount of sandpaper required scales non-linearly with the condition of the floor. A floor with heavy cupping, old shellac, or deep pet stains will require 30% more coarse-grit abrasives than a lightly worn floor. Always purchase 20% more abrasives than your calculated baseline; returning unopened sleeves is standard practice at most suppliers.
Sandpaper Grit Sequence & Quantity Matrix
Never skip more than one grit step. Skipping from 36-grit directly to 80-grit will leave deep scratches that become highly visible once the wet polyurethane is applied. The table below outlines the exact abrasive requirements for a standard 500 sq. ft. room using a standard 8-inch drum sander and a 7-inch edger.
| Grit | Purpose | Drum Sheets (500 sq ft) | Edger Discs (500 sq ft) | Est. Cost (2026) |
|---|---|---|---|---|
| 36-Grit | Heavy stripping, leveling cupped boards | 14 - 18 sheets | 15 - 20 discs | $85 - $110 |
| 60-Grit | Removing 36-grit scratches, smoothing | 10 - 14 sheets | 12 - 15 discs | $65 - $85 |
| 100-Grit | Final polishing, closing wood pores | 8 - 12 sheets | 10 - 12 discs | $55 - $75 |
Stain and Polyurethane Coverage Rates
Finish coverage is dictated by the product's volume solids. Waterborne finishes have lower VOCs but require precise application speeds because they flash (dry) much faster than oil-based alternatives. The Environmental Protection Agency (EPA) notes that waterborne finishes have become the industry standard for residential indoor air quality, though oil-modified urethanes still offer superior ambering for traditional wood species like red oak.
- Oil-Based Stain (e.g., DuraSeal Quick Coat): Covers 500 sq. ft. per gallon. For a 500 sq. ft. room, buy exactly 1 gallon. Cost: ~$45.
- Waterborne Finish (e.g., Bona Traffic HD): A two-part commercial-grade system. Covers 400-500 sq. ft. per gallon. Requires 2 coats minimum. For 500 sq. ft., purchase 3 gallons (allowing for waste and 2 full coats). Cost: ~$210/gallon ($630 total).
- Oil-Based Polyurethane (e.g., Varathane Professional): Covers 400 sq. ft. per gallon. Requires 3 coats for adequate build. For 500 sq. ft., purchase 4 gallons. Cost: ~$65/gallon ($260 total).
Equipment Rental & Consumables Cost Matrix
Rental yards typically charge by the day, but a 4-hour window is often sufficient for a single 12x15 room if you are highly organized. For a whole-house project (1,000+ sq. ft.), secure a weekly rental rate, which usually discounts the daily price by 30-40%.
| Equipment / Consumable | 2026 Daily Rate | Days Needed (500 sq ft) | Estimated Total |
|---|---|---|---|
| Drum Sander (8-inch) | $65 - $85 | 1 Day | $75.00 |
| Floor Edger (7-inch) | $45 - $60 | 1 Day | $55.00 |
| Orbital Buffer / Polisher | $40 - $50 | 1 Day | $45.00 |
| Tack Cloths, Painter's Tape, Nail Sets | N/A | N/A | $35.00 |
Step-by-Step Execution & Yield Management
Proper execution ensures you do not burn through expensive abrasives or waste high-solids finishes. Follow this strict operational sequence:
- Prep and Punch: Countersink all nails using a nail set. Any protruding fastener will instantly tear a $15 drum sanding sheet and potentially damage the sander's drum.
- Moisture Verification: Use a pin-type moisture meter. According to the USDA Forest Products Laboratory, interior wood flooring should stabilize between 6% and 9% moisture content. Applying waterborne finish to wood above 12% MC will trap moisture and cause finish peeling.
- The Drum Pass: Keep the drum sander moving at a steady 1.5 feet per second. Never stop while the drum is engaged with the floor, or you will create a permanent trench (dish-out) in the wood. Tilt the machine back before turning it on.
- Edging: Use the edger for the perimeter. Keep the disc flat; riding on the edge of the disc will create swirling gouges that require hours of hand-scraping to fix.
- Screening Between Coats: After the first coat of polyurethane dries, screen the floor with a 120-grit sanding screen on your buffer. This mechanically abrades the surface, providing a chemical and physical bond for the second coat. Skipping this step guarantees intercoat adhesion failure.
DIY vs. Professional: The Break-Even Analysis
Deciding whether to rent equipment or hire a contractor depends heavily on the layout of your space and the species of wood involved.
When to DIY
- Single, rectangular rooms (under 400 sq. ft.).
- Standard wood species (Red Oak, White Oak, Maple) with flat grain.
- You have 3-4 consecutive days to dedicate to the process (sanding, staining, and 2 coats of finish).
- You are comfortable operating heavy, dangerous machinery.
When to Hire a Pro
- Whole-house projects with multiple doorways and complex transitions.
- Exotic woods (Brazilian Cherry, Jatoba) which burnish easily and require specialized abrasive techniques.
- Floors with severe cupping, water damage, or structural movement.
- Historical homes with potential lead paint dust or asbestos in underlying layers.
Hidden Costs and Edge Cases
Budgeting for a floor refinish must include a 15% contingency for hidden defects revealed only after the carpet is pulled and the first sanding pass is complete.
- Pet Urine Stains: Black pet stains penetrate deep into the wood tannins. Sanding will not remove them. You must either use a two-part wood bleach (like Klean-Strip, ~$40/gallon) or replace the affected boards. Board replacement costs $15–$25 per linear foot for material and weaving labor.
- Asbestos Abatement: If you are removing old 9x9 vinyl tiles or black mastic adhesive before sanding, test for asbestos. Professional abatement adds $3 to $7 per square foot.
- Subfloor Squeaks: Sanding will not fix squeaks. Budget $2 per squeak to drill and plug the floor from above, or access the subfloor from the basement to install wood cleats.
Frequently Asked Questions
Can I use a random orbital sander instead of a drum sander?
Only for very small areas (under 100 sq. ft.) or for screening between finish coats. A standard 5-inch or 6-inch random orbital sander lacks the weight and linear cutting power to level cupped boards or strip thick, degraded polyurethane across a 500 sq. ft. room. Attempting to use a hand sander for primary leveling will result in an uneven, wavy floor.
How long must I wait before moving furniture back?
For waterborne finishes like Bona Traffic HD, you can walk on the floor in socks after 4 hours and move light furniture back after 24 hours. For oil-based polyurethane, wait 24 hours for foot traffic and a full 72 hours before placing heavy furniture or area rugs to prevent the finish from imprinting or trapping off-gassing solvents.