Installing Fluted Wood Panels: Substrate Prep to Finish
Master fluted wood panel installation with our step-by-step guide. Learn substrate prep, cutting techniques, and adhesive mounting for flawless walls.
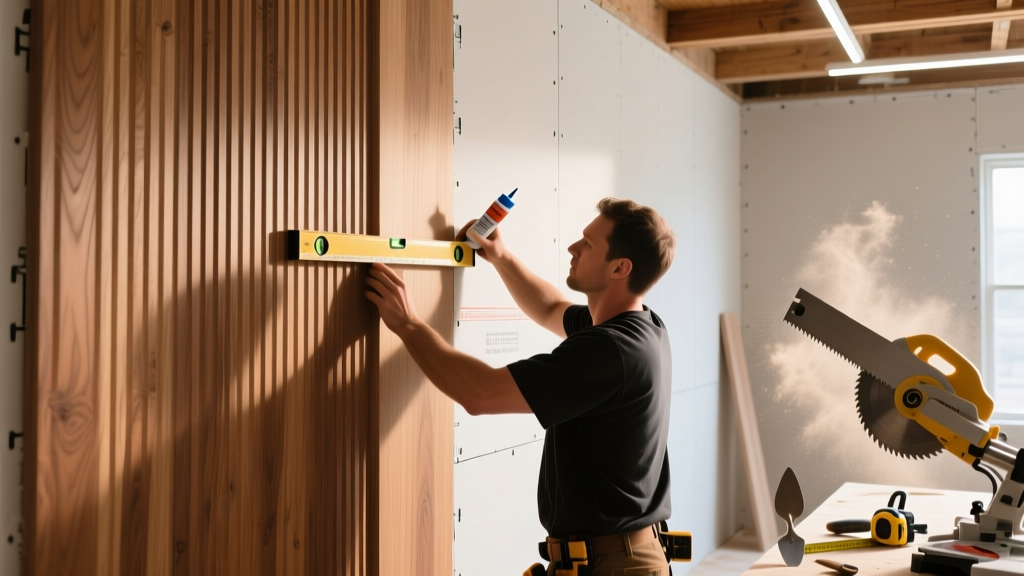
The Anatomy of Modern Fluted Wood Panels
Fluted wood panels—often referred to as slatted acoustic panels—have become a dominant feature in both high-end commercial hospitality and modern residential interiors. Unlike traditional millwork, modern fluted panels typically consist of 20mm to 30mm wide wood veneer or solid wood slats bonded to a 9mm PET (polyethylene terephthalate) acoustic felt backing. While they are marketed as easy-to-install DIY products, achieving a seamless, shadow-free architectural finish requires strict adherence to substrate tolerances, precise cutting techniques, and compatible chemical adhesives. This guide details the professional installation procedures required to avoid the most common failure modes associated with these materials.
Essential Tool & Material Checklist
- Panels: Standard 2400mm x 600mm (approx. 94.5 x 23.6 inches) slatted panels with PET backing.
- Adhesive: Hybrid polymer or polyurethane construction adhesive (e.g., Liquid Nails Fuze*It Max or Loctite Power Grab).
- Fasteners: 18-gauge brad nailer with 1.5-inch to 2-inch brad nails.
- Saw Blades: 80-tooth ATB (Alternate Top Bevel) carbide-tipped finish blade for table saw; fine-tooth crosscut blade for miter saw.
- Layout: 360-degree self-leveling laser level and 4-foot spirit level.
- Substrate Prep: Matte black or charcoal interior latex paint.
Substrate Preparation: The 1/8-Inch Rule
The most frequent cause of installation failure is inadequate wall preparation. Because the vertical lines of the flutes draw the eye directly upward, any undulation in the wall will cast harsh, visible shadow lines across the panel faces. According to the Architectural Woodwork Institute (AWI) standards for architectural paneling, the substrate must not deviate more than 1/8 inch over a 10-foot span.
Drywall Finishing and Painting
Your drywall must be finished to a minimum Level 4 standard. However, the critical step that most installers miss is painting the substrate. You must paint the drywall or plywood substrate a dark matte color (charcoal or black) that closely matches the PET felt backing of the panels. Even with perfectly tight seams, micro-gaps of 1/32 inch can occur due to seasonal wood movement or structural settling. A dark substrate renders these micro-gaps invisible, whereas a white drywall substrate will create glaring white vertical lines between every panel seam.
Cutting Techniques: Eliminating Veneer Tear-Out
The wood slats on fluted panels are typically wrapped in a 0.6mm to 1.5mm thick veneer over an MDF or plywood core. This thin veneer is highly susceptible to chipping and tear-out during cutting. The U.S. Forest Service Forest Products Laboratory notes that veneer tear-out is primarily caused by improper blade geometry and lack of backing support during the cut.
Ripping Panels Lengthwise (Table Saw)
When ripping panels to width, you must use a table saw equipped with a zero-clearance throat insert. This insert supports the veneer fibers right up to the blade edge, preventing them from dipping into the saw throat and splintering. Apply 2-inch blue painter's tape over your cut line, score the tape lightly with a utility knife, and cut with the veneer face UP. An 80-tooth ATB blade will shear the fibers cleanly on the top side.
The 'Half-Flute' Seam Trick
Factory-produced 600mm panels are designed with a 'half-flute' (approx. 10mm to 15mm wide) on both the left and right edges. When two panels are placed side-by-side, these halves combine to form one continuous, full-width flute. If you are terminating a run at a corner, window casing, or ceiling bulkhead, you cannot simply rip the panel to width and leave the half-flute exposed. Doing so breaks the visual rhythm and looks like a mistake. You must rip the panel to remove the half-flute entirely, exposing the flat PET backing, and then apply a solid wood edge banding or trim piece to simulate a proper full-flute termination.
Mounting Methods: Adhesive vs. Mechanical
Selecting the right mounting method depends on whether the installation is permanent (residential) or requires demountability for commercial code compliance and access to wall cavities.
| Method | Best Application | Pros | Cons |
|---|---|---|---|
| Adhesive + Brad Nails | Residential, permanent feature walls | Fastest installation, lowest material cost, rigid feel | Destructive removal, damages drywall upon teardown |
| Z-Clip / French Cleat | Commercial, hospitality, demountable walls | Panels can be removed for wall access, perfectly plumb | Requires precise routing of panel backs, higher labor cost |
| Direct Nail Only | Temporary setups, trade show booths | No curing time, clean removal if done carefully | Panels may rattle or bow between studs over time |
Step-by-Step Adhesive Installation Sequence
For the vast majority of residential and standard commercial applications, the hybrid adhesive and brad nail method provides the best balance of speed and permanence.
- Establish the Laser Plane: Set your self-leveling laser to project a vertical plumb line exactly 1/4 inch away from the wall surface. This 1/4 inch accounts for the panel thickness and prevents the panel from binding against the laser beam during placement.
- Apply Adhesive Correctly: Apply the hybrid polymer adhesive to the PET felt backing in a continuous serpentine pattern. Critical Warning: Keep the adhesive at least 1 inch away from all edges of the panel. If adhesive squeezes out between the slats, it is nearly impossible to clean off the wood veneer without damaging the finish.
- Position and Press: Align the edge of the panel with your laser line. Press firmly across the entire surface, applying pressure to the flat areas between the flutes to ensure the felt backing makes full contact with the drywall.
- Mechanical Fastening: While the adhesive cures, secure the panel using an 18-gauge brad nailer. Shoot the nails directly through the PET felt backing in the recessed gaps between the wood slats, aiming for the wall studs. Never shoot nails through the wood flutes themselves, as this will split the MDF core and leave visible holes.
- Mating the Seams: When placing the second panel, interlock the half-flutes. Use a soft rubber mallet to gently tap the edge of the second panel until the seam is completely tight and the flutes align perfectly in depth.
Troubleshooting Common Installation Failures
Shadowing at Panel Seams
Symptom: Dark shadows appear on one side of the seam where two panels meet, making the wall look crooked.
Cause: The drywall substrate is bowed, pushing one panel deeper into the wall cavity than the adjacent panel.
Fix: Remove the offending panel. Apply self-adhesive drywall shims or layers of masking tape to the studs or drywall behind the recessed side of the panel to bring it perfectly flush with the adjacent panel's plane before re-gluing.
Adhesive Squeeze-Out on Veneer
Symptom: Beads of dried adhesive are visible in the grooves between the wood slats.
Cause: Too much adhesive was applied, or it was placed too close to the panel edge.
Fix: If the adhesive is still wet, wipe it immediately with a microfiber cloth slightly dampened with mineral spirits (test on a scrap piece first to ensure it doesn't dull the veneer finish). If cured, carefully pick it out with a wooden dental pick or plastic putty knife; never use metal tools that will scratch the wood finish.
2026 Cost Breakdown & Material Sourcing
Pricing for fluted wood panels has stabilized as manufacturing capacity in Southeast Asia and Eastern Europe has expanded, though premium hardwood veneers (like black walnut or white oak) still command a significant premium over standard MDF-wrapped options.
- Standard MDF Veneer Panels (Oak/Ash): $7.00 - $10.00 per square foot.
- Premium Solid Wood / Hardwood Veneer Panels: $14.00 - $22.00 per square foot.
- Professional Installation Labor: $4.50 - $8.00 per square foot (varies heavily by region and ceiling height complexity).
- Consumables (Adhesive, Fasteners, Paint): Approx. $1.00 per square foot.
When budgeting, always add 10% to 15% for waste. Because of the half-flute trimming requirements at corners, windows, and electrical outlets, the cut-off waste factor for fluted panels is significantly higher than for flat sheet goods or standard wallpaper.