Plywood Sizes and Dimensions: A Maintenance and Cleaning Playbook
Learn how different plywood sizes and thicknesses require specific maintenance, sealing, and cleaning protocols to prevent warping and delamination.
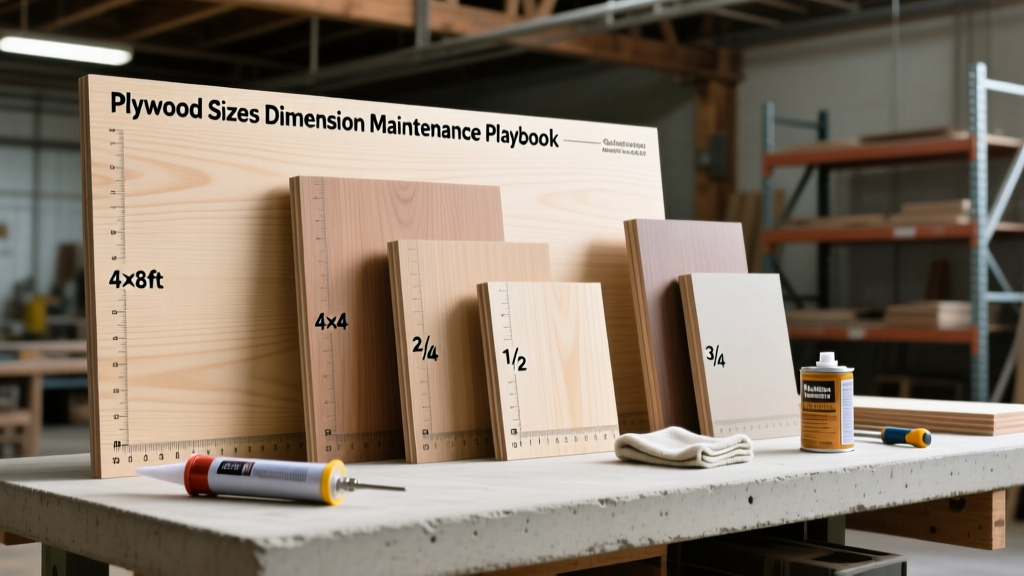
The Dimensional Vulnerability Matrix
When planning maintenance for wood-based structures, contractors often focus on the wood species or the finish coat, entirely overlooking how plywood sizes and dimensional ratios dictate long-term durability. Plywood is an engineered, cross-laminated material. Its physical dimensions—both the surface area of the sheet and its cross-sectional thickness—directly determine its moisture ingress rate, edge vulnerability, and structural deflection under cleaning loads.
A standard 4x8-foot sheet of 3/4-inch CDX behaves entirely differently under maintenance stress than a 5x5-foot sheet of 1/4-inch Baltic birch. The larger the sheet, the more it relies on internal lamination integrity to resist bowing. The thinner the panel, the more susceptible it is to rapid moisture cycling during wet cleaning. This playbook breaks down the exact maintenance, sealing, and cleaning protocols required for specific plywood dimensions to prevent delamination, edge swelling, and surface checking.
The face veneers of plywood are naturally somewhat moisture-resistant due to their tight grain and factory sanding. The edges, however, expose the end-grain of every alternating ply. Exposed edges act like microscopic straws, wicking moisture directly into the core glue lines. Maintenance failures almost always originate at the edges, regardless of the overall sheet size.
Cleaning Protocols by Plywood Thickness
Nominal plywood thicknesses rarely match their actual milled dimensions. Understanding this discrepancy is vital when applying pressure or moisture during cleaning, as thinner panels will deflect and snap if subjected to aggressive scrubbing.
1/4" and 3/8" Panels (Actual: 1/4" and 11/32")
Commonly used for cabinet backing, drawer bottoms, and curved architectural elements. These thin plywood sizes possess minimal structural rigidity.
- Cleaning Agent: Use only a lightly dampened microfiber cloth with a pH-neutral wood cleaner (e.g., Bona Hardwood Cleaner diluted 10:1). Never use liquid soaps or water-heavy mopping.
- Maintenance Action: Because these sizes flex under load, the glue lines are subjected to constant micro-shearing. Annually inspect the perimeter staples or brad nails. If the panel bows, apply a secondary bead of flexible polyurethane adhesive (like PL Premium) along the framing joints to dampen vibration and prevent ply separation.
1/2" and 5/8" Panels (Actual: 15/32" and 19/32")
Standard dimensions for wall sheathing, roof decking, and exterior soffits. These sizes bear moderate structural loads and are highly exposed to weather during construction and service.
- Cleaning Agent: For exterior soffits or exposed architectural plywood, use a low-pressure wash (under 800 PSI) with a 3% hydrogen peroxide solution to kill surface mildew without saturating the core.
- Maintenance Action: These thicknesses are prone to "surface checking" (small cracks in the face veneer caused by UV and moisture cycling). Every 3 to 5 years, apply a penetrating alkyd-urethane sealer. Do not use film-forming finishes like polyurethane on these exterior sizes, as trapped moisture will cause the film to blister and peel.
3/4" and 1" Panels (Actual: 23/32" and 3/4")
Heavy-duty subfloors, workbench tops, and structural diaphragms. According to APA - The Engineered Wood Association, 3/4-inch tongue-and-groove plywood is the benchmark for residential floor stiffness.
- Cleaning Agent: Unfinished 3/4-inch CDX subfloors should never be wet-mopped. Use a stiff-bristle push broom and a shop vacuum. If adhesive residue or stains must be removed, use a localized application of Trisodium Phosphate (TSP) paste, scrubbing with a nylon pad, and immediately extracting the moisture with a wet-vac.
- Maintenance Action: The primary vulnerability of 3/4-inch subfloor sizes is edge swelling at the panel seams, which causes floor ridging. Maintain the 1/8-inch expansion gaps at all butt joints. If gaps close due to humidity expansion, use a circular saw with a masonry blade to recut a 1/8-inch relief kerf, then seal the fresh cut with a waterproofing edge sealer.
Standard Plywood Sizes and Seam Maintenance
The overall sheet dimensions of plywood dictate the linear density of seams in a given space. More seams mean more exposed edge-grain, which exponentially increases the maintenance burden. Below is a breakdown of common plywood sizes and their specific seam-maintenance requirements.
| Standard Sheet Size | Area (Sq Ft) | Perimeter (Linear Ft) | Edge-to-Area Ratio | Maintenance Focus |
|---|---|---|---|---|
| 4' x 8' | 32 | 24 | 0.75 | Standard baseline; focus on long-edge tongue-and-groove integrity. |
| 4' x 9' | 36 | 26 | 0.72 | Lower ratio; ideal for large roof decks to minimize transverse seams. |
| 5' x 5' (Metric) | 25 | 20 | 0.80 | Higher ratio; common in Baltic birch. Requires 15% more edge-sealing volume per sq ft. |
| 2' x 4' (Handy Panel) | 8 | 12 | 1.50 | Extreme ratio; all four edges must be heavily encapsulated if used in damp environments. |
As the USDA Forest Products Laboratory Wood Handbook notes, moisture diffusion occurs much faster through the end-grain (edges) than through the side-grain (faces). Therefore, when utilizing smaller plywood sizes or cutting standard sheets down to size on-site, the maintenance protocol must shift heavily toward edge encapsulation.
Step-by-Step Annual Maintenance Playbook
For exterior, marine, or high-humidity interior applications (like bathroom subfloors or garage cabinetry), follow this annual dimension-specific maintenance routine:
- Perimeter and Seam Inspection: Run a 6-inch flexible taping knife along all panel seams and exposed edges. If the knife catches on raised grain or swollen plies, the edge seal has failed.
- Surface Preparation: Lightly scuff-sand the exposed edges and any checked face veneers with 80-grit aluminum oxide sandpaper. Do not sand through the face veneer on 1/4" or 3/8" sizes; use 120-grit instead to preserve the thin outer ply.
- Chemical Cleaning: Wipe down all sanded areas with denatured alcohol to remove sanding dust and surface oils. Allow 15 minutes for flash-off.
- Edge Encapsulation: Apply a two-part penetrating epoxy (such as West System 105 Resin with 206 Slow Hardener) to all exposed edges. The slow hardener is critical for thick plywood sizes (3/4" and above) as it allows the epoxy to wick deep into the end-grain before curing. Apply until the wood stops absorbing the resin.
- Face Sealing (If Unfinished): For architectural panels, apply a UV-stabilized penetrating oil (like Penofin or Rubio Monocoat). Avoid film-building varnishes on large 4x8 exterior sheets, as the natural expansion and contraction of the large surface area will crack rigid films within two seasons.
Pro-Tip for Metric Sizes: If you are working with 5x5 Baltic birch plywood sizes (commonly used in high-end cabinetry and van builds), the edges consist of exceptionally thin, void-free plies. These edges can be sanded to 400-grit and burnished, but they must be sealed with a dedicated edge-banding glue or a catalyzed lacquer to prevent the thin plies from peeling apart during routine damp-cloth cleaning.
Troubleshooting Dimensional Failures
When maintenance is neglected, plywood sizes will fail in predictable patterns based on their geometry. Use this diagnostic guide to address common issues:
- Symptom: Panel Bowing or Cupping (Common in 1/4" and 3/8" sizes)
Cause: One face was cleaned with water or exposed to humidity while the back remained dry, causing asymmetric expansion.
Fix: Lay the panel flat in a climate-controlled room (45% relative humidity). Apply a damp towel to the concave (cupped) side and place weights on the edges. Allow 48 hours to re-acclimate, then immediately seal both faces with an equal coat of shellac or polyurethane to balance the moisture vapor transmission rate. - Symptom: Edge Delamination and "Flaking" (Common in 3/4" CDX and OSB hybrids)
Cause: Water wicking into unsealed end-grain, breaking down the phenolic glue lines.
Fix: Cut away the delaminated plies using a flush-cut saw. Inject a low-viscosity wood consolidant (like Minwax High-Performance Wood Hardener) into the remaining ply gaps. Once cured, fill the void with a two-part polyester wood filler (e.g., Bondo Wood Filler) and sand flush. - Symptom: Surface Checking / Micro-Cracking (Common in 4x8 and 4x9 Exterior Sizes)
Cause: UV degradation and thermal expansion causing the face veneer to split along the grain.
Fix: Do not fill these cracks with rigid wood filler; they will pop out when the large sheet flexes. Instead, clean the cracks with compressed air and flood them with a flexible, paintable elastomeric caulk or a penetrating epoxy sealer that bridges the gap while allowing for thermal movement.
By aligning your cleaning chemicals, sealing products, and inspection routines with the specific physical dimensions of your plywood, you extend the service life of the panels by decades. Always remember that in engineered wood, geometry dictates vulnerability.