Sheathing Plywood Guide: Matching Panels to Structural Scenarios
Match the right sheathing plywood to your structural scenario. Compare CDX, OSB, and specialized panels for roof, wall, and floor applications.
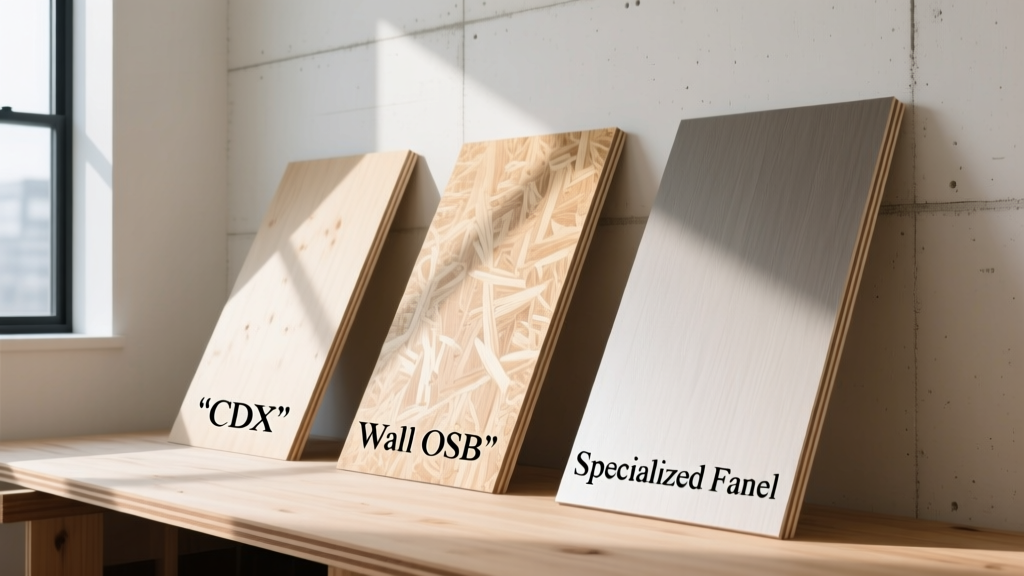
The Sheathing Plywood Scenario Matrix
Selecting structural sheathing is not a one-size-fits-all decision. The optimal panel depends entirely on the specific structural loads, climate zone, and moisture management strategy of your build. While builders often default to the cheapest option available at the lumberyard, mismatching sheathing plywood to its application leads to callbacks, squeaky floors, and moisture-induced degradation.
Below is a decision matrix mapping the four primary sheathing categories to their ideal structural scenarios, based on current 2026 material pricing and performance data.
| Panel Type | Avg. Cost (4x8 Sheet) | Best Scenario | Moisture Tolerance | Racking/Shear Strength |
|---|---|---|---|---|
| Standard OSB (7/16'') | $32 - $38 | Standard residential roofs, interior partition backing | Low (prone to edge swell) | High (comparable to plywood) |
| CDX Plywood (1/2'') | $48 - $58 | High-wind shear walls, exposed subfloors, coastal builds | Medium (delaminates but dries well) | Very High (excellent nail holding) |
| Integrated Barrier (e.g., ZIP) | $70 - $85 | Tight-envelope energy codes, fast-track weather-in | High (coated face, taped seams) | High (requires specific fasteners) |
| Radiant Barrier OSB | $45 - $52 | Hot climate roofs (Zones 1-3), unconditioned attics | Low (foil face limits drying inward) | High (standard OSB core) |
Roof Scenarios: Span Ratings and Wind Uplift
Roof sheathing must balance dead/live loads with wind uplift resistance. The critical metric here is the span rating stamped on the panel, typically formatted as two numbers separated by a slash (e.g., 24/16).
Decoding the Span Rating
The first number indicates the maximum recommended on-center (o.c.) spacing for roof rafters; the second indicates the maximum spacing for floor joists. For a standard 24-inch o.c. roof truss layout, a 24/16 panel is the minimum requirement. However, in high-snow-load regions or for roofs with heavy clay tiles, stepping up to a 32/16 or 48/24 rating (usually requiring 5/8'' or 3/4'' thickness) prevents long-term deflection and sagging between trusses.
The H-Clip Requirement
When using 7/16'' OSB or plywood on 24-inch o.c. rafters, the International Residential Code (IRC) mandates edge support for the long, unsupported edges between rafters. H-clips (panel edge clips) must be installed midway between the trusses. Skipping H-clips to save $0.15 per clip results in a wavy roofline visible under architectural shingles, a common framing callback.
Wall Scenarios: Shear Strength and Moisture Management
Wall sheathing serves two distinct masters: providing lateral bracing (shear strength) against wind and seismic forces, and acting as a drainage plane substrate. The choice between CDX plywood and Oriented Strand Board (OSB) hinges on the project's weather-in timeline and climate.
CDX vs. OSB for Shear Walls
Structurally, 1/2'' CDX plywood and 7/16'' OSB offer nearly identical shear wall capacities when nailed with standard 8d common nails at 6'' o.c. on edges and 12'' o.c. in the field. However, their failure modes under moisture exposure differ drastically.
- CDX Plywood: When exposed to rain before the weather-resistive barrier (WRB) is installed, CDX tends to delaminate at the veneers. However, it dries out quickly and largely retains its structural integrity once dry.
- Standard OSB: OSB absorbs water at the cut edges, leading to 'edge swell.' Once the edges swell, they do not shrink back to their original dimensions when dry, creating ridges that can telegraph through thin sidings like vinyl or fiber cement.
For projects with a fast weather-in schedule (under 14 days), OSB is the cost-effective choice. For custom builds where the sheathing may sit exposed to the elements for months, CDX or an integrated barrier system is mandatory.
Integrated Barrier Systems
Panels like the ZIP System combine the structural sheathing and the WRB into a single product. While the upfront material cost is roughly double that of standard OSB plus housewrap, the labor savings from eliminating the wrap installation—and the reduced risk of wind-tearing the WRB before siding goes on—makes it highly efficient for production builders and high-performance energy envelopes.
Floor Scenarios: Deflection and T&G Dynamics
Floor sheathing is where the homeowner physically interacts with the structural framing. A poorly specified floor panel results in a 'bouncy' feel and squeaks underfoot. The primary decision here is between square-edge panels with blocking versus Tongue-and-Groove (T&G) panels.
Stiffness Ratings and Joist Spacing
Floor panels are graded by stiffness. A panel stamped 24/16 is designed for joists spaced at 16 inches o.c. If your floor joists are engineered I-joists spaced at 19.2 or 24 inches o.c., you must use a panel with a corresponding floor span rating (e.g., 48/24). Using a 24/16 panel on 24-inch o.c. joists will result in excessive deflection, violating the L/360 live-load deflection limit required by code for stone or tile finishes.
T&G vs. Square Edge with Blocking
T&G panels (typically 3/4'' or 7/8'' thick) interlock at the long edges, transferring load from the loaded joist to the adjacent joist. This creates a significantly stiffer floor diaphragm without the need for solid wood blocking between joists. Square-edge panels require the framer to install 2x4 or 2x6 solid blocking at all unsupported edges—a labor-intensive process that is frequently skipped or poorly executed in the field, leading to soft spots in the floor.
Critical Failure Modes and Edge Cases
Even when the correct sheathing plywood is selected for the scenario, improper installation techniques can compromise the entire structural diaphragm. Building Science Corporation frequently highlights the following field errors that lead to structural and moisture failures.
The 1/8-Inch Gap Rule
Wood-based panels expand and contract with changes in moisture content. The APA mandates a 1/8-inch gap between all panel edges (both ends and sides) to allow for expansion. Framers frequently butt panels tightly together to save time. When the panels absorb moisture from the ambient air or rain exposure, they expand. With no gap to accommodate the growth, the panels buckle upward, creating ridges in roofs and floors that require expensive sanding or panel replacement before finish materials can be applied.
Bottom Plate Splash Zones
Standard OSB and CDX should never extend all the way down to the concrete slab or foundation in a way that creates a direct capillary path for ground moisture. In splash zones (the bottom 8 to 12 inches of a wall), it is best practice to use pressure-treated plywood, composite structural panels, or specialized fluid-applied flashing membranes over the sheathing to prevent wicking and subsequent bottom-plate rot.
Fastener Over-Driving
Pneumatic nail guns set to high pressure often over-drive fasteners, crushing the wood fibers around the nail head and breaking the paper face of the plywood or the resin bond of the OSB. An over-driven nail loses up to 50% of its withdrawal resistance and shear capacity. Nail guns must be calibrated daily to ensure the fastener head sits flush with, but not breaking through, the sheathing surface.