Master Guide to Types of Wood Corner Joints by Species
Discover how wood species dictate the success of different types of wood corner joints. Expert guide on shrinkage, joinery, and glue protocols.

The Intersection of Joinery and Wood Anatomy
Selecting the right joinery is only half the battle in cabinetmaking and structural timber framing; the other half is understanding how the specific wood species will behave once the glue cures. Wood is an anisotropic material, meaning it expands and contracts at different rates along its three axes. When evaluating the various types of wood corner joints, a joint that remains perfectly flush in a stable species like Mahogany might tear itself apart in a high-movement species like Hickory. This guide maps core corner joinery techniques to specific wood species, utilizing dimensional shrinkage data and Janka hardness metrics to ensure your corners survive seasonal humidity shifts.
Wood Movement Metrics: Why Species Dictates Joint Survival
Before cutting a single joint, you must calculate the expected dimensional movement of your chosen species. According to the USDA Forest Products Laboratory Wood Handbook, wood shrinkage is measured tangentially (parallel to the growth rings) and radially (perpendicular to the rings). The ratio between these two values (T/R ratio) predicts how much a board will cup or twist, which directly impacts corner joint integrity.
| Wood Species | Tangential Shrinkage | Radial Shrinkage | T/R Ratio | Joint Risk Profile |
|---|---|---|---|---|
| Eastern White Pine | 6.1% | 2.8% | 2.18 | Low (Highly stable) |
| Black Cherry | 7.1% | 3.7% | 1.92 | Low (Excellent for miters) |
| Hard Maple | 9.9% | 4.8% | 2.06 | Moderate (Requires mechanical locks) |
| White Oak | 10.5% | 5.6% | 1.88 | Moderate (High density, needs sharp tooling) |
| Hickory (Pecan) | 12.6% | 6.3% | 2.00 | High (Extreme movement, avoid simple miters) |
As a general rule outlined in The Wood Database guide on wood movement, any species with a tangential shrinkage value over 9% requires mechanical reinforcement in corner joints, as glue alone will eventually succumb to the sheer stress of seasonal expansion.
Evaluating Core Types of Wood Corner Joints by Species
1. The Miter Joint: The Stability Test
A standard 45-degree miter joint relies entirely on end-grain-to-end-grain gluing, which is inherently weak because the wood pores act like straws, wicking adhesive away from the joint line. This joint is strictly reserved for highly stable, low-movement species like Black Cherry, Genuine Mahogany, and Poplar.
- Modification for Moderate Species: If you must use a miter joint on White Oak or Walnut, incorporate a 1/4-inch solid wood slip-tongue spline or a floating tenon. The spline must be oriented so its grain runs perpendicular to the miter cut to prevent cross-grain splitting.
- Species to Avoid: Never use unreinforced miters on Beech or Hickory. The high T/R shrinkage will cause the outside corner to open visibly during winter months when indoor relative humidity drops below 30%.
2. Box (Finger) Joints: Maximizing End-Grain Glue
Box joints interleave rectangular fingers, multiplying the long-grain-to-long-grain glue surface area. This makes them exceptionally strong and ideal for softer, more forgiving species like Eastern White Pine, Cedar, and Alder.
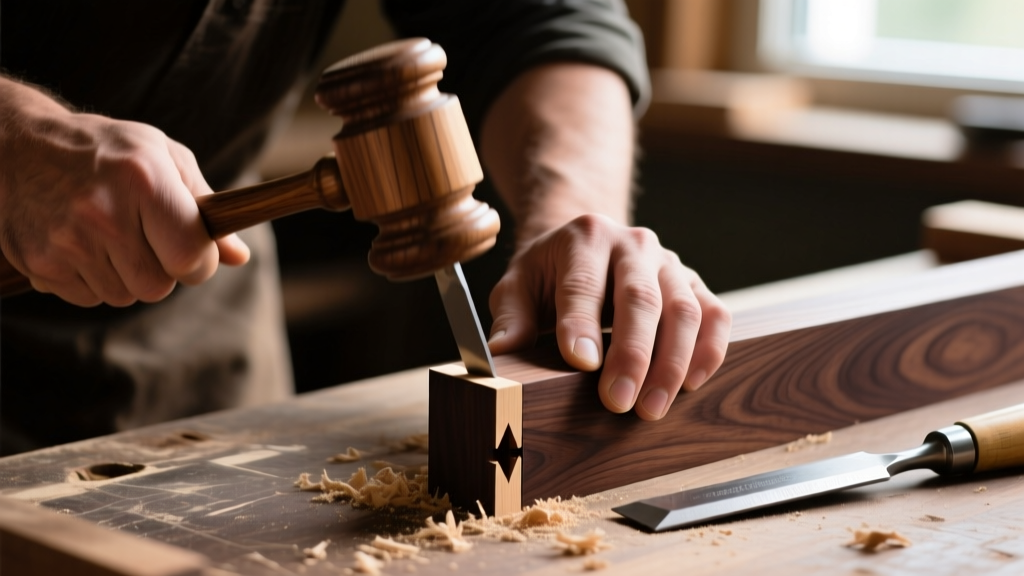
3. Dovetail Joints: Mechanical Locks for Dense Hardwoods
Dovetails provide a mechanical lock that physically prevents the joint from pulling apart, even if the adhesive completely fails. This is the premier choice for dense, heavy hardwoods like Hard Maple, Walnut, and White Oak used in drawer boxes and casework.
- Angle Specifics: For hardwoods, cut the dovetail angle at a 1:8 ratio (approx. 7 to 9 degrees). Softwoods require a steeper 1:6 ratio to prevent the softer fibers from crushing under mechanical load.
- Brittle Exotics Warning: When working with ultra-dense, brittle exotics like Purpleheart or Wenge, chopping the waste with a chisel often results in catastrophic blowout. Instead, remove 90% of the waste using a 1/8-inch spiral upcut router bit, leaving only a 1/32-inch paring margin for the chisel.
4. Floating Tenon Corners: The Modern Structural Standard
Using loose tenons (created by tools like the Festool Domino or CNC routers) has largely replaced traditional mortise and tenon joinery in production environments. This joint excels in Ash, Rift-Sawn White Oak, and European Beech. The floating tenon provides massive long-grain glue surface area inside a deep mortise, completely neutralizing the leverage that would normally snap a simple butt joint.
Species-Specific Adhesive Protocols
The best joint geometry will fail if the adhesive chemistry clashes with the wood's extractives. Here is how to match glue to species for corner joints:
Oily Exotics (Teak, Ipe, Cocobolo)
Standard PVA (polyvinyl acetate) glues cannot penetrate the natural oils in these species. Wipe the joint surfaces with acetone immediately before gluing, and use a two-part epoxy like System Three T-88 or a resorcinol-formaldehyde resin. Epoxies bridge gaps and do not rely on wood porosity for adhesion.
High-Tannin Woods (White Oak, Walnut)
When using standard yellow aliphatic resins (like Titebond Original), the moisture in the glue can react with tannins, causing black staining at the joint line. Use Titebond III (which has a lower moisture content and darker dried color) or a polyurethane adhesive to prevent visible tannin bleed on exterior or high-visibility corners.
High-Movement Species (Hickory, Hard Maple)
For these woods, flexibility is key. Avoid rigid epoxies. Use a high-quality Type I waterproof PVA (like Titebond III) which retains a slight degree of elasticity, allowing the joint to absorb microscopic seasonal movement without cracking the glue line.
The Joint-to-Species Decision Matrix
Use this quick-reference matrix to select the optimal corner joint based on your project's primary wood species and structural requirements.
| Wood Species Category | Recommended Corner Joint | Reinforcement Required? | Primary Failure Mode to Avoid |
|---|---|---|---|
| Stable Hardwoods (Cherry, Mahogany) | Spline Miter or Dovetail | 1/4" Spline for miters | Glue starvation on end-grain |
| Softwoods (Pine, Cedar, Spruce) | Box (Finger) Joint | No (Glue sufficient) | Crushing of soft fibers during clamping |
| Dense Hardwoods (Maple, Oak, Ash) | Floating Tenon or Dovetail | Yes (Mechanical lock) | Shear stress from tangential shrinkage |
| Oily Exotics (Teak, Rosewood) | Double-Spline Miter | Yes (Epoxy + Spline) | Adhesive rejection due to surface oils |
| High-Movement (Hickory, Beech) | Lock Miter or Half-Lap | Yes (Mechanical interlock) | Corner opening during low-humidity winters |
Troubleshooting Joint Failures in High-Movement Species
Even with perfect technique, high-movement species can test the limits of corner joinery. If you are experiencing joint failures, diagnose the issue using these specific parameters:
- Symptom: The miter corner opens on the outside edge.
Cause: Tangential shrinkage is pulling the end-grain inward. Fix: You are using a species with >10% tangential shrinkage in a simple miter. Switch to a lock-miter router bit profile, which increases the long-grain glue surface area by 300% and provides a mechanical shoulder against shrinkage. - Symptom: Dovetail pins are shearing off at the base.
Cause: The dovetail angle is too steep for a brittle hardwood, or the wood was cut with a dull saw blade, leaving micro-fractures in the end-grain. Fix: Reduce the angle to 7 degrees (1:8 ratio) and ensure your saw blade is carbide-tipped with a minimum 60-tooth count for clean, fracture-free cuts. - Symptom: Floating tenon feels loose after glue-up.
Cause: The wood species has high initial moisture content and the mortise was cut while the wood was swollen. As the wood dries and shrinks radially, the mortise widens. Fix: Always acclimate dense hardwoods to the installation environment (typically 6-8% moisture content for interior climate-controlled spaces) for a minimum of 14 days before machining mortises.
Mastering the various types of wood corner joints requires looking past the geometry of the cut and deeply understanding the cellular structure of the species in your hands. By aligning your joinery choices, adhesive chemistry, and tooling techniques with the specific shrinkage metrics of your lumber, you ensure corners that remain tight, square, and structurally sound for decades.
Written by
James ThorntonJames Thornton is a construction industry veteran with 25 years of hands-on experience in wood framing, lumber grading, and residential building codes. He started as a framing carpenter in rural Oregon, earned his ICC Residential Building Inspector certification, and eventually became a senior plan reviewer for the City of Portland Bureau of Development Services. James holds a B.S. in Wood Science & Technology from Oregon State University and is a certified lumber grader through the West Coast Lumber Inspection Bureau (WCLIB). He has inspected over 3,000 residential construction sites and authored the city's internal guide on advanced framing techniques (2x6 at 24" O.C.). James lives in Bend, OR, where he builds custom timber-frame cabins and competes in lumberjack sports.
More from James Thornton
View all
Insulation
Best Home Insulation Materials: Complete 2026 Guide
Compare top home insulation materials for 2026. Find R-values, installed costs per square foot, and best uses for fiberglass, spray foam, and mineral wool.
Aug 4, 2026

Sustainable Building
Certify Your Green Building Material for LEED and WELL
Step-by-step guide to certifying a green building material for LEED v5 and WELL v2. Master EPDs, HPDs, and VOC limits for 2026 project specifications.
Aug 4, 2026

Stone & Masonry
Veneer Stacked Stone Panels: Interior Design & Style Showcase
Discover how veneer stacked stone panels transform interiors. Explore modern design profiles, material pairings, and technical installation specs.
Aug 4, 2026