Cement Board vs Gypsum Board: Wet Area Installation Guide
Master the cement board vs gypsum board installation debate. Compare cutting, fastening, and waterproofing for tile backer systems in wet areas.

The Core Conflict: Cementitious vs. Fiberglass-Faced Gypsum
When selecting a substrate for wet-area tile installations, the 'cement board vs gypsum board' debate centers on two fundamentally different material sciences. Standard paper-faced drywall is strictly prohibited in wet areas by the International Residential Code (IRC). Therefore, this comparison exclusively evaluates Portland cement-based backer boards (such as USG Durock or James Hardie's HardieBacker) against fiberglass-faced, water-resistant gypsum tile backers (such as Georgia-Pacific's DensShield).
Cement board relies on a dense, inorganic aggregate core that is completely impervious to water degradation, though it is porous and allows moisture migration. Fiberglass-faced gypsum board utilizes a moisture-resistant treated gypsum core encapsulated by an integrated acrylic or fiberglass moisture barrier. Understanding the installation nuances of each is critical, as applying cement board protocols to gypsum backers will result in catastrophic system failure.
Material Matrix: Weight, Cuttability, and Moisture Resistance
Before unloading materials, review the physical properties that dictate your installation workflow. The following matrix highlights the operational differences between 1/2-inch thick panels of both materials.
| Attribute | Cement Board (e.g., Durock) | Fiberglass-Faced Gypsum (e.g., DensShield) |
|---|---|---|
| Weight (per 3x5 ft / 4x8 ft panel) | ~45 lbs (3x5 ft) | ~52 lbs (4x8 ft) |
| Cutting Method | Carbide scoring knife + snap; angle grinder for cutouts | Standard utility knife + snap; drywall saw for cutouts |
| Dust Generation | High (silica dust requires PPE when grinding) | Low (minimal dust during scoring/snapping) |
| Water Absorption | Porous (requires topical membrane or vapor barrier) | Non-porous facing (integrated moisture barrier) |
| Fastener Requirement | Alkali-resistant ribbed wafer-head screws | Hot-dipped galvanized or corrosion-resistant drywall screws |
Step-by-Step Installation: Cement Board Systems
Cement board is the traditional standard for high-impact, high-moisture environments like commercial showers and steam rooms. Its installation requires specific fasteners and joint treatments to prevent alkaline degradation.
1. Cutting and Scribing
Score the board using a heavy-duty carbide-tipped scoring knife. Apply firm pressure, making two to three passes to cut through the fiberglass mesh embedded in the cement. Snap the board over a straight edge. For plumbing cutouts, a diamond-grit hole saw or an angle grinder is required. Always cut cement board outdoors or in a ventilated area wearing an N95 respirator to avoid silica dust inhalation.
2. Fastening Protocols
Install panels with the rough side facing out for thinset mortar adhesion. Maintain a 1/4-inch gap between the bottom of the board and the tub or shower pan flange to prevent capillary wicking. Fasten the board using 1-1/4-inch alkali-resistant screws (such as Backer-On or Durock brand). Standard drywall screws will corrode and pop due to the high alkalinity of Portland cement. Space screws every 8 inches on walls and 6 inches on floors, keeping them at least 3/8-inch from panel edges.
3. Joint Treatment and Waterproofing
Cement board joints must be taped using 2-inch alkali-resistant fiberglass mesh tape. Embed the tape in a polymer-modified thinset mortar, not standard drywall joint compound. Because cement board is porous, a topical waterproofing membrane (like RedGard or Schluter-Kerdi) must be applied over the entire surface before tiling, or a 4-mil polyethylene vapor barrier must be installed behind the studs.
Step-by-Step Installation: Fiberglass-Faced Gypsum Systems
Fiberglass-faced gypsum backers offer a faster, lighter installation with built-in moisture protection, making them ideal for residential tub surrounds and bathroom floors. However, their installation rules differ sharply from cementitious products.
1. Scoring and Snapping
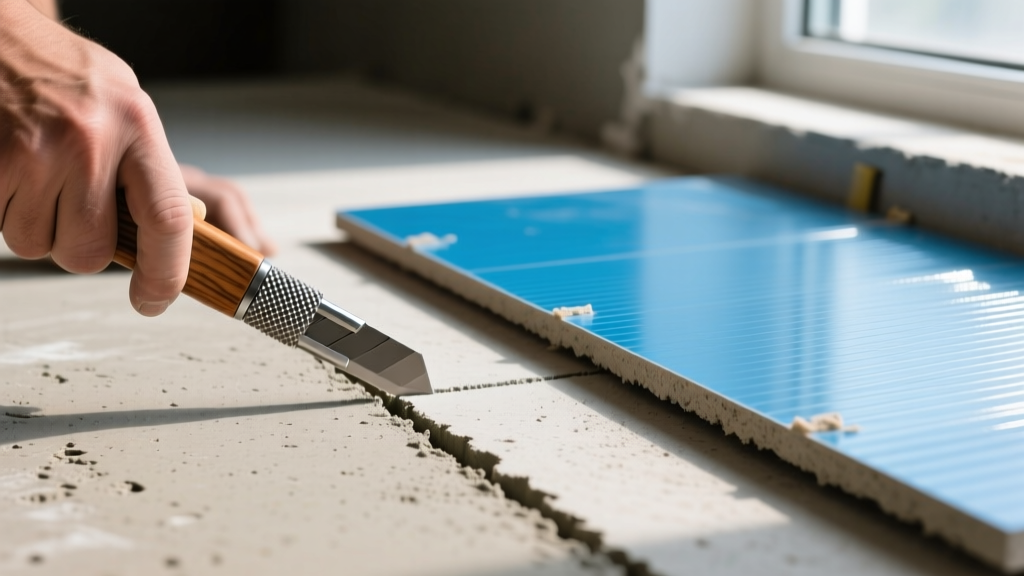
Unlike cement board, gypsum tile backers can be cut with a standard utility knife. Score the fiberglass face deeply, snap the panel, and cut the backing paper. This produces virtually no silica dust and allows for rapid cutting of complex angles using a standard drywall keyhole saw.
2. Fastening Protocols
Install the panels with the treated, colored face (usually blue or gray) pointing outward. Use 1-1/4-inch hot-dipped galvanized or specially coated corrosion-resistant drywall screws. Because there is no Portland cement in the core, alkali-resistant screws are unnecessary. Space fasteners every 8 inches on walls, ensuring the screw heads dimple the surface without breaking the fiberglass mat.
3. Joint Treatment and Waterproofing
This is where most contractors fail. Fiberglass-faced gypsum boards like DensShield feature an integrated acrylic moisture barrier on the face. You must treat the joints and screw heads with a specific setting-type joint compound (like Durabond 90) or a flexible sealant, depending on the manufacturer's current specs. Standard paper tape and all-purpose joint compound will fail in wet areas.
Waterproofing Decision Framework
Choosing between these materials often comes down to your preferred waterproofing strategy. According to the Tile Council of North America (TCNA) guidelines, both methods are acceptable if executed correctly, but they serve different risk profiles.
- The Cement Board Approach (Topical Membrane): Best for custom tile showers, steam rooms, and high-use commercial spaces. The cement core provides a rock-solid, non-degradable base. If the topical membrane is compromised, the cement board will not rot, giving you a secondary line of defense before water reaches the studs.
- The Gypsum Board Approach (Integrated Barrier): Best for standard residential tub surrounds and bathroom floors. The waterproofing is built into the panel, eliminating the labor and material cost of painting on a liquid membrane. However, if the joints are not sealed perfectly, or if a plumber cuts a hole and leaves the exposed core unprotected, water intrusion will destroy the gypsum.
Common Failure Modes and Edge Cases
Avoid these frequent installation errors that lead to tile delamination and mold growth:
- The Tub Flange Gap Error: Failing to leave a 1/4-inch gap between the backer board and the tub flange. If the board touches the tub, water pooling on the tub lip will wick up into the board via capillary action. Fill this gap with 100% silicone caulk, not thinset.
- Over-Tightening Fasteners: Driving screws too deep on gypsum backers breaks the fiberglass mat, compromising the integrated moisture barrier and reducing the pull-out strength of the screw.
- Using the Wrong Tape: Applying standard drywall paper tape on cement board. The alkalinity of the thinset will dissolve the paper, causing the joint to split and the tile above it to crack.
- Unsealed Penetrations: Cutting plumbing holes in gypsum backers and failing to seal the exposed gypsum core. Always coat the edges of cutouts with a liquid waterproofing sealant or silicone before installing the mixing valve or escutcheon plate.
For comprehensive structural requirements and deflection limits (L/360 for floors), always consult the latest USG or manufacturer-specific technical data sheets before finalizing your substrate choice. Selecting the right board and adhering to its specific fastening and waterproofing protocols ensures a tile installation that will outlast the home itself.
Written by
Priya KapoorPriya Kapoor is a real estate market analyst and construction economics researcher with expertise in housing affordability, development feasibility, and infrastructure investment. She holds a Master of Regional Planning from Cornell University and previously worked as a senior analyst at CBRE's Investment Properties group, where she modeled returns for $4B in mixed-use development pipelines. Priya now runs an independent research practice advising developers, municipalities, and REITs on construction cost forecasting and market timing. She publishes the quarterly "BuildMat Market Pulse" report tracking material price indices across 12 commodity categories. Based in Austin, TX, Priya serves on the board of Habitat for Humanity Austin and is a marathon runner.
More from Priya Kapoor
View all
Construction Cost
Cost to Build a 1600 Sq Ft Home in 2026: Full Breakdown
Accurate 2026 cost to build a 1600 sq ft home—material, labor, and regional pricing breakdowns included. Plan your budget with real-time estimates.
Aug 11, 2026

Wood & Lumber
Name the Types of Wood for Pressure Treatment and Preservation
Learn how to name the types of wood best suited for pressure treatment. Compare species treatability, chemical retention levels, and 2026 preservation costs.
Aug 4, 2026

Stone & Masonry
Stone Veneer Suppliers Lindenhurst: 2026 Cost Analysis
Analyze 2026 stone veneer costs in Lindenhurst, NY. Compare local supplier pricing, delivery fees, and Suffolk County installation labor rates.
Aug 4, 2026