Cleaning Epoxy Paint for Concrete: A Maintenance Playbook
Learn how to clean and maintain epoxy paint for concrete floors. This playbook covers daily routines, stain removal, chemical spill protocols, and recoating.
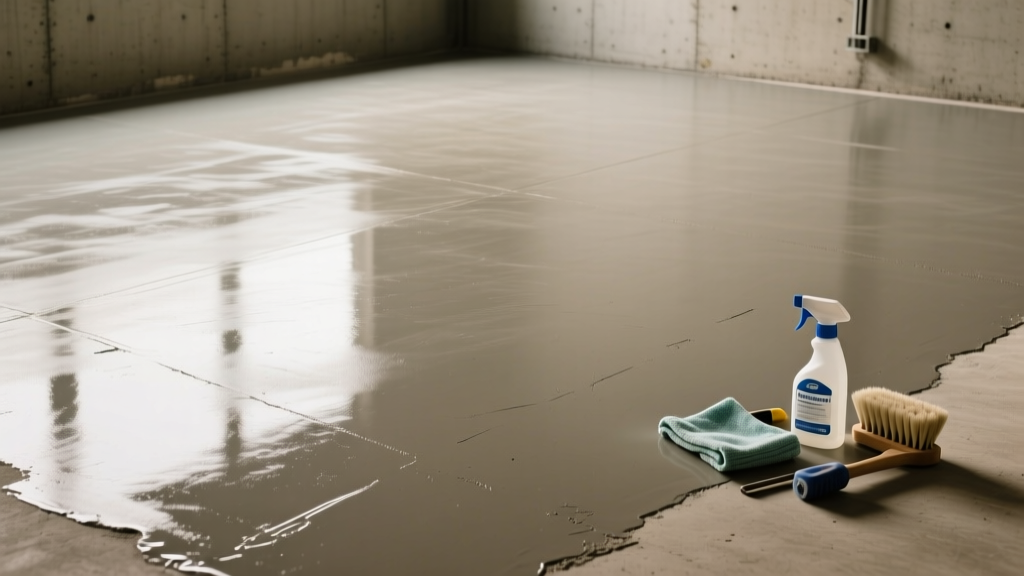
The Critical Distinction: Epoxy Paint vs. 100% Solids Epoxy
Before executing any maintenance protocol, you must identify the exact chemistry of your floor. The term epoxy paint for concrete is frequently misused in the retail market. True 100% solids epoxy systems (typically 10 to 20 mils thick) are highly chemical-resistant thermosetting polymers. In contrast, commercial "epoxy paints" (such as 1-part water-based acrylic-epoxy hybrids or 2-part solvent-based epoxies) usually cure to a dry film thickness of only 1.5 to 3 mils.
This distinction dictates your maintenance playbook. Epoxy paint has a lower cross-link density, making it significantly more vulnerable to solvent attacks, hot tire plasticizer migration, and mechanical abrasion. According to guidelines published by the American Concrete Institute (ACI), thinner decorative coatings require strict adherence to pH-neutral cleaning agents to prevent premature delamination and gloss loss. The protocols below are specifically calibrated for the vulnerabilities of 1-part and 2-part epoxy paints applied over concrete substrates.
The Daily and Weekly Cleaning Protocol
Maintaining the structural integrity and visual depth of epoxy paint requires removing abrasive particulates before they are ground into the coating by foot or vehicle traffic.
Daily: Dry Particulate Removal
- Tool: Use a 36-inch microfiber dust mop. Avoid traditional cotton string mops, which can leave lint and fail to capture fine silica dust.
- Technique: Employ overlapping figure-eight strokes to trap debris in the center of the mop head rather than pushing it into the floor's expansion joints.
- Avoid: Stiff-bristled push brooms. Over time, stiff synthetic bristles will inflict micro-scratches on the epoxy surface, leading to a hazy, matte appearance.
Weekly: Damp Mopping and Emulsification
- Select the Right Chemistry: Use a strictly pH-neutral floor cleaner (pH 7.0). Zep Neutral Floor Cleaner or a 1:10 dilution of Simple Green All-Purpose Cleaner are industry standards for epoxy paints.
- Water Quality Matters: If your local municipal water has a hardness level exceeding 150 PPM (parts per million), the calcium and magnesium ions will leave hard water spots that chemically bond to the epoxy. Use distilled or mechanically softened water for your mop bucket.
- Application: Apply the solution and allow a 3-minute dwell time to emulsify surface oils. Do not let the solution air-dry on the floor.
- Extraction: Remove the dirty water using a foam-lined squeegee. Standard rubber squeegees can leave black scuff marks on light-colored epoxy paints.
Troubleshooting Matrix: Stains, Marks, and Degradation
When routine cleaning fails, targeted interventions are required. The following matrix addresses the most common failure modes specific to epoxy paint for concrete.
| Symptom | Root Cause | Targeted Fix & Protocol |
|---|---|---|
| Hot Tire Pickup (Yellowish, sticky residue or peeling) | Plasticizers from hot rubber tires migrating into the porous epoxy paint matrix. | Wipe the area with a rag dampened with acetone (test in an inconspicuous area first to ensure the epoxy paint doesn't soften). To permanently prevent this, the floor must be top-coated with a polyaspartic or aliphatic polyurethane clear coat. |
| Ambering / Yellowing (Overall color shift, especially in sunlit areas) | UV degradation. Standard epoxy resins lack UV stabilizers and will photo-oxidize when exposed to direct sunlight. | Lightly scuff-sand the ambered layer with 120-grit silicon carbide paper, vacuum thoroughly, and apply a UV-stable aliphatic polyurethane topcoat to halt further degradation. |
| White Haze (Amine Blush) | Moisture reacting with the epoxy hardener during the initial cure, or high-alkaline cleaner residue left behind. | For amine blush, wash the surface with warm water and a stiff nylon brush. For alkaline residue, use a diluted white vinegar solution (1 part vinegar to 4 parts water) to neutralize, followed by a thorough clean water rinse. |
| Black Scuff Marks | Friction transfer from shoe soles or non-marking forklift tires. | Spray a small amount of WD-40 or a dedicated melamine-foam pad (Magic Eraser) dampened with water. Gently rub the mark; do not apply heavy downward pressure, which will sand through the clear layer. |
Chemical Spill Response Playbook
Epoxy paint provides a temporary barrier against chemical intrusion, but it is not impervious. The dwell time of a spill dictates whether the coating survives or requires a patch repair. The Occupational Safety and Health Administration (OSHA) mandates strict protocols for handling chemical hazards, which aligns with protecting your floor asset.
Road Salt and Magnesium Chloride
Winter de-icing salts are highly destructive to epoxy paint. Magnesium chloride draws moisture out of the concrete substrate, creating hydrostatic pressure that blisters the epoxy from below.
- Immediate Action: Sweep up granular salt immediately.
- Neutralization: Mix a slurry of baking soda and water (1 cup baking soda per gallon). Mop over the affected area to neutralize the chloride ions.
- Extraction: Wet-vacuum the slurry. Do not allow it to dry into a crust.
Automotive Fluids (Brake Fluid, Antifreeze, Oil)
Brake fluid (glycol-ether based) is a potent solvent that will dissolve 1-part epoxy paint within 45 minutes.
- Immediate Action: Absorb the spill using calcined clay absorbent (kitty litter). Avoid sawdust, which can trap the fluid against the floor.
- Cleanup: Once the bulk liquid is absorbed, clean the residue with a heavy-duty, pH-neutral degreaser. If the epoxy paint has softened or wrinkled, the coating has failed and must be scraped, sanded, and spot-primed with a 2-part epoxy patch kit.
Mechanical Wear and Recoating Thresholds
All epoxy paints eventually wear through. Knowing exactly when to recoat prevents moisture and chemicals from reaching the raw concrete substrate, which would necessitate a complete, expensive floor teardown rather than a simple topcoat refresh.
Assessing Wear via Gloss Units (GU)
Professional facility managers use a gloss meter to track floor degradation. A newly applied epoxy paint typically reads between 70 and 85 GU at a 60-degree angle. When your floor consistently drops below 40 GU despite a thorough cleaning, the microscopic peaks of the coating have been abraded flat, and it is time to plan a recoat.
The Water Bead Test
If you lack a gloss meter, perform the water bead test. Sprinkle clean water across high-traffic zones (like the driver's side car exit area). If the water beads up tightly, the epoxy's surface tension is intact. If the water flattens and wets out into the floor, the epoxy paint has lost its hydrophobic properties and is actively micro-cracking.
Step-by-Step Recoating Protocol
- Adhesion Testing: Before applying a new coat of epoxy paint, perform an ASTM D3359 cross-hatch tape test. Score a 1-inch grid into the existing epoxy, apply high-tack duct tape, and rip it off. If more than 15% of the epoxy flakes off, the existing coat is delaminating and must be entirely diamond-ground off before repainting.
- Mechanical Profiling: If adhesion is sound, you must mechanically profile the old epoxy to give the new coat something to grip. Use a 17-inch floor buffer equipped with a maroon 3M Scotch-Brite pad. Do not use aggressive diamond grinding pads, which will cut entirely through the thin epoxy paint layer.
- Solvent Wipe: Wipe the entire floor with denatured alcohol to remove any remaining oils or buffer residues.
- Application: Apply a fresh coat of high-quality 2-part water-based epoxy paint (such as Sherwin-Williams Water-Based Epoxy or Rust-Oleum Professional Grade). Maintain an ambient temperature between 65°F and 80°F and ensure the concrete surface temperature is at least 5°F above the dew point to prevent amine blushing during the new cure cycle.