Selecting the Right Concrete Vapor Barrier: Perm Ratings & Types
Compare concrete vapor barrier materials by perm ratings, thickness, and puncture resistance to select the right moisture protection for your slab.
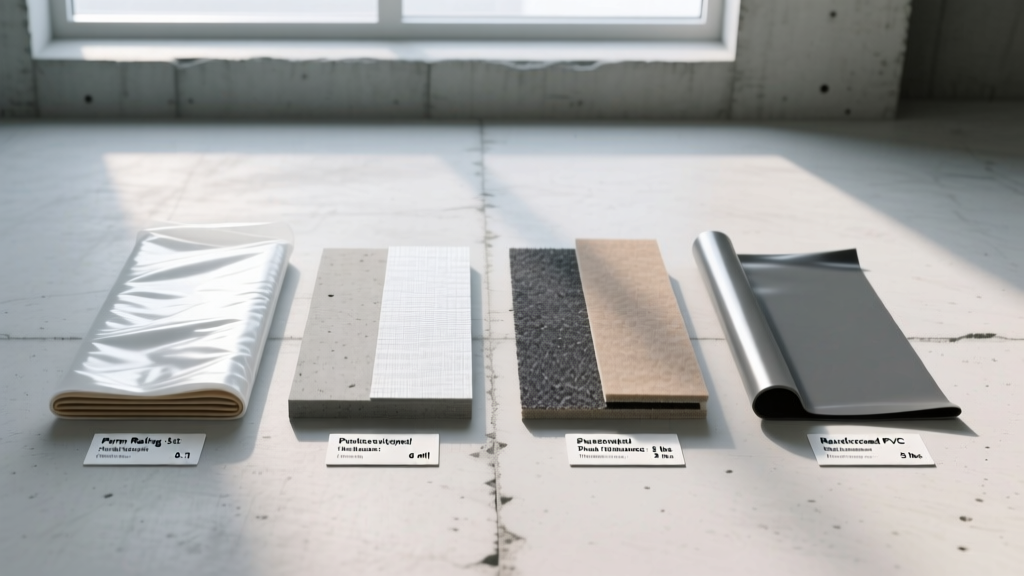
The Perm Rating Taxonomy: Decoding ASTM E1745
When specifying a concrete vapor barrier, the primary metric of performance is the perm rating—the measure of water vapor transmission through a material. The industry standard governing these materials is ASTM E1745, which classifies vapor barriers into three distinct tiers based on post-installation performance, not just laboratory virgin-material specs.
- Class I (Vapor Impermeable): Less than 0.1 perms. Required for highly moisture-sensitive flooring like epoxy coatings, resinous systems, and solid hardwood.
- Class II (Vapor Semi-Impermeable): 0.1 to 1.0 perms. Acceptable for standard commercial carpet, ceramic tile, and some vinyl compositions.
- Class III (Vapor Semi-Permeable): 1.0 to 10 perms. Generally inadequate for modern interior slabs; typically used in exterior or unconditioned spaces.
For any interior slab receiving moisture-sensitive flooring (such as Luxury Vinyl Tile or LVT), building codes and flooring manufacturers universally mandate a Class I barrier. A standard 6-mil polyethylene sheet often degrades to a Class II or III rating once subjected to the abrasion of a gravel subgrade and the weight of concrete placement. Therefore, material selection must prioritize engineered puncture resistance alongside initial perm ratings.
Material Matrix: Sub-Slab Vapor Barrier Selection
Selecting the correct material requires balancing upfront material costs against the catastrophic expense of flooring failure. The following matrix compares the most common sub-slab concrete vapor barrier technologies available on the market.
| Material Type | Thickness | Perm Rating (Post-Install) | Puncture Resistance | Avg. Cost (per sq. ft.) | Ideal Application |
|---|---|---|---|---|---|
| Standard Polyethylene (PE) | 6-mil | 0.3 - 1.0 perms (Class II/III) | Low (High failure rate) | $0.04 - $0.06 | Exterior flatwork, detached garages |
| Engineered PE (e.g., Stego Wrap) | 10-mil | < 0.3 perms (Class I) | High | $0.12 - $0.16 | Standard commercial retail, carpet/tile |
| Cross-Laminated PE | 15-mil | < 0.01 perms (Class I) | Extreme (ASTM E1745 A) | $0.18 - $0.25 | Hospitals, LVT, epoxy, data centers |
| Spray-Applied Epoxy (Topical) | 10-20 mils | < 0.1 perms (Class I) | N/A (Surface applied) | $1.50 - $3.00 | Remediation, missing sub-slab barrier |
For high-stakes environments, cross-laminated products like Stego Wrap 15-mil represent the industry benchmark. The cross-lamination process aligns polymer layers in alternating directions, providing dimensional stability that prevents the material from stretching and thinning when dragged across sharp aggregate during the concrete pour.
Sub-Slab Placement: Direct Contact vs. Sand Blinding
One of the most heavily debated topics in concrete flatwork is the placement of the vapor barrier relative to the slab and the subgrade. Historically, contractors utilized a "sand blinding" layer—a 2- to 4-inch layer of damp sand placed over the vapor barrier to protect it from punctures and to reduce slab curling.
The Modern ACI Consensus
The American Concrete Institute (ACI 302.1R) has shifted its guidance for moisture-sensitive floors. Placing a sand layer between the vapor barrier and the concrete creates a "moisture sandwich." The sand acts as a reservoir, holding groundwater that slowly migrates upward. If the flooring adhesive is highly sensitive, this trapped moisture can still cause failures.
If you are installing LVT, sheet vinyl, or moisture-cured urethane adhesives, the vapor barrier must be in direct contact with the bottom of the concrete slab. Eliminate the sand blinding layer entirely. To prevent curling without sand, optimize your concrete mix design by using shrinkage-reducing admixtures (SRAs) and ensure proper joint spacing (typically 24 to 30 times the slab thickness).
Real-World Failure Modes & Mitigation Strategies
Even a premium 15-mil Class I vapor barrier will fail if installation details are ignored. Moisture intrusion rarely happens through the center of the membrane; it occurs at the penetrations, seams, and edges.
1. Rebar Chair Punctures
Standard wire rebar chairs act like stilettos on a vapor barrier, instantly compromising the membrane's integrity. The Fix: Mandate the use of "concrete dobies" (small pre-cast concrete blocks) or heavy-duty plastic chairs with flat, wide bases (minimum 2-inch square footprint). If wire chairs must be used, they require plastic dipped tips or a sacrificial layer of 6-mil poly underneath the primary barrier.
2. Seam and Overlap Failures
Concrete placement generates immense hydraulic pressure that can force moisture through unsealed seams. ASTM E1745 requires a minimum 6-inch overlap for sheet membranes. The Fix: Overlap sheets by 6 inches and seal the joint with a minimum 4-inch wide, high-tack acrylic tape (such as Stego Tape). Do not rely on duct tape or standard construction tape, which lose adhesion when exposed to the alkaline environment of curing concrete and subgrade moisture.
3. Pipe and Conduit Penetrations
Plumbing stacks and electrical conduits piercing the subgrade are prime pathways for hydrostatic vapor transmission. The Fix: Use pre-formed, flexible membrane boots that slide over the pipe and adhere to the primary barrier with compatible mastic. For irregular penetrations, apply a liquid-applied flashing membrane (like W. R. Meadows Pointing Mastic) extending at least 6 inches up the vertical pipe and 6 inches radially across the horizontal barrier.
Topical Remediation for Failed or Missing Barriers
When a concrete slab has already been poured without a sub-slab vapor barrier, or when in-situ relative humidity (RH) testing (ASTM F2170) reveals moisture levels exceeding flooring manufacturer limits (typically >75% RH or >80% RH), topical remediation is required.
Topical moisture mitigation systems are typically 100% solids, two-part epoxy or polyurethane coatings applied via roller or squeegee to the shot-blasted concrete surface. Products like W. R. Meadows BR-WS or LATICRETE Hydro Ban XP create a chemical bond with the concrete pores, blocking vapor transmission from the top down.
Topical Application Protocol
- Surface Preparation: Shot-blast or diamond-grind the slab to a Concrete Surface Profile (CSP) of 3 to 5. This opens the pores for mechanical adhesion.
- Moisture Testing: Verify RH levels. Most topical epoxies can mitigate up to 95% to 99% RH, but hydrostatic pressure (liquid water pushing through) will blister the coating. Topical barriers only stop vapor, not liquid hydrostatic pressure.
- Primer Coat: Apply a low-viscosity, high-penetration epoxy primer to seal the capillaries.
- Build Coat: Apply the 100% solids moisture mitigation coating at the exact mil thickness specified by the manufacturer (usually 12-15 mils wet). Broadcast silica sand into the wet coating if a self-leveling underlayment (SLU) will be applied on top.
While topical systems cost significantly more per square foot ($1.50 to $3.00+) compared to sub-slab membranes ($0.15 to $0.25), they are the only viable rescue mechanism for existing slabs exhibiting excessive moisture vapor emission rates (MVER). Proper selection between sub-slab and topical systems ensures structural longevity and prevents catastrophic flooring adhesive failures.