Fiber Cement Siding Patch Cost & Repair Calculator (2026)
Calculate 2026 fiber cement siding patch costs. Get exact material quantities, DIY vs pro pricing, and step-by-step repair formulas for HardiePlank.
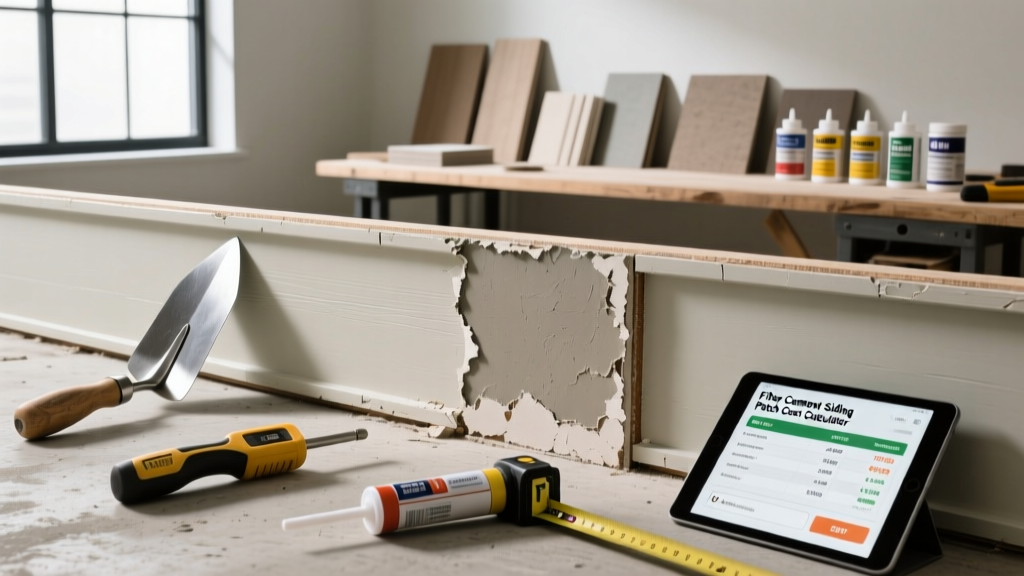
The True Cost of Fiber Cement Siding Patches in 2026
Fiber cement siding, such as James Hardie HardiePlank, is celebrated for its 50-year lifespan and resistance to rot and fire. However, its cementitious matrix makes it inherently brittle. Impact damage from hail, landscaping equipment, or woodpeckers frequently results in localized holes, chips, and star-cracks. While the James Hardie Installation Guide officially recommends full board replacement for any structural compromise, field realities dictate that minor cosmetic divots and sub-2-inch holes are routinely patched by professionals to avoid the cost and color-matching nightmares of replacing entire runs of siding.
In 2026, the national average cost to professionally patch a single fiber cement siding board ranges from $185 to $350, heavily skewed by the contractor's minimum service call fee. For DIYers, the material cost to execute a structurally sound, weather-tight patch is under $45 per incident, provided you use the correct elastomeric or epoxy-based compounds rather than standard wood fillers.
- DIY Material Cost (per hole): $22 - $45
- Professional Repair (per board): $185 - $350
- Full Board Replacement (Pro): $250 - $450 per linear run
- Warranty Void Risk: High (if unapproved fillers trap moisture)
Material Quantity Calculator: Patch vs. Replace
Before purchasing materials, you must categorize the damage. The decision matrix below dictates whether you should calculate patching compound volumes or linear footage for full board replacement.
| Damage Type | Maximum Dimension | Repair Method | Material Formula |
|---|---|---|---|
| Surface Chip / Divot | < 0.5 inches deep, < 1 inch wideEpoxy Putty Patch | 1 tube (4 oz) per 3 holes | |
| Hail Dent / Puncture | < 2 inches diameter, through-boardElastomeric Fill + Mesh | 1 tube sealant + 1 sq ft mesh per hole | |
| Star Crack / Split | Any length along the board grainFull Board Replacement | Linear footage + 10% waste factor | |
| Delamination / Spalling | Surface peeling > 6 inchesFull Board Replacement | Linear footage + 15% waste factor |
Calculating Linear Footage for Replacements
If your damage exceeds the patching threshold, you must replace the board. Fiber cement lap siding is installed with a specific exposure (typically 7 inches for an 8.25-inch board). To calculate replacement materials:
- Measure the damaged run: Measure from the nearest left joint to the nearest right joint. Fiber cement cannot be spliced in the middle of a stud bay without a dedicated flashing block.
- Add the overlap: Add 1.25 inches to your measurement to account for the factory end-joint overlap.
- Apply the waste factor: Multiply total linear feet by 1.10 to account for miter cuts and breakage during blind-nailing.
Approved Patching Compounds & Sealants (2026 Specs)
The most common failure mode in fiber cement patching is the use of vinyl spackle, Bondo, or standard wood filler. Fiber cement expands and contracts at a vastly different coefficient than wood or PVC, and it wicks moisture. Standard fillers will shrink, crack, and allow water to infiltrate the back of the board, leading to freeze-thaw spalling.
1. Two-Part Epoxy Putty (For Blind Holes & Divots)
Products like PC-Crete or Abatron WoodEpox are the industry standard for deep, localized impact holes. Epoxy does not shrink, is impervious to water intrusion, and can be sanded and shaped to mimic the woodgrain texture of the siding before priming.
2. Polyurethane / Elastomeric Sealants (For Joints & Hairline Cracks)
For hairline cracks or sealing the edges of a patched area, you must use a high-grade polyurethane sealant. OSI QUAD Max remains the dominant specification in 2026 for fiber cement joints and minor crack sealing. It cures to a tough, paintable rubber that accommodates the micro-movements of the cementitious board without losing adhesion.
3. Factory Touch-Up Kits
If you are patching pre-finished ColorPlus siding, standard exterior paint will not match the factory UV-cured coating. You must order a ColorPlus Touch-Up Kit directly from the manufacturer, matched to your specific color code and production run year.
DIY vs. Professional Repair Cost Matrix
Understanding the labor breakdown helps homeowners decide whether to DIY or hire a siding contractor. According to data tracked by the National Association of Home Builders (NAHB), proper exterior envelope maintenance is critical to achieving the projected 50-year lifespan of fiber cement products.
| Cost Factor | DIY Approach | Professional Contractor |
|---|---|---|
| Materials (Epoxy, Primer, Paint) | $25 - $45 | $15 - $30 (Passed to client) |
| Labor / Time | 2 - 4 hours (including cure times) | 1 - 2 hours on-site |
| Equipment (Sanders, Caulk Guns) | $40 (if not owned) | Included in overhead |
| Minimum Service Fee | $0 | $150 - $250 |
| Total Estimated Cost (1 Hole) | $25 - $85 | $185 - $320 |
| Warranty Implications | Voids manufacturer board warranty | Contractor provides 1-yr labor warranty |
Warranty Warning: James Hardie and other major manufacturers explicitly state that field-applied patching compounds void the product warranty for that specific board. If the patched board later fails, delaminates, or rots, it will not be covered under the 30-year non-prorated warranty. Patching is strictly a cosmetic, out-of-warranty maintenance procedure.
Step-by-Step Patching Execution & Time Estimates
If you have determined the damage is under 2 inches and you accept the warranty implications, follow this professional-grade execution sequence to prevent future moisture entrapment.
Phase 1: Preparation and Stabilization (45 Minutes)
- Undercut the Hole: Use a rotary tool or a sharp utility knife to undercut the edges of the impact hole. This creates a dovetail profile, giving the epoxy a mechanical lock so it cannot be pushed inward by future impacts.
- Clear the Dust: Vacuum the hole and wipe with denatured alcohol. Fiber cement dust is highly alkaline and will inhibit the adhesion of some polyurethane sealants if left in the cavity.
- Apply Penetrating Sealer (Pro-Tip): Brush a small amount of silane-siloxane masonry sealer into the exposed, unsealed edges of the hole. This prevents the porous cement core from wicking groundwater behind the patch.
Phase 2: Filling and Texturing (30 Minutes + Cure Time)
- Inject Backer Rod (If Through-Board): If the hole penetrates completely through the siding into the weather barrier, stuff a small piece of closed-cell backer rod into the cavity to provide a floor for the filler. Do not press it tight against the weather barrier.
- Apply Epoxy Filler: Knead the two-part epoxy putty (e.g., PC-Crete) until uniform. Press it firmly into the undercut cavity, overfilling it slightly by about 1/16th of an inch.
- Mimic the Grain: Before the epoxy fully kicks (usually a 10-15 minute window), use a stiff wire brush or a toothpick to score horizontal lines into the putty, matching the woodgrain texture of the surrounding HardiePlank.
Phase 3: Sanding and Finishing (60 Minutes)
- Flush Sanding: Once fully cured (check manufacturer specs, typically 2-4 hours), sand the patch flush with 120-grit sandpaper. Use a sanding block to avoid creating a concave dip.
- Prime: Apply a high-quality exterior acrylic primer specifically formulated for masonry and cementitious surfaces. Standard PVA primers will fail on fiber cement.
- Topcoat: Apply two coats of 100% acrylic exterior latex paint, or the factory-matched ColorPlus touch-up liquid.
When to Abandon the Patch: The 30% Rule
Not all damage can be patched. Siding contractors utilize the '30% Rule' to determine when a patch is a liability rather than a fix. If the compromised area (including all radiating micro-cracks) exceeds 30% of the board's width between the top and bottom lap joints, the structural integrity of that specific lap is gone.
Furthermore, if the impact has fractured the nail line—meaning the crack runs directly through or within 1/2 inch of the blind-nail fastener—the board has lost its wind-load resistance. In these scenarios, attempting a fiber cement siding patch is a waste of materials. You must use a flat bar to carefully break the seal of the overlapping board above, extract the damaged piece, and slide in a replacement board, securing it with 1.5-inch hot-dipped galvanized roofing nails or stainless steel fasteners to prevent future rust bleeding.