How to Fix Concrete Cracks Based on Width and Scenario
Learn how to fix concrete cracks by matching the repair material to the crack width, depth, and structural scenario for lasting results.
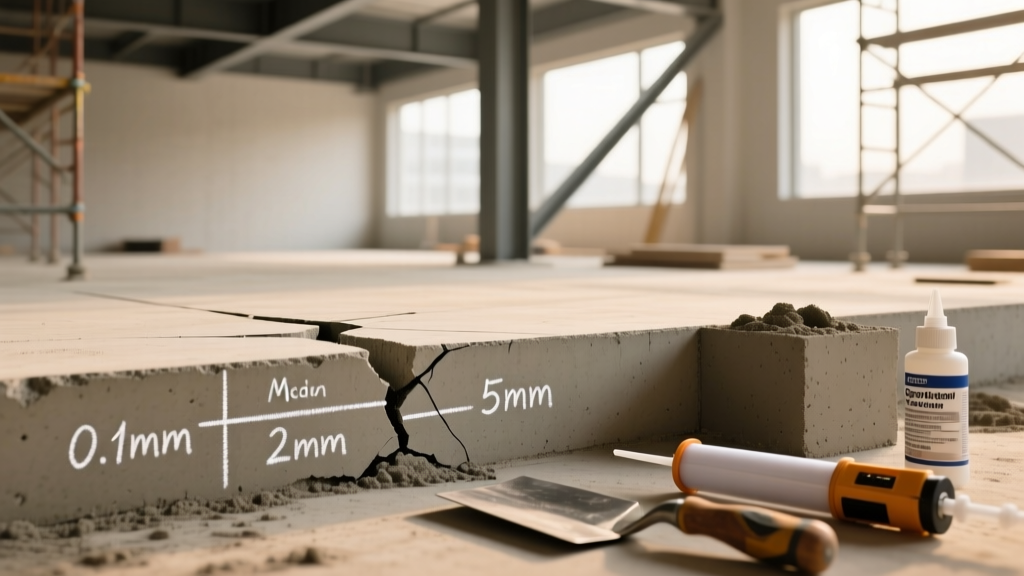
The Diagnostic Framework: Why Concrete Cracks
Before selecting a repair material, you must diagnose the failure mechanism. Concrete does not crack randomly; it fails under specific tensile, shear, or compressive stresses. According to guidelines published by the University of Minnesota Extension, the four primary culprits are plastic shrinkage (rapid moisture loss during initial curing), drying shrinkage (long-term volume reduction), thermal expansion and contraction, and subgrade settlement. Applying a rigid epoxy to a crack caused by active subgrade settlement will result in a secondary failure adjacent to the repair. Conversely, using a flexible sealant on a structural shear crack compromises load transfer. Matching the material to the scenario is the cornerstone of durable concrete repair.
Scenario Matching Matrix: Crack Width vs. Repair Material
The width and behavior of the crack dictate the chemical and mechanical properties required of the repair material. Use this 2026 scenario matrix to select the correct product class.
| Crack Width | Scenario / Failure Type | Recommended Material | Industry Product Example | Est. Cost (2026) |
|---|---|---|---|---|
| Hairline to 1/16 in. | Surface crazing, cosmetic shrinkage | Acrylic or Silane Penetrating Sealer | Euchem Concrete Sealer | $35 - $50 / gal |
| 1/16 in. to 1/4 in. | Driveway thermal expansion, patio settling | Polyurethane Sealant | Sikaflex-1A Polyurethane | $9 - $14 / 10oz tube |
| 1/4 in. to 1/2 in. | Heavy traffic slabs, structural shrinkage | Polymer-Modified Cement or Epoxy Mortar | Abatron Abocrete | $80 - $120 / kit |
| Over 1/2 in. | Foundation settlement, active water leaks | Hydrophilic Polyurethane or High-Modulus Epoxy | Simpson Strong-Tie FX-70 | $110 - $160 / kit |
Scenario 1: Hairline to 1/8-Inch (Surface and Shrinkage Scenarios)
Hairline cracks (typically less than 1/16-inch) are rarely structural. They are usually the result of plastic shrinkage or surface crusting during the finishing process. Attempting to rout and caulk these micro-fractures often causes more visual damage than the crack itself.
The Application Fit
For non-structural surface crazing, the goal is moisture exclusion, not structural bonding. A low-viscosity, penetrating silane or siloxane sealer is the optimal choice. These sealers do not form a surface film that will peel; instead, they react with the free lime in the concrete to form a hydrophobic barrier within the pore structure. If the crack is slightly wider (up to 1/8-inch) and located on a vertical foundation wall where cosmetic appearance is paramount, a high-build, elastomeric acrylic coating can bridge the gap while providing a uniform finish.
Scenario 2: 1/8-Inch to 1/2-Inch (Driveways, Patios, and Flatwork)
This is the most common scenario for residential and commercial flatwork. Cracks in this range are typically caused by thermal cycling, minor subgrade settling, or drying shrinkage. The critical requirement here is elongation. The repair material must stretch and compress as the concrete slabs expand in the summer heat and contract in the winter freeze.
Why Polyurethane Dominates This Scenario
Polyurethane sealants offer elongation rates of 400% to 600%, far exceeding the 25% to 50% elongation of standard silicone or acrylic caulks. Furthermore, polyurethane exhibits superior abrasion resistance, making it the only viable caulk for driveway cracks subjected to vehicular tire shear. As noted in the Whole Building Design Guide (WBDG), polyurethane sealants maintain adhesion and flexibility in high-UV and high-traffic exterior environments, provided the joint is properly prepared.
Scenario 3: Over 1/2-Inch and Active Foundation Cracks
Cracks exceeding 1/2-inch, or those exhibiting vertical displacement (one side higher than the other), indicate significant subgrade failure or hydrostatic pressure. If the crack is in a basement wall and actively leaking, surface caulking will fail immediately due to hydrostatic blowout.
Structural vs. Water-Stopping Protocols
- Structural Restoration (Dry Cracks): Use a high-modulus, two-part epoxy injection system. Epoxy restores the tensile strength of the concrete, often achieving bond strengths exceeding 7,000 PSI. However, epoxy is rigid; if the foundation is still actively settling, the epoxy will hold, and a new crack will form nearby.
- Water-Stopping (Active Leaks): Use a hydrophilic polyurethane injection resin. This material reacts with water to expand up to 20 times its liquid volume, forming a dense, closed-cell foam that permanently seals the leak pathway. It remains slightly flexible, accommodating minor ongoing structural shifts.
Execution Protocol: Routing and Sealing a 1/4-Inch Driveway Crack
Proper preparation accounts for 80% of a successful repair. Follow this exact protocol for a standard 1/4-inch driveway crack using a polyurethane sealant.
- Mechanical Routing: Use a 4.5-inch angle grinder equipped with a diamond V-groove blade. Route the crack to a depth of 1/4-inch and a width of 1/4-inch. This V-shape removes spalled edges, increases the surface area for adhesion, and provides a proper hourglass shape for the sealant to stretch.
- Debris Extraction: Sweep out loose dust, then use a compressed air nozzle (minimum 90 PSI) to blow out the groove. Follow this with a stiff wire brush, and blow it out a second time. Any remaining dust will act as a bond-breaker.
- Solvent Wipe: Wipe the routed groove with a clean, lint-free rag dampened with acetone or denatured alcohol to remove invisible oils and curing compounds. Allow to flash off for 5 minutes.
- Backer Rod Installation: For cracks deeper than 1/2-inch, insert a closed-cell polyethylene backer rod. The rod should be compressed by 25% to 50% of its diameter. This creates a two-sided bond (adhering only to the left and right walls, not the bottom), which is critical for allowing the sealant to elongate without tearing.
- Sealant Injection: Cut the polyurethane tube nozzle at a 45-degree angle, slightly smaller than the crack width. Inject continuously, ensuring the material fills from the bottom up to avoid trapping air bubbles.
- Tooling and Sanding: Tool the surface flush with a putty knife dipped in soapy water. While still tacky (within 15 minutes), broadcast dry play sand or silica sand over the wet sealant. This masks the repair and provides tire traction. Sweep away excess sand after 24 hours.
Critical Failure Points to Avoid
Even with the correct material, repairs fail when installers ignore environmental and chemical constraints.
Warning: Never apply polyurethane or epoxy sealants to damp concrete unless the product is specifically formulated as moisture-tolerant. Standard polyurethanes react with ambient moisture to cure, but trapped liquid water in the crack will cause the sealant to bubble, blister, and lose adhesion. Always ensure the substrate is bone-dry, or use a hydrophobic primer.
- Ignoring the Temperature Window: Epoxies become highly viscous below 50°F (10°C) and will not penetrate micro-fractures. Polyurethanes cure too rapidly in high heat and humidity, leading to surface skinning before the joint is fully filled. Aim for an ambient temperature between 60°F and 80°F during application.
- Overfilling the Joint: Sealant should be installed slightly below the surface (about 1/8-inch recess). Overfilling creates a bump that will be sheared off by snowplows, tires, and foot traffic.
- Using Mortar in Expansion Joints: A common DIY mistake is filling an expansion joint (the gap between the driveway and the garage slab) with rigid concrete patch or mortar. Expansion joints must remain flexible. Use a closed-cell backer rod topped with a self-leveling polyurethane joint sealant to accommodate thermal movement.
By accurately diagnosing the crack width, understanding the underlying stress mechanism, and executing a meticulous preparation protocol, you can extend the service life of a concrete slab by decades, avoiding the massive expense of full-depth replacement.