How to Choose the Right Grout Removal Tool for Every Tile Scenario
Match the right grout removal tool to your specific tile scenario. Compare oscillating tools, rotary bits, and manual saws for cement, epoxy, and urethane.
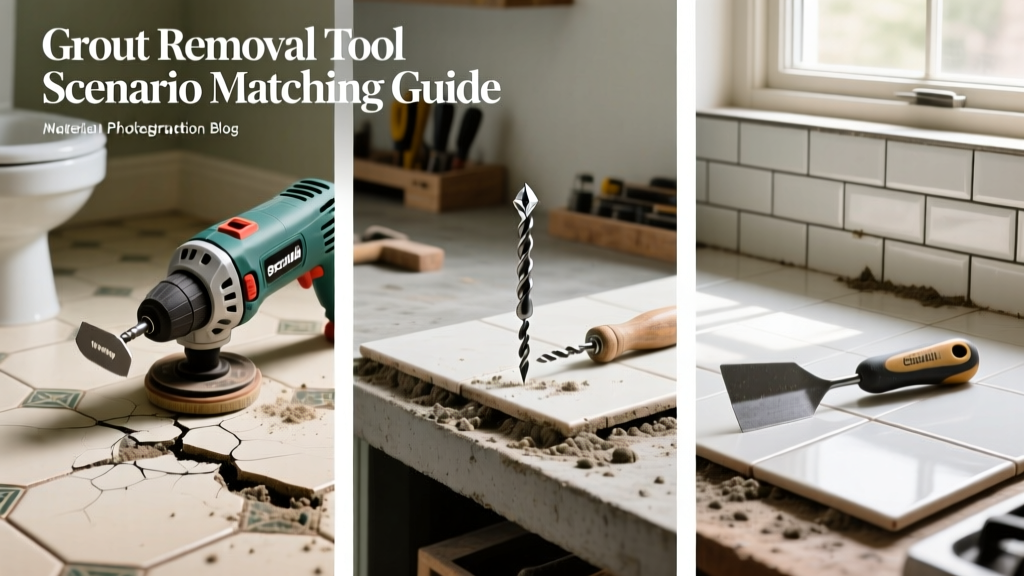
The Science of Grout Extraction: Why One Tool Does Not Fit All
Grout removal is a destructive process where the margin for error is measured in millimeters. Selecting the wrong grout removal tool for your specific tile assembly and grout chemistry will inevitably result in chipped tile glaze, destroyed waterproofing membranes, or melted cutting bits. Modern tile installations utilize a complex matrix of cementitious, epoxy, and urethane grouts, each requiring a distinct mechanical approach for safe extraction.
According to the National Tile Contractors Association (NTCA) Reference Manual, proper grout removal requires extracting enough material to allow the new grout to achieve a mechanical bond—typically a minimum depth of 1/8-inch or two-thirds the thickness of the tile. Achieving this depth without compromising the tile edges or the underlying substrate demands precise tool-to-scenario matching.
The Grout Chemistry & Tool Matching Matrix
Before purchasing or renting equipment, identify your existing grout chemistry. The hardness and thermal properties of the grout dictate the required blade metallurgy and tool kinematics.
| Grout Chemistry | Typical Hardness (Mohs) | Ideal Tool Category | Required Blade/Bit Material | Risk Level |
|---|---|---|---|---|
| Unsanded Cementitious | 3.0 - 4.0 | Manual Grout Saw / OMT | Carbide Grit / HSS | Low |
| Sanded Cementitious | 5.0 - 6.0 | Oscillating Multi-Tool (OMT) | Carbide Teeth / Diamond Grit | Medium |
| Epoxy Grout | 7.0+ (Plastic-like) | Rotary Tool / Heat Gun | Diamond Grit / specialized heat | High |
| Urethane / Furan | Variable (Flexible) | Utility Knife / OMT | Serrated Carbide / Steel | Medium |
Scenario 1: Standard Cementitious Grout (Sanded & Unsanded)
For standard bathroom walls, kitchen backsplashes, and residential floors utilizing sanded or unsanded cement grout, the Oscillating Multi-Tool (OMT) is the undisputed industry standard. The rapid side-to-side oscillation (typically 10,000 to 20,000 OPM) fractures the brittle cement matrix without generating the rotational torque that causes tile chipping.
Tool & Blade Specifications
- The Tool: A brushless 18V OMT, such as the Bosch GOP18V-28 or DeWalt DCS355D1. Brushless motors provide the sustained torque needed when the blade binds in deep joints.
- The Blade: Use a carbide-tipped segment blade for joints 1/8-inch or wider. For narrow 1/16-inch joints, switch to a carbide grit rasp blade. Diamond-grit blades are overkill for standard cement and will load up with dust prematurely.
- Cost Expectation: Quality OMT kits range from $120 to $200. Specialized carbide grout blades cost between $15 and $30 each and typically last for 40 to 60 linear feet of 1/8-inch sanded grout.
If your OMT supports the Starlock mounting system (developed by Bosch and Fein), use Starlock Max or Plus carbide grout blades. The 3D interface eliminates the slippage common in standard O-ring mounts, transferring 100% of the motor's torque to the cutting edge and drastically reducing blade overheating.
Scenario 2: The Epoxy & Urethane Challenge
Epoxy grout is essentially a thermosetting plastic reinforced with silica sand. It is impervious to water and stains, making it a favorite for commercial kitchens and wet rooms, but it is a nightmare to remove. Standard carbide OMT blades will overheat, melt the epoxy, and glaze over within seconds, rendering the blade useless.
The Rotary Tool Approach
For epoxy grout, you must abandon oscillation and rely on high-RPM abrasion. A high-speed rotary tool, such as the Dremel 4300 or a pneumatic die grinder, fitted with a 1/8-inch diamond grit router bit (e.g., Dremel 569D) is required. The diamond grit grinds the epoxy into a fine powder rather than trying to cut it, preventing thermal melting.
The Thermal Softening Method
For thick epoxy joints (3/8-inch or wider), mechanical removal alone is agonizingly slow. Professional restorers often use a specialized heat gun (capable of reaching 500°F to 700°F) to soften the epoxy resin. Once the epoxy reaches its glass transition temperature and becomes pliable, it can be raked out using a stiff manual grout saw or a heavy-duty hook knife. Warning: This method requires extreme caution to avoid cracking the surrounding tiles via thermal shock, particularly with natural stone or glass mosaics.
Scenario 3: High-Volume Floor Demolition
When removing grout from large-format porcelain tiles across a 500-square-foot commercial floor, OMTs are too slow and will burn out their internal bearings. For high-volume, wide-joint (1/4-inch to 3/8-inch) sanded grout removal, a 4-inch or 4.5-inch angle grinder equipped with a diamond tuckpointing blade is the only viable option.
Execution and Dust Mitigation
Grinding cementitious grout generates massive amounts of respirable crystalline silica. The Occupational Safety and Health Administration (OSHA) strictly enforces Permissible Exposure Limits (PEL) for silica dust. Operating an angle grinder dry in an enclosed space is an OSHA violation and a severe health hazard.
- Dust Extraction: You must use a grinder with an integrated dust shroud (e.g., Makita 195386-2) connected to a HEPA-filtered dust extractor (like a Bosch VAC090S) that provides at least 25 CFM per inch of wheel diameter.
- Blade Selection: Use a continuous-rim or turbo-rim diamond tuckpointing blade specifically designed for masonry. Do not use segmented wood/metal blades.
- Depth Control: Adjust the shroud depth stop to limit the cut to exactly 1/4-inch. Plunging too deep will slice through the underlying cement backer board or destroy Schluter-Ditra uncoupling membranes.
Critical Failure Modes & Edge Cases
Even with the correct tool, poor technique will ruin a tile assembly. Avoid these common failure modes:
In modern shower pans and walls, tiles are often bonded directly to sheet-applied waterproofing membranes (e.g., Schluter-Kerdi, Laticrete Hydro Ban) using thinset. The grout joint is often only 1/8-inch deep before hitting this membrane. If you use a power tool without a depth stop, you will slice through the membrane, destroying the shower's waterproofing integrity. Always test the joint depth with a manual utility knife in an inconspicuous corner before powering up an OMT or grinder.
Edge Case: Glass and Polished Marble Mosaics
Power tools should generally be avoided on glass tiles and polished marble. The vibration from an OMT can cause micro-fractures in glass, while the metal base plate of the tool will permanently scratch polished marble. For these delicate scenarios, rely exclusively on manual grout rakes with carbide grit edges, utilizing masking tape on the tool's base plate if a power tool is absolutely unavoidable.
Blade Metallurgy: Carbide vs. Diamond vs. HSS
Understanding the cutting edge is just as important as understanding the motor. Buying the wrong replacement blade is the most common reason DIYers abandon grout removal projects.
- High-Speed Steel (HSS): Cheap and aggressive, but the teeth dull within 10 feet of cutting sanded grout. The sand (silica) is harder than the steel. Only use HSS for soft, unsanded wall grout or drywall.
- Carbide-Tipped Teeth: The standard for sanded cementitious grout. The tungsten carbide teeth chew through the sand/cement matrix efficiently. They are brittle, however, and will snap if twisted laterally in the joint.
- Carbide Grit: A flat blade coated in tungsten carbide granules. Slower than toothed blades, but ideal for ultra-narrow joints (1/16-inch) where toothed blades cannot physically fit.
- Diamond Grit: The most expensive option ($35-$50 per blade). Necessary for epoxy grout, heavily modified polymer grouts, and ultra-hard porcelain tile edges. Diamond does not 'cut' the grout; it abrades it into dust.
Summary: Your Pre-Purchase Checklist
Before buying or renting a grout removal tool, verify these four data points:
- Grout Type: Is it cement, epoxy, or urethane? (Dictates blade material).
- Joint Width: Measure with calipers. Is it under 1/8-inch? (Requires grit blades or manual tools).
- Substrate Risk: Is there a waterproofing membrane directly beneath the thinset? (Requires strict depth-limiting shrouds).
- Project Scale: Under 50 sq ft? (Use OMT). Over 200 sq ft? (Rent a dust-extracting angle grinder setup).
Matching the kinematics and metallurgy of your grout removal tool to the specific chemical and physical properties of your tile assembly transforms a frustrating, tile-breaking chore into a precise, predictable renovation step. For further guidelines on acceptable grout joint widths and substrate preparation, consult the latest Tile Council of North America (TCNA) Handbook.