HardieBacker Cement Board: Application Fit & Scenario Matching
Match the right HardieBacker cement board thickness and type to your tile project. Expert scenario guide for floors, walls, and wet areas.
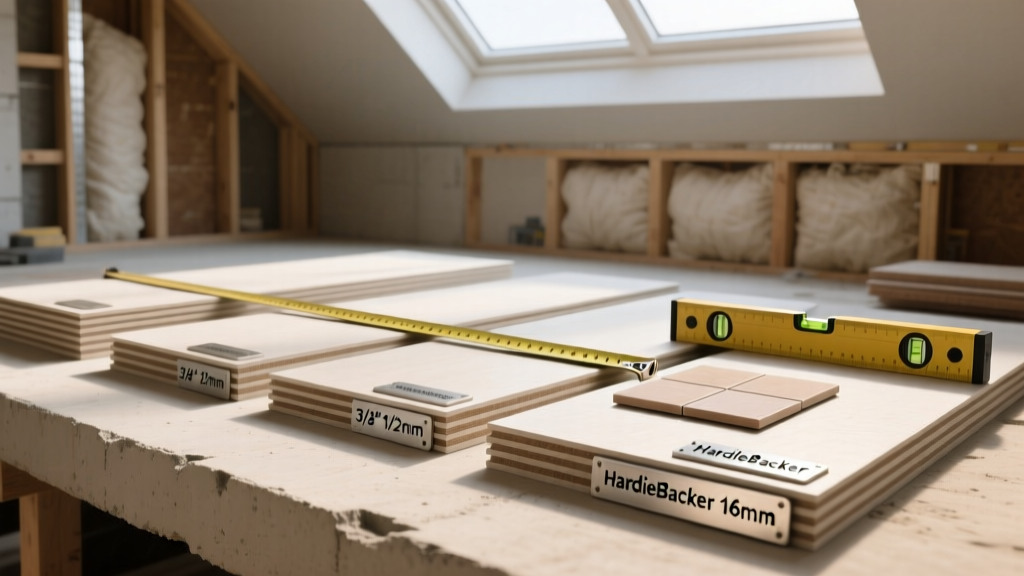
The Core Composition: Why HardieBacker?
HardieBacker is a proprietary fiber cement backer board manufactured by James Hardie. Unlike traditional cement boards that rely on a heavy aggregate core sandwiched between fiberglass meshes, HardieBacker utilizes a homogeneous mixture of Portland cement, cellulose fibers, and silica sand. This composition yields a denser, lighter, and more water-resistant substrate that cuts cleanly with a carbide scoring knife rather than requiring a high-speed grinder. However, selecting the correct variant for your specific application is critical. Using the wrong thickness or technology tier will lead to tile lippage, grout cracking, or moisture intrusion.
Scenario Matching Matrix: Thickness & Technology
James Hardie produces three primary variants of HardieBacker. Matching the correct product to your structural and environmental scenario is the first step in a successful installation.
| Product Variant | Thickness | Weight (per sq ft) | Ideal Scenario | Key Technical Feature |
|---|---|---|---|---|
| HardieBacker 250 | 1/4 inch | ~2.3 lbs | Floors over wood subfloors, kitchen countertops | Low profile prevents transition height issues |
| HardieBacker 500 | 1/2 inch | ~2.6 lbs | Standard interior walls, tub surrounds | EZ Grid scoring lines for precise cutting |
| HardieBacker HydroDefense | 1/2 inch | ~2.6 lbs | Shower enclosures, steam rooms, continuous wet areas | Water-resistant core technology |
Scenario 1: Bathroom Floors Over Wood Framing
For floor installations over engineered wood or dimensional lumber subfloors, HardieBacker 250 (1/4 inch) is the mandated choice. Using 1/2-inch board on floors unnecessarily raises the finished elevation, creating severe tripping hazards at door thresholds and requiring custom transition strips.
The Deflection Trap: A Critical E-E-A-T Insight
A common and catastrophic failure mode in DIY and novice contractor installations is the assumption that cement board adds structural rigidity to a floor. HardieBacker does not increase the structural stiffness of a subfloor. According to the National Tile Contractors Association (NTCA), the subfloor must independently meet a deflection rating of L/360 for ceramic and porcelain tile, and L/720 for natural stone, before the backer board is even introduced.
If your floor joists are spaced 19.2 inches on center with 3/4-inch OSB, the assembly will likely fail the L/360 requirement. You must stiffen the joists or add a second layer of exterior-grade plywood before installing HardieBacker 250.
Scenario 2: Shower Walls & Continuous Wet Areas
For vertical wet areas, HardieBacker 500 (1/2 inch) or the HydroDefense variant is required. Wall studs must be spaced a maximum of 16 inches on center. If your framing is 24 inches on center, you must add horizontal blocking or sister the studs to achieve 16-inch spacing; otherwise, the 1/2-inch board will flex under the weight of large-format porcelain tiles.
Waterproofing Strategy: Standard vs. HydroDefense
When using standard HardieBacker 500 in a shower, you must install a 4-mil or 6-mil polyethylene vapor barrier behind the board, lapping it over the shower pan liner. This prevents moisture that migrates through the grout and thinset from rotting the wood studs.
Alternatively, HardieBacker with HydroDefense technology features a water-resistant core that eliminates the need for a polyethylene sheet behind the board. However, HydroDefense is water-resistant, not entirely waterproof at the seams. You must still apply a liquid-applied waterproofing membrane (such as RedGard or Hydro Ban) over the face of the board and tape all seams to create a continuous waterproof envelope.
Scenario 3: Kitchen Countertops & Edge Profiles
For countertops, use HardieBacker 250 (1/4 inch) installed over a minimum 3/4-inch exterior-grade plywood base. The plywood provides the structural span rating, while the HardieBacker provides a dimensionally stable, moisture-impervious bonding surface for the thinset.
When detailing the front edge of a countertop, wrap the 1/4-inch board down the fascia and secure it with corrosion-resistant screws. Do not attempt to build up the edge with multiple layers of 1/4-inch board; instead, use a specialized edge profile trim or miter the tile to create a clean, monolithic appearance.
Fastener & Joint Treatment Specifications
The longevity of a HardieBacker installation relies heavily on the chemical compatibility of the fasteners and joint treatments used. Portland cement is highly alkaline (pH 12-13) and will rapidly corrode standard metals and degrade organic materials.
- Fasteners: Use only 1-1/4-inch (for floors) or 1-5/8-inch (for walls) corrosion-resistant cement board screws. Brands like Backer-On or Rock-On feature ceramic coatings or hot-dipped galvanization. Never use standard black phosphate drywall screws; they will rust, expand, and bleed brown stains directly through your light-colored grout lines.
- Joint Tape: Use 2-inch alkali-resistant fiberglass mesh tape. Standard paper drywall tape will dissolve and rot when exposed to the alkaline environment of cementitious thinset.
- Thinset Bedding: HardieBacker 250 must be embedded in a continuous bed of modified thinset mortar over the wood subfloor. This is not for adhesion; it is to fill microscopic voids and prevent vertical deflection between the subfloor and the board when walked upon.
Common Failure Modes & Troubleshooting
Even with the correct scenario matching, specific installation errors will compromise the system. Review these edge cases before beginning your project:
1. The 'Floating Board' Syndrome
If you skip the thinset bed under HardieBacker 250 and only rely on screws, the board will micro-flex every time weight is applied. Within six months, the grout lines directly over the board seams will fracture. The screws hold the board down, but the thinset bed stops it from moving up.
2. Silica Dust Exposure During Cutting
While HardieBacker is designed to be scored and snapped with a carbide blade, cutting complex shapes (like toilet flange cutouts or plumbing valve holes) requires power tools. Cutting fiber cement with a high-speed angle grinder generates respirable crystalline silica dust. OSHA regulations strictly mandate the use of dust-collection systems or HEPA vacuums when cutting silica-containing materials indoors to prevent long-term respiratory damage.
Pro Tip: For circular cutouts, use a diamond-grit hole saw attached to a standard drill, and have a helper hold a shop vac nozzle directly adjacent to the cutting bit to capture dust at the source.
3. Perimeter Expansion Gaps
Fiber cement expands and contracts with temperature and humidity fluctuations, albeit at a much lower rate than wood. You must leave a 1/8-inch gap between all HardieBacker sheets, and a 1/4-inch gap where the board meets walls, tubs, or cabinets. These gaps must be filled with thinset and covered with the alkali-resistant mesh tape. If you butt the boards tightly together, thermal expansion will cause the boards to push against each other, creating a raised ridge that will crack the tile above it.