Pro Installation Guide for Modern Cement Flooring Options
Master the installation of top cement flooring options. Learn prep, pour, and finish techniques for polished, stamped, and microcement floors.

Selecting and installing the right cement flooring options requires a deep understanding of substrate limits, moisture dynamics, and finishing chemistry. Modern cementitious systems have evolved far beyond basic gray slabs, offering high-end architectural finishes that demand precise installation protocols. This guide details the technical requirements, substrate preparation, and execution steps for the three most prevalent cement flooring systems in 2026: polished concrete, microcement overlays, and stamped exterior cement.
Comparing Top Cement Flooring Options
Before breaking ground or firing up a grinder, contractors must match the flooring system to the structural capacity and environmental conditions of the space. The table below outlines the critical installation variables for each major option.
| System Type | Thickness | Substrate Prep (CSP) | Install Time | 2026 Avg Cost (Installed) |
|---|---|---|---|---|
| Polished Concrete | Existing slab (0mm overlay) | CSP 2-3 (Shot blast/Grind) | 4-7 Days | $4.50 - $12.00 / sq ft |
| Microcement Overlay | 2mm - 3mm | CSP 1-2 (Diamond grind) | 5-8 Days | $8.00 - $16.00 / sq ft |
| Stamped Cement | 100mm - 150mm (New pour) | N/A (Compacted base) | 3-5 Days | $12.00 - $22.00 / sq ft |
Phase 1: Substrate Preparation and Moisture Mitigation
The vast majority of cement flooring failures occur before the finish material is even applied. Proper substrate preparation is non-negotiable.
Moisture Testing (ASTM F2170)
Never install a cementitious overlay or coating without verifying internal slab moisture. According to ASTM F2170 standards, you must drill holes to 40% of the slab's depth and insert in-situ relative humidity (RH) probes.
- Polished Concrete: Tolerates higher moisture, but densifier penetration is compromised if RH exceeds 85%.
- Microcement & Overlays: Require strict RH limits, typically below 75%. If readings exceed this, apply a two-part epoxy moisture mitigation barrier (e.g., Mapei Primer SN or Laticrete Hydro Ban) before proceeding.
Mechanical Profiling
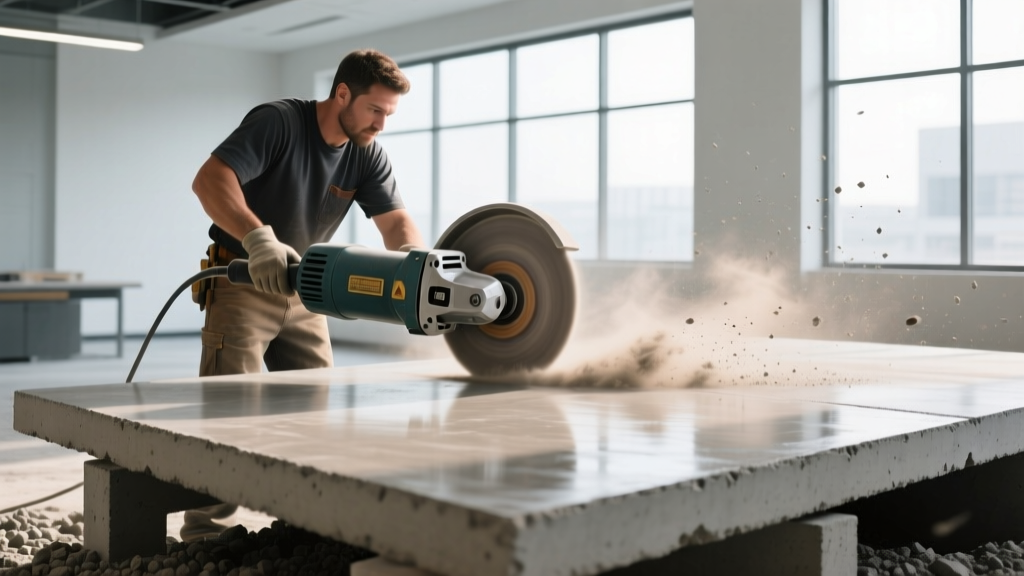
For overlays and microcement, the concrete surface profile (CSP) must be precisely matched to the manufacturer's primer. Use a planetary diamond grinder equipped with 30-grit metal bonds to achieve a CSP 2. For polished concrete, shot blasting is often preferred to uniformly expose the aggregate without leaving directional grinder swirls.
Phase 2: Installation Protocols by System
Option A: Polished Concrete Execution
Polishing is a subtractive process. The goal is to refine the surface scratch pattern until it reflects light. According to industry guidelines outlined by The Concrete Network, a true mechanical polish requires a minimum of 7 to 9 grinding steps.
- Rough Grind (40 to 80-grit metal): Removes surface laitance and exposes the desired aggregate class (Class A through D).
- Grout Coat: Apply a cementitious grout filler to fill micro-voids and pop-outs created during the rough grind.
- Densification (100 to 200-grit): Apply a lithium silicate densifier at a rate of 400-600 sq ft per gallon. Lithium penetrates deeper and reacts faster than sodium or potassium alternatives, forming calcium silicate hydrate (C-S-H) within the pores.
- Resin Honing (400 to 3000-grit): Transition to resin-bonded diamonds. The 800-grit step is where the floor begins to achieve a glass-like clarity.
Option B: Microcement Overlay Application
Microcement provides a seamless, troweled aesthetic ideal for interior renovations. Because it is applied at just 2-3mm thick, it telegraphs underlying imperfections.
- Primer & Mesh: Roll a quartz-sand broadcast epoxy primer. While tacky, embed a fiberglass anti-fracture mesh to prevent crack telegraphing.
- Base Coat (2 passes): Trowel the base-coat microcement. This layer contains larger aggregates (0.5mm) for structural strength. Sand lightly with a 60-grit pad between passes.
- Finish Coat (2 passes): Apply the fine-grain finish layer (0.1mm aggregate). Use a stainless steel trowel held at a 15-degree angle, burnishing the surface to close the pores.
- Sealing: Apply two coats of a two-component aliphatic polyurethane sealer. Water-based acrylics will yellow under UV exposure and lack the abrasion resistance required for commercial traffic.
Option C: Stamped Cement Flooring (Exterior)
Stamped cement remains the premier choice for exterior patios and driveways due to its freeze-thaw durability when properly air-entrained. The Portland Cement Association notes that proper freeze-thaw resistance requires an air content of 5% to 8% in the mix design.
- Color Hardener: Broadcast 60-90 lbs per 100 sq ft of dry-shake color hardener onto the fresh pour. Trowel it in once the bleed water evaporates.
- Release Agent: Apply an antiquing liquid or powdered release agent before stamping. Liquid releases are preferred in 2026 as they eliminate the messy secondary washing phase required by powdered releases.
- Stamping: Use polyurethane stamping mats. Overlap mats by 2 inches and use a tamper to push the texture into the cement.
- Curing: Spray with a clear, membrane-forming cure-and-seal compound immediately after stamping to prevent plastic shrinkage cracking.
Troubleshooting Common Installation Failures
Failure: Microcement Delamination
Cause: Applying the overlay over a slab with an RH above 75%, or failing to remove curing compounds from the original pour during the grinding phase.
Fix: Delaminated sections must be chipped out, re-primed with a moisture-mitigating epoxy, and patched. Always perform a solvent wipe test to ensure curing compounds are fully removed before priming.
Failure: Polished Concrete 'Ghosting' or Staining
Cause: Inadequate removal of the grout coat residue before densifying, or using a densifier with too high a solid content that sits on the surface rather than penetrating.
Fix: If ghosting occurs, drop back to a 200-grit resin, flush the floor with an alkaline cleaner to neutralize and remove surface salts, and reapply a diluted lithium densifier.
Curing and Return-to-Service Timelines
Time management is critical for commercial projects. Adhere strictly to these return-to-service windows to prevent permanent surface damage:
- Polished Concrete: Foot traffic immediately after final burnish. Heavy pallet jack traffic after 7 days to allow full C-S-H crystallization.
- Microcement: Light foot traffic at 24 hours. Full furniture placement and heavy traffic only after 7 days of polyurethane sealer cross-linking.
- Stamped Exterior: Foot traffic at 48 hours. Vehicular traffic restricted for a minimum of 14 to 28 days, depending on ambient temperature and mix design PSI.
Executing these cement flooring options successfully requires abandoning shortcut methodologies. By rigorously testing moisture, matching mechanical profiles to specific overlay chemistries, and respecting chemical curing windows, contractors can deliver high-performance surfaces that meet modern architectural demands.
Written by
Priya KapoorPriya Kapoor is a real estate market analyst and construction economics researcher with expertise in housing affordability, development feasibility, and infrastructure investment. She holds a Master of Regional Planning from Cornell University and previously worked as a senior analyst at CBRE's Investment Properties group, where she modeled returns for $4B in mixed-use development pipelines. Priya now runs an independent research practice advising developers, municipalities, and REITs on construction cost forecasting and market timing. She publishes the quarterly "BuildMat Market Pulse" report tracking material price indices across 12 commodity categories. Based in Austin, TX, Priya serves on the board of Habitat for Humanity Austin and is a marathon runner.
More from Priya Kapoor
View all
Construction Cost
Cost to Build a 1600 Sq Ft Home in 2026: Full Breakdown
Accurate 2026 cost to build a 1600 sq ft home—material, labor, and regional pricing breakdowns included. Plan your budget with real-time estimates.
Aug 11, 2026

Wood & Lumber
Name the Types of Wood for Pressure Treatment and Preservation
Learn how to name the types of wood best suited for pressure treatment. Compare species treatability, chemical retention levels, and 2026 preservation costs.
Aug 4, 2026

Stone & Masonry
Stone Veneer Suppliers Lindenhurst: 2026 Cost Analysis
Analyze 2026 stone veneer costs in Lindenhurst, NY. Compare local supplier pricing, delivery fees, and Suffolk County installation labor rates.
Aug 4, 2026