Repair Stone Veneer on Concrete Stairs: Fix Cracks & Delamination
Learn how to troubleshoot and repair stone veneer on concrete stairs. Fix delamination, efflorescence, and tread cracks with expert masonry techniques.

The Anatomy of Stone Veneer Stair Failures
Applying stone veneer to concrete stairs introduces a complex interaction between two materials with vastly different physical properties. Concrete substrates undergo continuous volumetric changes due to shrinkage, thermal expansion, and structural creep. Stone veneer, conversely, is highly rigid. When installed on exterior stairs, this differential movement—compounded by hydrostatic pressure and freeze-thaw cycles—frequently leads to catastrophic bond failure. Troubleshooting these issues requires moving beyond cosmetic patches and addressing the underlying mechanical and moisture-related root causes.
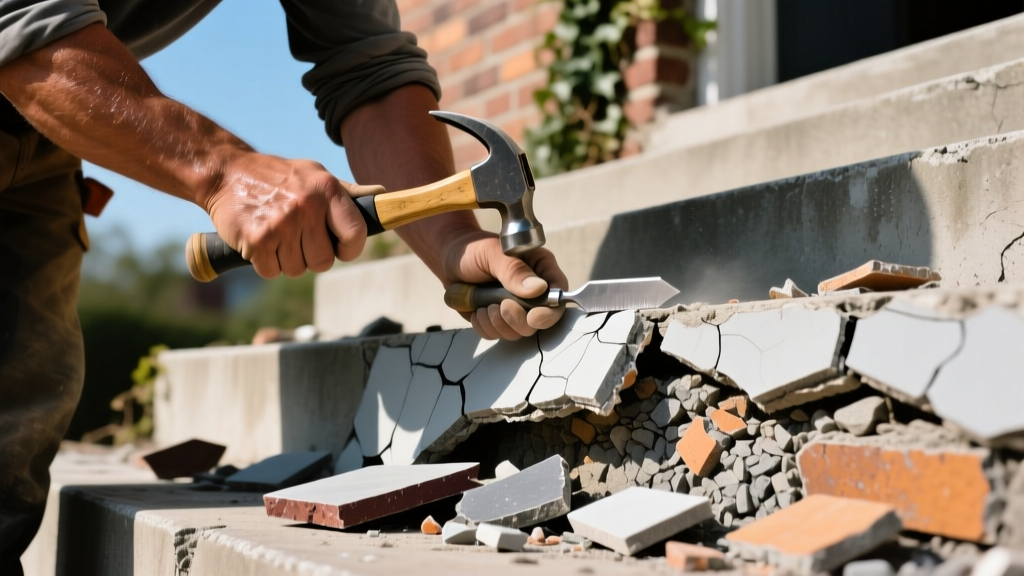
Diagnostic Matrix: Identifying Your Stair Failure
Accurate diagnosis prevents wasted labor and recurring failures. Use the following matrix to map your symptoms to their root causes.
| Symptom | Root Cause | Severity | Primary Repair Strategy |
|---|---|---|---|
| Hollow sound when tapped; localized loose stones | Adhesive/mortar bond failure due to substrate contamination or differential movement | Moderate | Epoxy injection or localized tear-out and reset |
| White, powdery deposits on stone faces and joints | Efflorescence driven by capillary moisture migrating through unsealed concrete | Low (Cosmetic) | Dry brushing, chemical cleaning, and silane sealing |
| Spalling or flaking of the stone surface on treads | Freeze-thaw cycling trapping moisture within the stone's pore structure | High | Stone replacement and application of breathable penetrating sealer |
| Cracked mortar joints (stepped or horizontal) | Thermal expansion/contraction or substrate settlement | Moderate | Raking and repointing with polymer-modified Type N mortar |
Step-by-Step Repair: Fixing Delaminated Treads and Risers
Delamination on stair treads is a severe trip hazard. The repair method depends on the extent of the bond failure, determined by a percussive 'tap test' using a rubber mallet.
Scenario A: Micro-Delamination (Less than 15% of Tread Area)
If the hollow area is localized and the stone is not actively shifting, structural epoxy injection is the most efficient repair.
- Drill Injection Ports: Using a hammer drill with a 1/4-inch masonry bit, drill holes at a 45-degree angle through the mortar joints (never through the stone face) intersecting the void space beneath the veneer.
- Clear the Voids: Blow out concrete dust using compressed air. Moisture in the void will compromise standard epoxies, so ensure the area is bone dry.
- Inject Structural Epoxy: Use a low-viscosity, high-modulus structural epoxy such as Sikadur-32 or an equivalent 100% solids bonding agent. Inject slowly using a caulking gun until the epoxy bleeds out of adjacent joints, indicating the void is fully encapsulated.
- Weight and Cure: Place weighted sandbags (minimum 50 lbs per square foot) on the tread. Allow 24 hours for full cure before subjecting the stair to foot traffic.
Scenario B: Macro-Delamination (Greater than 15% or Active Movement)
When large sections of the tread are loose, injection is insufficient. The veneer must be removed and reset.
- Careful Extraction: Use a flat masonry chisel and a 3-pound dead-blow hammer to carefully pry the stone units up. Work from the edges inward to prevent snapping the stone.
- Substrate Scarification: Grind the exposed concrete tread using a cup wheel on an angle grinder to remove all residual thinset, mortar, and laitance. The concrete must be clean, rough, and porous.
- Re-installation: Apply a liquid bonding agent (e.g., LATICRETE 3701 Mortar Admix) to the concrete. Butter the back of the stone veneer with a polymer-modified mortar and press firmly, maintaining a strict 1/4-inch per foot slope away from the riser to ensure rapid water shedding.
Eradicating Efflorescence and Moisture Trapping
Efflorescence on stone veneer stairs is not just a cosmetic nuisance; it is a diagnostic indicator that moisture is migrating through the concrete substrate and evaporating at the surface, leaving behind soluble salts. According to the National Concrete Masonry Association (NCMA), stopping efflorescence requires eliminating the water pathway, not just cleaning the surface.
The Eradication Protocol:
- Stage 1: Dry Removal. Aggressively scrub the affected areas with a stiff nylon or natural bristle brush. Do not use wire brushes, as they can leave behind iron particles that will rust and stain the stone.
- Stage 2: Chemical Cleaning. If dry brushing fails, apply a proprietary efflorescence remover according to the manufacturer's dilution ratios. Agitate, allow a 5-minute dwell time, and rinse with low-pressure water.
- Stage 3: Substrate Sealing. Once the stairs are completely dry (minimum 48 hours of direct sunlight), apply a breathable silane/siloxane penetrating sealer to the concrete risers and the back of any exposed stone. This creates a hydrophobic barrier that stops capillary water migration without trapping vapor inside the masonry assembly.
Addressing Freeze-Thaw Spalling on Exterior Stairs
Exterior concrete stairs clad in stone veneer are highly susceptible to freeze-thaw damage. When water saturates the mortar bed or the stone itself and freezes, it expands by approximately 9%, generating internal tensile stresses that exceed the tensile strength of the masonry, causing the face of the stone or the mortar to pop off (spall). The Portland Cement Association emphasizes that durability in freeze-thaw environments relies on proper air-entrainment and moisture management.
When to Replace vs. Patch Spalled Stone
Not all spalling requires a full tear-out. Use this decision framework:
- Patch (Surface Spalling < 1/4 inch deep): If only the very surface of the mortar joint or the stone edge has flaked, chip away the loose material with a pointing trowel. Clean the area and apply a polymer-modified, air-entrained patching compound (such as Euclid Chemical Euco 700). Trowel smooth and color-match with mineral oxide pigments.
- Replace (Deep Spalling or Lamination Failure): If the stone has split horizontally (lamination failure) or the spall exposes the aggregate bed deep within the unit, the structural integrity of that specific stone is compromised. Chisel it out completely and replace it with a new unit, ensuring the new stone has a maximum absorption rate of less than 5% to resist future freeze-thaw cycles.
Preventative Waterproofing and Drainage Corrections
Repairing the stone is only half the battle; preventing recurrence requires managing water at the macro level. Stairs are essentially a series of miniature roofs and walls. If water pools on the treads or saturates the risers, no adhesive will hold indefinitely.
- Verify Tread Slope: Use a digital level to check the pitch of every tread. The minimum required slope is 1/4 inch per foot (2%) toward the outer edge. If the stairs are flat or back-pitched toward the riser, you must apply a tapered mortar screed over the concrete substrate before reinstalling the veneer.
- Install Weep Holes: If your concrete stairs feature a solid stringer or a cavity wall behind the risers, moisture can become trapped. Drill 1/2-inch weep holes through the mortar joints at the base of the lowest riser, spaced every 24 inches, to allow hydrostatic pressure to escape.
- Apply a Sacrificial Topical Sealer: For high-traffic exterior stairs, apply a high-solids, UV-stable polyurethane or polyaspartic clear coat to the treads every 3 to 5 years. This acts as a sacrificial wear layer, protecting the stone and mortar from de-icing salts and mechanical abrasion.
By systematically diagnosing the failure mode, utilizing structural-grade repair materials, and implementing rigorous moisture management, you can restore the structural safety and aesthetic integrity of stone-clad concrete stairs for decades of reliable service.
Written by
Elena RodriguezElena Rodriguez is a civil engineer and technical writer specializing in concrete technology, masonry systems, and ASTM/ACI compliance. She earned her B.S. in Civil Engineering from Texas A&M University and spent a decade at a materials testing laboratory, performing over 2,000 concrete compressive strength tests and masonry prism evaluations. Elena is an ACI-certified Field Testing Technician (Grade I) and a member of ASTM Committee C12 on Natural Building Stone. She currently consults on forensic engineering cases involving concrete failures and moisture intrusion. Based in San Antonio, TX, Elena is a proud member of the Society of Women Engineers (SWE) and coaches her daughter's FIRST Robotics team.
More from Elena Rodriguez
View all
Walls & Panels
Cost Analysis: Light Gauge Steel Framing Advantages and Disadvantages
Evaluate light gauge steel framing advantages and disadvantages through a strict cost analysis lens, comparing material, labor, and lifecycle expenses.
Aug 4, 2026

Walls & Panels
Gypsum Board Types: Exact Specifications, Thickness & Dimensions
Compare standard, Type X, and moisture-resistant gypsum board types. Get exact specifications, thicknesses, dimensions, and ASTM standards for your project.
Aug 4, 2026

Fire Resistance
Best Fire-Resistant Outdoor Decking Materials: 2026 Buyer Guide
Discover the best fire-resistant outdoor decking materials for 2026. Compare Class A PVC, aluminum, and hardwood options for WUI compliance and safety.
Aug 4, 2026