How to Clean and Maintain Exposed Self Leveling Compound Floors
Master the maintenance and cleaning playbook for exposed self leveling compound floors. Learn sealing, daily care, and how to fix dusting or micro-cracks.
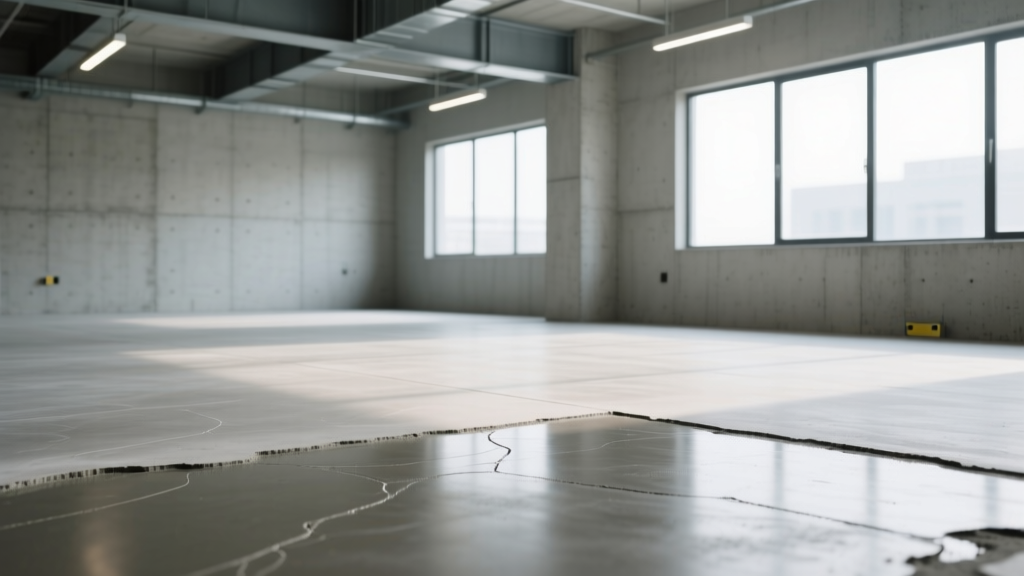
The Unique Chemistry of Exposed SLC
Exposed self leveling compound (SLC) floors have become a staple in modern architectural designs, offering a seamless, industrial-chic aesthetic. However, maintaining SLC as a finished wear surface requires a fundamentally different playbook than traditional concrete or tile. Unlike standard concrete, SLC relies on a highly engineered blend of Portland cement, calcium aluminate cement, and proprietary polymer modifiers (such as redispersible vinyl acetate or acrylic copolymers) to achieve its flowability. This unique chemistry makes the surface highly susceptible to acidic etching, moisture-related sealer failure, and micro-abrasion if maintained incorrectly.
This comprehensive playbook provides facility managers, contractors, and homeowners with the exact protocols required to cure, seal, clean, and troubleshoot exposed SLC floors, ensuring long-term durability and visual integrity.
Phase 1: The 28-Day Cure and Moisture Management
The most critical maintenance window for an SLC floor occurs before it is ever sealed. While products like Mapei Novoplan 21 or Ardex K 15 can bear foot traffic in 2 to 4 hours, the chemical hydration process requires a full 28 days to reach ultimate compressive strength and stabilize internal moisture levels.
Curing Environment Controls
- Temperature: Maintain ambient room temperature between 65°F and 75°F (18°C - 24°C). Temperatures below 50°F halt the hydration of calcium aluminate cements, leading to a weak, dusty surface.
- Airflow: Do not use industrial fans or HVAC systems to accelerate drying during the first 72 hours. Rapid surface evaporation causes plastic shrinkage and craze cracking.
- Moisture Vapor Emission Rate (MVER): Before applying any topical sealer, conduct an ASTM F1869 calcium chloride test or an ASTM F2170 in-situ relative humidity probe test. SLC must read below 3 lbs/1,000 sq ft/24 hours (or 75% RH) before sealing. Trapping moisture under a film-forming sealer will cause blisters and peeling.
Phase 2: Sealer Selection Matrix
Because SLC is highly porous and lacks the dense aggregate structure of standard concrete, it requires a specific sealer profile. According to guidelines from the International Concrete Repair Institute (ICRI), selecting the wrong chemistry will result in premature wear or yellowing.
| Sealer Type | Best Use Case | Pros & Cons | Recommended Product Lines |
|---|---|---|---|
| Water-Based Aliphatic Polyurethane | Residential, light commercial, high UV areas. | Pros: Non-yellowing, low VOC, easy recoat. Cons: Lower abrasion resistance than epoxy. |
Ardex HD, CoverTec UV Guard |
| 100% Solids Epoxy | Heavy commercial, garages, industrial kitchens. | Pros: Extreme chemical/abrasion resistance. Cons: Will amber under UV light; requires topcoat. |
Mapei Ultracoat, Laticrete SpectraLOCK |
| Penetrating Lithium Silicate | Warehouses, matte-finish aesthetic requirements. | Pros: Zero film build, permanent dust-proofing. Cons: Does not block oil/water stains effectively. |
Prosoco Consolideck LS, RetroPlate |
Application Note: Apply polyurethane sealers at a wet film thickness of 3 to 5 mils using a 1/4-inch nap microfiber roller. Over-application will cause pooling, which cures into soft, tacky ridges that peel under foot traffic.
Phase 3: The Daily and Weekly Cleaning Playbook
Once sealed, the maintenance routine shifts from protecting the cement matrix to protecting the sealer itself. The American Concrete Institute (ACI) emphasizes that improper cleaning chemicals are the leading cause of decorative floor degradation.
Daily Protocol: Dry Soil Removal
Abrasive grit (sand, silica, dirt) acts like sandpaper underfoot, micro-scratching the polyurethane or epoxy sealer. Over time, this turns a glossy finish into a dull, hazy surface.
- Tool: Cleanroom-grade microfiber dust mop (never use treated cotton mops, as the oils will smear the sealer).
- Frequency: Daily in high-traffic zones; twice weekly in residential settings.
Weekly Protocol: Damp Mopping
- Cleaner Chemistry: Use a strictly neutral pH cleaner (pH 7.0 to 8.5). Zep Neutral Floor Cleaner or Simple Green Concrete (diluted to 2 oz per gallon) are ideal.
- The Acid Ban: Never use vinegar, muriatic acid, or citrus-based cleaners. Acids react with the calcium hydroxide in the SLC, etching the surface and permanently clouding the sealer.
- The Alkaline Ban: Avoid heavy degreasers (pH 10+) and ammonia, which will strip the acrylic and polyurethane cross-links, causing the sealer to chalk and flake.
- Technique: Use a dual-bucket mop system (one for cleaning solution, one for rinsing) to avoid grinding suspended dirt back into the floor.
Phase 4: Troubleshooting Surface Defects
Even with meticulous maintenance, SLC floors can develop specific defects due to environmental stressors or initial installation variances. Use this diagnostic framework to remediate issues.
Symptom: Surface Dusting or Chalking
- Cause: The floor was left unsealed, or the penetrating sealer has worn away, exposing free lime (calcium hydroxide) to atmospheric carbon dioxide, forming a weak calcium carbonate dust.
- Remediation: Deep clean with an alkaline cleaner (pH 9.0) to remove the dust layer. Apply a lithium silicate densifier (e.g., Prosoco Consolideck LS). The lithium reacts with the free lime to form calcium silicate hydrate (C-S-H), permanently binding the surface and stopping the dusting.
Symptom: Micro-Cracking (Craze Cracking)
- Cause: Rapid moisture loss during the first 48 hours of curing, or applying the SLC at a thickness below the manufacturer's minimum (usually 1/4 inch).
- Remediation: For cosmetic craze cracks (less than 1mm wide), use a low-viscosity, gravity-fed epoxy crack filler (like Liquid Boot or a specific acrylic resin). Wipe off excess immediately with a solvent rag before it cures, then reapply the topical polyurethane sealer to blend the sheen.
Symptom: White Haze or Blistering Under Sealer
- Cause: Moisture vapor transmission (MVT) pushed hydrostatic pressure through the slab, breaking the sealer's bond and trapping moisture.
- Remediation: This requires mechanical removal. Diamond-grind the blistered areas using a 40-grit metal bond diamond pad. Apply a moisture-mitigating epoxy primer (such as Mapei Primer MF EC Plus) rated for up to 100% RH, then re-topcoat with the aliphatic polyurethane.
Phase 5: Heavy-Duty Stain Removal Matrix
When spills penetrate micro-scratches in the sealer, standard mopping will not suffice. Use this targeted chemical matrix to extract stains without damaging the surrounding SLC.
| Stain Type | Chemical Agent | Application Method |
|---|---|---|
| Tire Marks / Rubber Scuffs | Isopropyl Alcohol (70%) or WD-40 | Spray, let sit for 60 seconds, agitate with a white melamine pad, wipe clean. |
| Organic (Wine, Coffee, Food) | Hydrogen Peroxide (3% to 6%) | Apply as a poultice with diatomaceous earth. Cover with plastic wrap for 12 hours to draw out the pigment. |
| Oil / Grease | Acetone or MEK (Methyl Ethyl Ketone) | Apply sparingly with a microfiber cloth. Note: Acetone will dull polyurethane; requires localized resealing. |
| Rust | Oxalic Acid-based Rust Remover | Apply gel formulation, leave for 5-10 mins, neutralize immediately with a baking soda/water solution to prevent SLC etching. |
Annual Inspection and Resealing Cadence
To maintain the warranty and aesthetic of an exposed SLC floor, implement an annual inspection protocol. Perform the 'Water Drop Test': place three drops of water in high-traffic areas (entryways, pivoting door zones). If the water beads up, the sealer is intact. If the water absorbs and darkens the SLC within 3 minutes, the sealer has worn through.
For water-based polyurethanes, plan for a light screen-and-recoat every 3 to 5 years in commercial settings, and 5 to 7 years in residential settings. Always chemically degrease and mechanically abrade the existing sealer with a 120-grit screen before applying a fresh coat to ensure proper intercoat adhesion.