How to Remove Paint from Concrete: Performance Specs & Methods
Learn how to remove paint from concrete using precise chemical dwell times, mechanical PSI ratings, and ICRI surface profile specifications.
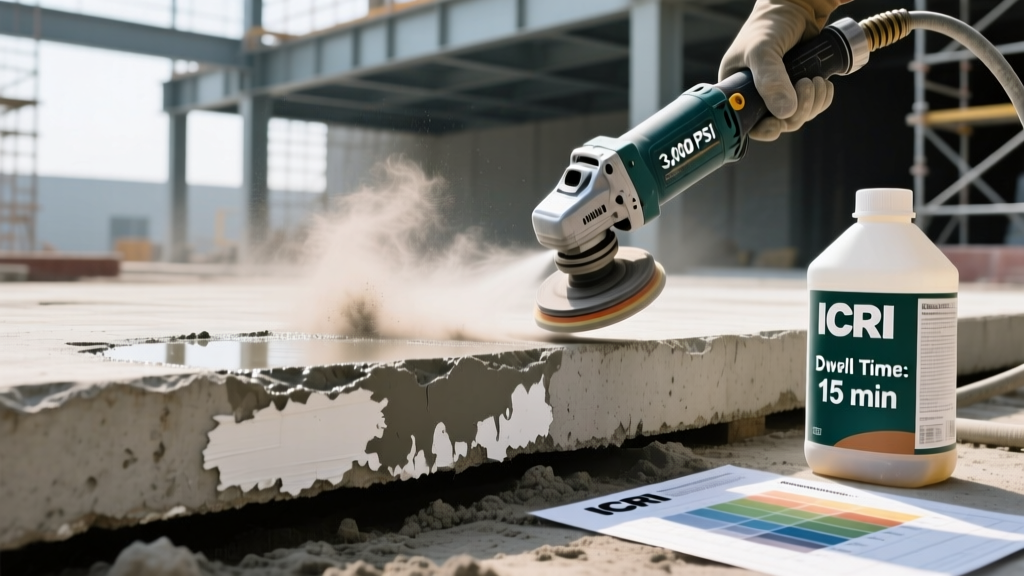
The Physics of Paint Adhesion in Concrete Pores
Removing paint from concrete requires understanding the capillary pore structure of the cementitious matrix. Unlike wood or drywall, cured concrete contains a capillary pore volume ranging from 10% to 15% of its total mass. When liquid paint (especially low-viscosity acrylics or penetrating epoxies) is applied, it wicks into these micro-pores to a depth of 1/32 to 1/16 of an inch. Surface scraping only removes the film-forming layer above the substrate, leaving the penetrated pigment and binder locked inside the pores. This results in 'ghosting' or shadow stains that compromise subsequent coatings. Effective removal requires either chemically breaking the polymer chains within the pores or mechanically fracturing the top 1/16 inch of the concrete matrix to expose clean aggregate.
Chemical Stripper Specifications & Active Ingredients
Historically, methylene chloride (DCM) was the industry standard for rapid paint stripping. However, due to severe toxicity and recent EPA restrictions under TSCA, DCM is largely banned for consumer and most commercial use. Modern formulations rely on alternative solvents and alkaline hydrolysis. Selecting the correct chemistry depends on the paint type and environmental constraints.
| Active Ingredient | Mechanism of Action | Target Dwell Time | Best Application | VOC / Safety Profile |
|---|---|---|---|---|
| N-Methyl-2-pyrrolidone (NMP) | Solvent penetration; swells polymer matrix | 4 to 8 hours | Epoxy, polyurethane, multi-layer latex | Low VOC; requires gloves/respirator |
| Dibasic Esters (DBE) | Solvation; breaks down binder adhesion | 12 to 24 hours | Oil-based paints, thick enamels | Very Low VOC; biodegradable |
| Methyl Soyate (Soy-Based) | Emulsification; lifts paint from pores | 24+ hours | Single-layer latex, interior floors | Zero VOC; non-toxic, eco-friendly |
| Sodium Hydroxide (Caustic) | Alkaline hydrolysis; saponifies binders | 45 to 90 minutes | Oil-based paints on exterior slabs | High pH (13+); causes chemical burns |
Mechanical Removal: Hydro-Blasting & Abrasive Specs
Chemical strippers loosen the paint, but mechanical force is required to extract it from the pores. Standard garden hoses or light-duty electric pressure washers (under 2,000 PSI) are insufficient for bonded paint and will only waste water while driving moisture deeper into the slab.
Hydro-Blasting Performance Ratings
- Pressure (PSI): Minimum 3,000 PSI for latex; 4,000+ PSI for epoxy or elastomeric coatings.
- Flow Rate (GPM): 2.5 to 4.0 Gallons Per Minute. Flow rate is mathematically more critical than PSI for flushing debris from pores. Cleaning power is calculated as PSI × GPM. A 3,000 PSI / 4.0 GPM unit (12,000 Cleaning Units) will outperform a 4,000 PSI / 2.0 GPM unit (8,000 Cleaning Units).
- Nozzle Specification: Use a 15-degree (yellow) or 0-degree (red) rotary nozzle. A 40-degree (white) fan nozzle disperses energy too broadly to break pore adhesion.
- Surface Cleaner Attachment: Mandatory for large flatwork. A 20-inch rotary surface cleaner with dual nozzles maintains a consistent standoff distance, preventing the 'zebra striping' etch marks caused by handheld wands.
Abrasive Shot Blasting
For heavily layered industrial epoxy or where chemical use is prohibited (e.g., food processing facilities), shot blasting is the standard. The machine must be calibrated to use S-330 or S-390 steel shot. S-330 provides a balance of impact energy and coverage, removing 1/16 inch of the surface paste and exposing the aggregate. Blast pattern overlap must be exactly 50% to ensure uniform removal without creating deep troughs.
Dry Ice Blasting: The Zero-Residue Alternative
Dry ice blasting is an emerging specification for sensitive environments (hospitals, cleanrooms, historical concrete). It utilizes solid CO2 pellets accelerated through compressed air.
- Pellet Size: 3mm high-density pellets.
- Air Pressure: 80 to 120 PSI (requires a dedicated industrial compressor delivering at least 185 CFM).
- Thermal Shock Mechanism: The -109°F (-78°C) pellets instantly freeze the paint film, causing it to contract and micro-fracture. The kinetic impact then sublimates the pellet into gas, lifting the paint without generating secondary waste. The only debris to vacuum is the paint itself.
Post-Removal Surface Profiling (ICRI Standards)
Once the paint is removed, the concrete surface must be evaluated against the International Concrete Repair Institute (ICRI) and SSPC (Society for Protective Coatings) guidelines for Concrete Surface Profiles (CSP). If the goal is to apply a new coating, a perfectly smooth surface will result in delamination.
- CSP 1 (Very Smooth): Acid etched or lightly burnished. Unsuitable for epoxy; only acceptable for penetrating sealers.
- CSP 2 (Light Profile): Achieved via light shot blasting or aggressive diamond grinding (40-grit metal bond). Ideal for thin-film epoxies and urethanes.
- CSP 3 (Medium Profile): Achieved via heavy shot blasting or scarification. Required for high-build epoxy mortars, polyaspartics, and self-leveling overlays.
Use an ICRI rubber comparator chip to physically match the surface texture before proceeding with any new coating application.
Step-by-Step Execution Protocol
- Mechanical Prep: Scrape all peeling or flaking paint with a long-handled floor scraper (carbide blade). This prevents the chemical stripper from being wasted on already detached material.
- Chemical Application: Apply NMP or DBE stripper at a coverage rate of 50 to 75 square feet per gallon. Use a 3/4-inch nap roller for even distribution. Do not back-roll.
- Occlusion (Critical Step): Cover the treated area with 4-mil to 6-mil polyethylene sheeting. Tape the edges. This prevents the solvent from flashing off (evaporating) and forces it downward into the concrete pores. Leave for the manufacturer-specified dwell time (typically 8-12 hours for DBE).
- Extraction: Remove the poly sheeting. Use a stiff-bristle push broom to agitate the surface, breaking the emulsified paint layer.
- Hydro-Blast Flushing: Pressure wash at 3,000+ PSI using a 15-degree nozzle and a rotary surface cleaner. Flush all residue into a wet vacuum or designated drainage containment system. Never wash paint residue into storm drains; it violates EPA Clean Water Act regulations.
- Neutralization & pH Testing: If a caustic stripper was used, apply the acid neutralizer. Rinse again. Test the surface with pH strips. The concrete must read between 7.0 and 8.0 before any new coating can be applied.
- Drying Time: Allow the slab to dry for a minimum of 48 to 72 hours. Verify moisture levels using a calcium chloride test (ASTM F1869) or an in-situ relative humidity probe (ASTM F2170) ensuring moisture vapor emission is below 3-5 lbs/1000 sq ft/24 hours before recoating.