Maintenance Playbook: Re-Attaching Loose Fiber Cement Siding
Learn the exact maintenance playbook for inspecting, cleaning, and re-attaching loose fiber cement siding boards using code-compliant fasteners.
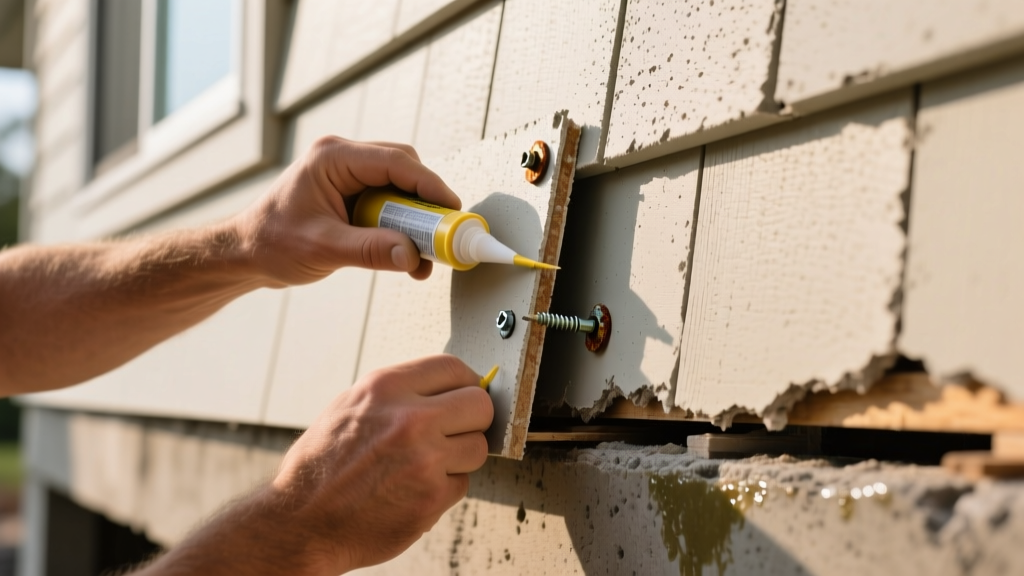
The Hidden Vulnerability in Fiber Cement Assemblies
Fiber cement siding boasts a 50-year lifespan, resisting rot, termites, and fire with unmatched efficacy. However, its mechanical attachment to the wall assembly is often the first point of failure. Over a decade of thermal cycling, wind shear, and moisture intrusion, the fasteners holding the planks to the sheathing can compromise. When boards loosen, rattle, or pull away from the wall, they expose the weather-resistive barrier (WRB) to UV degradation and bulk water.
This maintenance playbook bridges the gap between cleaning and structural repair. Before you can properly secure a failing plank, you must remediate the underlying moisture and corrosion. When it comes to securely attaching fiber cement siding during a repair, the International Residential Code (IRC) and manufacturer specifications demand exact fastener types, penetration depths, and clearance gaps to prevent secondary failures.
Never use electro-galvanized (EG) nails for fiber cement repairs. EG nails have a microscopic zinc coating that wears off during driving. The high alkalinity of fiber cement (pH 11-13) rapidly corrodes exposed steel, causing rust bleeding down the facade and eventual nail head pull-through. You must exclusively use hot-dipped galvanized (HDG) or stainless steel fasteners.
Phase 1: Inspection and Fastener Zone Cleaning
You cannot re-attach a board over a compromised substrate or a corroded fastener track. The cleaning phase is critical to ensure the new attachment bites into sound framing.
Step 1: Rust Bleed Remediation
If the loose board exhibits rust streaking from previous EG nail failures, the stain must be neutralized before re-attachment and cosmetic touch-up. Standard pressure washing will not remove galvanic rust.
- Cleaner Selection: Use an oxalic acid-based wood and siding cleaner (e.g., Fanci-Bel or a dedicated fiber-cement safe rust remover). Avoid chlorine bleach, which can degrade the cellulose fibers in the cement matrix.
- Application: Apply the oxalic acid solution with a low-pressure pump sprayer. Allow it to dwell for 10-15 minutes without drying.
- Rinsing Protocol: Rinse with a standard garden hose. If using a pressure washer, cap the pressure at 1,500 PSI and maintain a 12-inch distance. High-pressure streams can force water behind the lap joints and delaminate the factory primer.
Step 2: Substrate Probing
Once the board is lifted slightly (using a flat pry bar protected by a wood block), probe the OSB or plywood sheathing behind the WRB with an awl. If the sheathing is soft or punky due to prolonged water ingress from a failed attachment point, you must cut out the rotted sheathing, patch it, and re-tape the WRB seams before proceeding.
Phase 2: The Re-Attachment Protocol
Properly attaching fiber cement siding requires understanding the difference between blind nailing (hiding the fastener under the overlapping course) and face nailing (driving through the exposed face). Repairs at the bottom of a wall often require face nailing, which introduces specific sealing requirements.
Fastener Specification Matrix
| Fastener Type | Shank Diameter | Head Diameter | Minimum Length | Application Scenario |
|---|---|---|---|---|
| Stainless Steel Roofing Nail | 0.113" (11 gauge) | 0.27" (11/32") | 1-3/4" | Coastal zones, high-humidity, face-nailing repairs |
| HDG Roofing Nail | 0.113" (11 gauge) | 0.27" (11/32") | 1-1/4" | Standard blind-nailing, interior wall repairs |
| Ribbed Wafer-Head Screw | #8 or #10 | 0.31" | 1-1/4" | Wind-load retrofit, structural shear reinforcement |
Note: According to the International Residential Code (IRC) Section R703.10, fasteners must penetrate the sheathing and enter the wood framing studs by a minimum of 1/4 inch to achieve the required withdrawal resistance.
Execution Steps for Re-Attachment
- Pre-Drill Face Nail Holes: If you must face-nail the bottom edge of a loose plank, pre-drill a 5/32" hole through the fiber cement. Fiber cement is brittle; driving a nail blindly near the bottom edge will cause micro-fractures and spalling.
- Blind Nail Positioning: When blind nailing the top edge, position the nail 3/4" to 1" down from the top edge of the plank. This ensures the fastener passes through the double-thickness overlap zone of the board below it, maximizing shear strength.
- Stud Targeting: Use a stud finder or tap-test to locate the framing. Attaching fiber cement siding only to the OSB sheathing without biting into the stud violates wind-uplift codes and guarantees future nail pops.
- Set the Head Flush: The nail head must sit perfectly flush with the surface. Over-driving crushes the cement matrix, creating a divot that holds water. Under-driving leaves a gap that prevents the overlapping board from laying flat.
Phase 3: Clearances, Flashing, and Sealing
The most common maintenance failure after re-attachment is improper sealing and clearance management. Fiber cement absorbs moisture through its edges; therefore, managing the gaps is just as important as the fasteners themselves.
Expert Insight: Never caulk the bottom edge of the siding to the Z-flashing or the board below it. Fiber cement is designed to drain and dry. Caulking the bottom lap traps capillary water inside the plank, leading to freeze-thaw spalling and accelerated coating failure. Only caulk the vertical end joints and the top edge where it meets trim.
Maintaining the 1/4-Inch Rule
When re-attaching boards above rooflines, decks, or horizontal Z-flashing, you must maintain a strict 1/4-inch clearance gap between the bottom edge of the fiber cement and the flashing. This gap prevents the plank from wicking standing water. If the previous installer cut the board too long and it is resting directly on the flashing, use a multi-tool with a carbide-grit blade to trim 1/4" off the bottom edge before securing the new fasteners.
Cosmetic Restoration and Sealing
Any face-nail heads or pre-drilled holes must be sealed immediately to prevent moisture ingress. Use a high-grade, paintable polyurethane or silicone-acrylic hybrid sealant (such as OSI QUAD Max). For ColorPlus (factory-finished) siding, apply the manufacturer's specific ColorPlus touch-up paint over the dried sealant and nail head to restore the UV-resistant coating.
Preventative Maintenance Schedule
To prevent widespread attachment failures, integrate the following checks into your annual exterior maintenance routine. Consult the James Hardie Installation Guide for specific warranty requirements regarding clearances and fastener corrosion.
| Frequency | Maintenance Task | Action Threshold |
|---|---|---|
| Bi-Annual (Spring/Fall) | Visual inspection of lap joints and flashing clearances. | Re-trim if clearance is < 1/8" or if boards touch flashing. |
| Annual | Low-pressure wash (garden hose) to remove organic debris from laps. | Clean immediately if moss bridges the lap joints. |
| Post-Storm (High Wind) | Tap-test loose boards; inspect for nail pops or rattling. | Re-attach within 48 hours to protect the WRB. |
| Every 5 Years | Inspect vertical caulking at trim and corner boards. | Cut out and replace if sealant exhibits loss of adhesion or cracking. |
By treating the attachment system with the same rigor as the siding material itself, you ensure the wall assembly remains weathertight, structurally sound, and visually pristine for decades. Proper cleaning, precise fastener selection, and strict adherence to clearance gaps are the non-negotiable pillars of fiber cement maintenance.