Installation Guide to Popular Types of Concrete Finishes
Master the installation of various types of concrete finishes. This guide covers timing, tooling, exposed aggregate, broom, and trowel techniques.
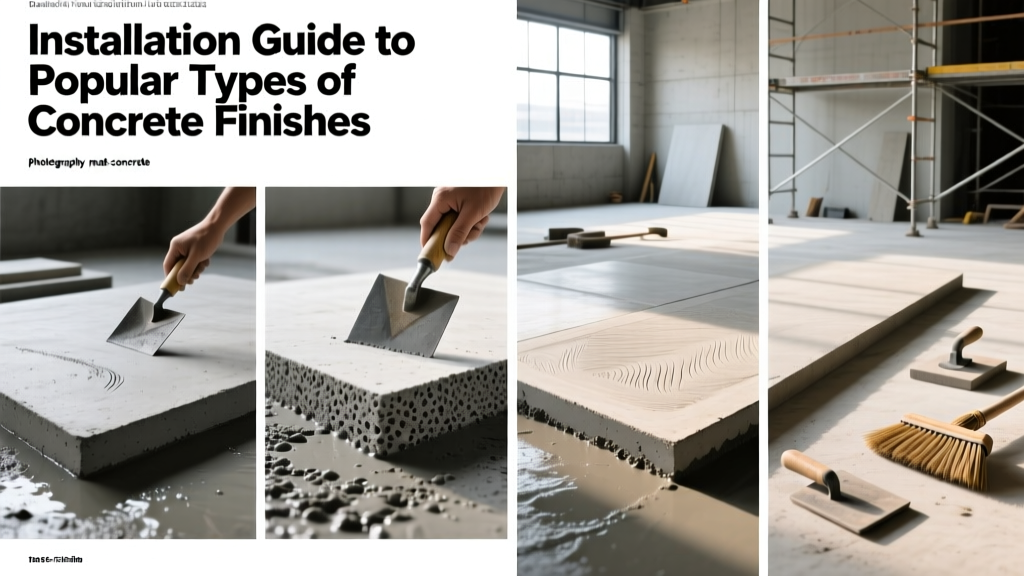
The Critical Window: Timing Your Concrete Finish
The transition of a concrete slab from a plastic, workable state to a hardened surface dictates its final durability, slip resistance, and aesthetic quality. When evaluating the various types of concrete finishes, the most common point of failure is not the tooling itself, but mistiming the application. Finishing operations must occur after the concrete has stiffened sufficiently to support weight without excessive deformation, but before the surface loses its plasticity.
Before selecting your finishing technique, perform the thumbprint test. Press your thumb firmly into the concrete; if the impression is roughly 1/4-inch deep and the edges remain crisp without collapsing, the slab is ready for initial floating and subsequent finishing.
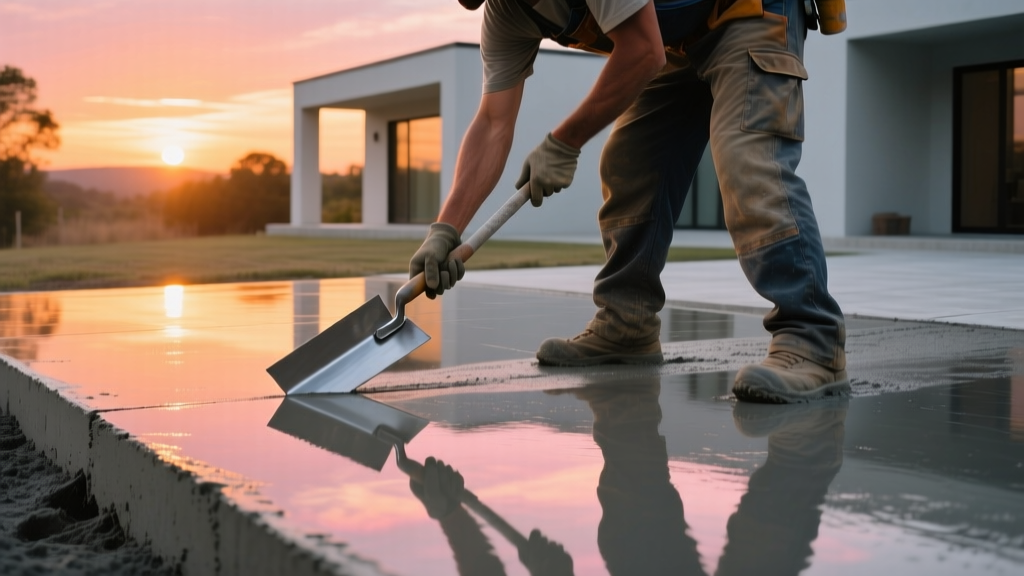
Execution Protocols for Standard Finishes
1. Broom Finish (Slip-Resistant Exterior)
The broom finish is the industry standard for exterior flatwork, driveways, and municipal sidewalks due to its high coefficient of friction (COF). The texture is created by dragging a specialized broom across the surface after it has been floated and the bleed water has evaporated.
- Tooling: Use a coarse corn-bristle broom for aggressive traction (ideal for steep driveway inclines) or a fine polypropylene-bristle broom for barefoot-friendly surfaces like pool decks.
- Technique: Pull the broom in a single, continuous motion toward your body. Keep the broom handle at a consistent angle (roughly 45 degrees) to ensure uniform ridge depth. Overlap each stroke by exactly one inch.
- Directionality: Always pull broom strokes perpendicular to the primary direction of foot or vehicle traffic to maximize slip resistance.
2. Smooth Steel Trowel Finish (Interior & Commercial)
For interior warehouse floors, garages, and commercial spaces, a dense, hard-troweled finish is required to resist abrasion and dusting. This finish relies on the mechanical burnishing of the surface paste.
- Initial Floating: Use a magnesium or wood float immediately after screeding to embed large aggregate just below the surface and level minor ridges.
- First Trowel Pass: Once the surface sheen disappears, make a flat pass with a steel trowel (or a walk-behind power trowel for areas exceeding 500 sq. ft.). Keep the blades flat against the concrete.
- Burnishing Pass: As the concrete hardens further, raise the power trowel blades to a 10-to-15-degree pitch. This high-pressure burnishing seals the pores and creates a glass-like surface.
3. Exposed Aggregate Finish (Decorative Driveways)
Exposed aggregate reveals the natural stone within the mix, providing excellent traction and a highly decorative appearance. Because the surface paste must be removed, this technique relies on chemical retarders rather than just mechanical tooling.
- Chemical Application: Immediately after the final bullfloat pass, spray a surface retarder (such as Sika Rugasol or Euclid Super Diamond Clear Retarder) evenly across the slab. This prevents the top 1/8-inch of cement paste from hydrating.
- Washing Phase: Between 12 and 24 hours post-pour (depending on ambient temperature), wash the surface using a pressure washer equipped with a 15-degree nozzle tip. Keep the pressure below 3,000 PSI to avoid dislodging the aggregate.
- Exposure Depth: Wash until the top 1/3 of the aggregate diameter is exposed. Over-washing will undermine the stones, leading to pop-outs and raveling under traffic.
4. Stamped Concrete Finish (Patios & Walkways)
Stamping imprints patterns (like slate, cobblestone, or wood plank) into the concrete while it is still plastic. This is the most labor-intensive of the common types of concrete finishes and requires strict environmental monitoring.
- Evaporation Control: If wind speeds exceed 15 mph or temperatures are above 80°F, spray an evaporation retarder (like E-Con) over the surface before stamping to prevent plastic shrinkage cracking.
- Release Agents: Broadcast a liquid or powdered release agent over the slab. This prevents the polyurethane stamping mats from bonding to the concrete and adds secondary color antiquing effects.
- Tooling: Use flexible polyurethane mats. Step onto the mats using specialized stamping shoes to apply even pressure. Always start stamping from the center of the slab and work outward to avoid trapping yourself in a corner.
Comparative Analysis: Cost, Tooling, and Performance
Selecting the right finish requires balancing budget, intended use, and environmental conditions. The table below outlines the critical metrics for residential and light-commercial applications in 2026.
| Finish Type | Primary Tooling Required | Avg. Installation Cost (per sq. ft.) | Slip Resistance (COF) | Ideal Application |
|---|---|---|---|---|
| Broom | Magnesium float, push broom | $8.00 - $12.00 | High (0.60+) | Driveways, sidewalks, ramps |
| Smooth Trowel | Steel trowel, walk-behind power trowel | $9.00 - $14.00 | Low (0.40) | Garages, warehouses, interiors |
| Exposed Aggregate | Bullfloat, pressure washer, retarder | $11.00 - $16.00 | Very High (0.70+) | Decorative driveways, pool decks |
| Stamped | Polyurethane mats, release agent | $14.00 - $22.00 | Moderate (0.50) | Patios, walkways, courtyards |
Curing and Sealing: Protecting the Finished Surface
The finishing process is incomplete without proper curing. According to guidelines published by the Portland Cement Association, curing must begin immediately after the finishing operations are complete and the surface will not be marred by the curing medium.
Curing by Finish Type
- Broom & Trowel Finishes: Apply a membrane-forming curing compound (such as a water-based acrylic or wax-based resin) using a pump sprayer. Apply two coats in perpendicular directions to ensure complete coverage. Alternatively, use continuous wet curing with burlap and soaker hoses for a minimum of 7 days to maximize surface hardness.
- Exposed Aggregate: Do NOT apply liquid membrane cures before washing, as they will block the pressure washer from removing the retarded paste. After washing and allowing the slab to dry completely (usually 24-48 hours), apply a penetrating silane/siloxane sealer to protect the exposed stones from de-icing salts and UV degradation.
- Stamped Concrete: Wait at least 24 hours, then power wash the slab to remove excess release agent powder. Once dry, apply a solvent-based acrylic sealer (e.g., 20% solids content) using a roller. The solvent base will 'bite' into the concrete and enhance the color contrast of the stamped pattern.
Troubleshooting Common Installation Failures
Even experienced crews encounter environmental variables that compromise the finish. The National Ready Mixed Concrete Association identifies several field issues that require immediate corrective action:
Symptom: The top 1/8-inch dries and hardens while the concrete underneath remains soft and plastic.
Cause: High wind and low humidity causing rapid surface evaporation.
Fix: Do not break the crust with a trowel; this will cause permanent craze cracking. Instead, lightly mist the surface with an evaporation retarder and wait for the underlying concrete to stiffen before proceeding with finishing.
Symptom: Bubble-like bumps appear on the troweled surface, which break open later to reveal hollow voids.
Cause: Troweling the surface too early, sealing bleed water and trapped air beneath a dense layer of mortar.
Fix: Prevention is the only cure. Strictly enforce the 'no sheen' rule before the first steel trowel pass. If blisters appear during the first pass, immediately switch back to a wood or magnesium float to open the surface and allow trapped air to escape.
Final Quality Verification
Before demobilizing, verify the flatness and levelness of interior troweled floors using a 10-foot straightedge. For commercial projects, specify F-number systems (FF for Flatness, FL for Levelness) and measure within 72 hours of placement using a dipstick profilometer. Exterior finishes should be verified for proper slope (minimum 1/4-inch per foot) to ensure positive drainage away from structural foundations. Proper execution of these types of concrete finishes ensures a surface that is not only visually aligned with the architectural intent but structurally resilient against decades of mechanical and environmental wear.
Written by
Marcus ChenMarcus Chen is a licensed structural engineer (PE) and building materials analyst with over 12 years of experience across residential, commercial, and industrial construction. He holds a Master of Science in Civil Engineering from UC Berkeley and spent six years at Thornton Tomasetti before transitioning to independent consulting and technical writing. Marcus specializes in material selection for seismic-prone regions, concrete reinforcement strategies, and lifecycle cost analysis. His work has been cited by the American Concrete Institute (ACI) and the Structural Engineers Association of California (SEAOC). When he is not on a job site or at his desk, you will find him hiking the Sierra Nevada or restoring a 1920s craftsman bungalow in Oakland, CA.
More from Marcus Chen
View all
Construction Cost
How Much Did the Eiffel Tower Cost to Build?
How much did the Eiffel Tower cost to build in 1889? We adjust for inflation and compare its budget to modern skyscraper construction.
Aug 4, 2026

Fire Resistance
What Is a Fire Resistant Material? Testing & Certification Guide
Discover what is a fire resistant material through ASTM and UL testing. Learn how fire ratings, certifications, and assemblies work in construction.
Aug 4, 2026
Construction Cost
How Much Did the Burj Khalifa Cost to Build?
How much did the Burj Khalifa cost to build? We break down the $1.5B project and extract 5 money-saving strategies for your next build.
Jul 30, 2026