Sanded Grout Versus Unsanded: Cleaning & Maintenance Playbook
Master the cleaning and maintenance differences for sanded grout versus unsanded. Learn specific sealing schedules, stain removal, and daily care protocols.
The Structural Divergence: Why Texture Dictates Care
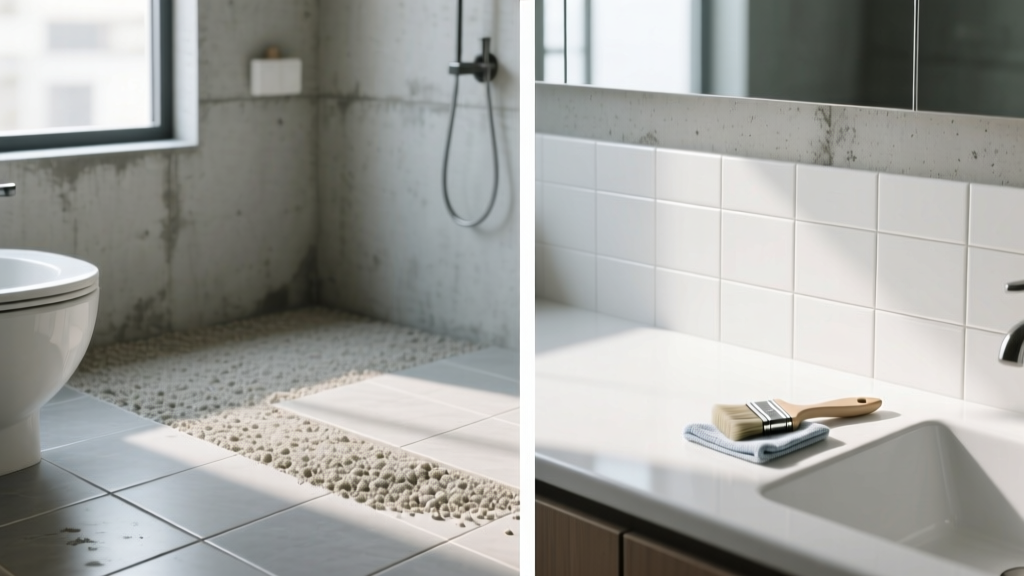
The physical composition of cementitious grout fundamentally dictates its maintenance lifecycle. When evaluating sanded grout versus unsanded grout for long-term care, the distinction is not merely aesthetic; it is a matter of aggregate geometry and chemical reactivity. Sanded grout contains finely graded silica sand, designed for joints ranging from 1/8-inch to 1/2-inch. This sand creates a highly porous, micro-textured surface that physically traps soil, biofilm, and soap scum within its microscopic valleys. Conversely, unsanded grout relies on a dense matrix of fine cement and polymer additives for joints under 1/8-inch. While its smooth surface resists physical soil trapping, its high cement concentration makes it exceptionally vulnerable to chemical etching from acidic cleaning agents.
According to technical guidelines from the Tile Council of North America (TCNA), treating these two materials with a uniform cleaning protocol is the primary cause of premature grout degradation. A maintenance playbook must bifurcate based on the specific grout type installed.
The Daily and Weekly Cleaning Playbook
Sanded Grout: Mechanical Agitation Protocols
Because sanded grout's textured surface acts as a physical filter for debris, chemical cleaners alone are insufficient. The weekly cleaning protocol requires mechanical agitation to dislodge particulates from the silica matrix.
- Tool Selection: Use a stiff nylon-bristle brush (specifically 0.015-inch to 0.020-inch bristle diameter). Avoid wire brushes, which will scratch the silica aggregate and leave metallic rust stains.
- Chemical Pairing: Apply an alkaline-based daily cleaner (pH 8.0 to 9.5). Alkaline solutions effectively break down the fatty acids found in soap scum and body oils without degrading the cement binder.
- Dwell Time: Allow the alkaline solution to dwell for 3 to 5 minutes to emulsify oils before scrubbing. Rinse immediately with warm water to prevent alkaline residue from crystallizing on the surface.
Unsanded Grout: Chemical Dissolution Protocols
Unsanded grout's smooth finish allows for wiping rather than scrubbing, but its chemical sensitivity demands strict pH control.
- Tool Selection: Use high-density microfiber pads or soft sponges. Stiff bristles can micro-abrade the polymer-modified surface over time, increasing its porosity.
- Chemical Pairing: Strictly use pH-neutral cleaners (pH 7.0). Even mildly acidic cleaners (like vinegar or citrus-based solutions) will dissolve the calcium hydroxide in the unsanded cement matrix, leading to pitting and permanent surface roughening.
- Application: Spray the neutral cleaner, allow a brief 2-minute dwell, and wipe clean. Do not let the solution pool in the narrow joints.
Chemical Compatibility and Stain Removal Matrix
When routine cleaning fails, targeted stain removal is required. The following matrix details the correct chemical approach based on the stain type and the specific grout composition.
| Stain Type | Sanded Grout Protocol | Unsanded Grout Protocol |
|---|---|---|
| Organic / Biofilm (Mold) | Oxygen bleach (sodium percarbonate) paste. Dwell 15 mins, scrub with nylon brush. | Hydrogen peroxide (3% solution). Spray, dwell 10 mins, wipe with microfiber. |
| Hard Water / Calcium | Sulfamic acid crystals dissolved in warm water. Apply, scrub, neutralize with baking soda. | Non-acidic hard water remover (chelating agent). Dwell 5 mins, wipe. Avoid acids entirely. |
| Oil / Grease | Heavy-duty alkaline degreaser (pH 11). Agitate vigorously, extract with wet vac. | Enzymatic cleaner. Apply, allow 30 mins for enzymes to break down lipids, wipe. |
| Rust / Metallic | Specialized rust remover (oxalic acid base). Spot treat only, rinse thoroughly. | Poultice with diatomaceous earth and distilled water. Draw out stain without acid etching. |
Sealing Protocols: Penetrating vs. Membrane Technologies
Sealing is the most critical preventative maintenance step for cementitious grouts. Manufacturer specifications from Custom Building Products and other industry leaders emphasize that the porosity of sanded grout versus unsanded grout requires entirely different sealer chemistries.
Sanded Grout: Deep Penetrating Silane/Siloxane Sealers
Sanded grout's high porosity requires a sealer that penetrates deeply into the capillary network rather than sitting on the surface. Solvent-based or water-based silane/siloxane impregnators are mandatory. These nanoparticle sealers react with the silica sand and cement to form a hydrophobic barrier below the surface.
Unsanded Grout: Fluoropolymer and Acrylic Enhancers
Because unsanded grout is naturally denser, deep-penetrating sealers often fail to absorb adequately, leading to surface pooling. Instead, utilize fluoropolymer sealers or water-based acrylic enhancers. These form a micro-thin protective membrane over the smooth joint, providing excellent resistance to chemical etching and stain absorption without altering the grout's color or texture. Reseal unsanded joints every 18 to 24 months.
Troubleshooting: Efflorescence, Hazing, and Micro-Cracking
Even with rigorous maintenance, cementitious grouts are subject to environmental and structural failures. Identifying the root cause is essential for selecting the correct remediation strategy.
Efflorescence (White Powdery Residue)
Efflorescence occurs when water-soluble salts migrate to the grout surface and crystallize upon evaporation. For Sanded Grout: Dry-brush the surface to remove loose crystals, then apply a diluted sulfamic acid solution to dissolve the remaining salts. Rinse thoroughly. For Unsanded Grout: Do not use acid. Use a specialized, non-acidic efflorescence remover that utilizes chelating agents to break down the salts without etching the smooth cement surface. Improve subfloor ventilation to halt moisture migration.
Sealer Hazing and Clouding
If a penetrating sealer was allowed to dry on the surface, it creates a white, cloudy haze. This is strictly a surface issue and does not indicate grout failure. Remediate by applying a solvent-based sealer stripper or a mixture of warm water and white vinegar (only on porcelain or ceramic tile, never on natural stone) to re-emulsify the haze, then wipe away immediately.
Micro-Cracking in Narrow Joints
If unsanded grout exhibits hairline cracking, it is rarely a cleaning issue and almost always a structural or installation failure. Unsanded grout lacks the aggregate structure to resist shrinkage in joints wider than 1/8-inch. If cracking occurs, cleaning protocols must shift to avoiding high-pressure water, which can infiltrate the cracks and delaminate the tile. The only permanent fix is to rake out the failed unsanded grout to a depth of at least 1/4-inch and replace it with a highly polymer-modified, flexible unsanded grout or a 100% silicone color-matched caulk if the crack is located at a change of plane.
Mastering the maintenance of sanded grout versus unsanded grout requires abandoning a one-size-fits-all mindset. By aligning your mechanical tools, chemical pH levels, and sealer chemistries with the specific physical properties of the installed grout, you can extend the lifecycle of the tile assembly by decades while maintaining pristine visual clarity.