How to Calculate Tapcon Concrete Screws: Quantity & Cost Guide
Learn how to accurately calculate Tapcon concrete screw quantities and estimate costs for masonry fastening projects with our detailed sizing guide.
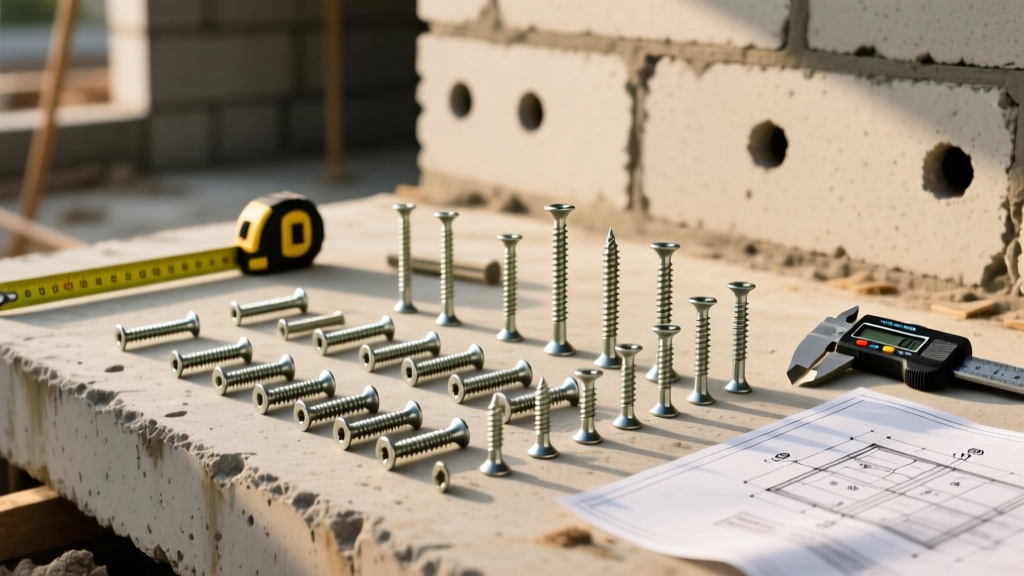
The Math Behind Masonry Fastening
Estimating fasteners for concrete is fundamentally different from wood framing. When driving Tapcon concrete screws into masonry, you are cutting threads directly into the base material. This means hole depth, embedment limits, and drill bit wear directly dictate both your material quantities and your final project cost. Miscalculating by even a fraction of an inch in hole depth leads to snapped heads, stripped threads, and wasted inventory. This guide provides the exact mathematical frameworks, spacing codes, and current pricing models needed to estimate Tapcon quantities and costs accurately for any concrete anchoring project.
Core Calculation Rules: Spacing and Edge Distance
Before calculating total quantities, you must establish the layout grid based on structural limits. The International Code Council (ICC) and manufacturer engineering tables dictate strict minimum distances to prevent the concrete from cracking or blowing out under load.
The Diameter Multiplier Rules
Tapcon screws primarily come in two standard diameters for light-to-medium duty: 3/16-inch and 1/4-inch. All spacing calculations are derived from these base diameters.
- Minimum Edge Distance: 5 times the screw diameter. For a 3/16" screw, keep the hole at least 15/16" from any concrete edge. For a 1/4" screw, maintain a 1-1/4" minimum edge distance.
- Minimum Spacing Between Screws: 10 times the screw diameter. A 3/16" screw requires 1-7/8" minimum spacing from adjacent anchors; a 1/4" screw requires 2-1/2".
- Minimum Base Material Thickness: 1.5 times the embedment depth. If your screw penetrates 1 inch into the concrete, the slab must be at least 1.5 inches thick to prevent blowout on the underside.
Embedment Depth: The Critical Hole Depth Formula
The most common cause of Tapcon failure is incorrect hole depth. The hole must be deeper than the screw's penetration to allow for concrete dust displacement.
The Golden Formula: Minimum Hole Depth = Screw Length + 1/2 inch (for dust clearance).
Example: If you are fastening a 1/2" thick wood sill plate using a 1-3/4" Tapcon, the screw penetrates 1-1/4" into the concrete. Your drill bit must be set to a depth stop of exactly 1-3/4" (1-1/4" embedment + 1/2" dust space).
Minimum and Maximum Embedment Limits
You cannot arbitrarily choose how deep the screw goes into the concrete. The Portland Cement Association notes that concrete compressive strength (psi) affects pull-out values, but the mechanical limits of the screw itself remain constant.
- Minimum Embedment: 1 inch. Anything less will not generate sufficient thread shear area, resulting in the screw pulling out under minimal load.
- Maximum Embedment: 1-3/4 inches. Driving a Tapcon deeper than 1-3/4" drastically increases rotational torque. The friction will exceed the shear strength of the steel, and the screw head will snap off flush with the material.
Quantity Calculator: Common Project Scenarios
Use the following formulas and baseline estimates to calculate your exact fastener requirements. Always add a 10% overage factor to account for stripped screws, bit wander, or hidden rebar strikes.
| Project Type | Spacing Requirement | Quantity Formula | Recommended Screw Size |
|---|---|---|---|
| Wood Sill Plates (Non-Structural) | 48 inches on center | (Total Linear Inches / 48) + 1 | 1/4" x 3-1/4" (Hex Head) |
| Furring Strips (1x3 or 2x4) | 24 inches on center | (Strip Length in Inches / 24) + 1 | 3/16" x 2-3/4" (Phillips) |
| Plywood Subfloor over Concrete | 12 inches on center (grid) | (Sq Ft / 0.75) approx. 1.33 per Sq Ft | 3/16" x 1-3/4" (Flat Head) |
| Steel Stud Tracks (Bottom Plate) | 24 inches on center | (Track Length in Inches / 24) + 1 | 3/16" x 1-1/4" (Hex Washer) |
Cost Estimation: Current Pricing Breakdown
When budgeting for Tapcon screws, the cost of the fastener itself is only half the equation. Carbide drill bits and cleaning tools represent a significant secondary expense. Below is a breakdown of average professional-grade pricing.
| Item Category | Specification | Average Unit Cost | Bulk Box Cost (Approx.) |
|---|---|---|---|
| Standard Blue Climacoat | 3/16" x 1-3/4" (Box of 100) | $0.18 / screw | $16.00 - $19.00 |
| Standard Blue Climacoat | 1/4" x 3" (Box of 50) | $0.55 / screw | $25.00 - $30.00 |
| Stainless Steel (Type 410) | 3/16" x 1-3/4" (Box of 100) | $0.65 / screw | $60.00 - $75.00 |
| Carbide Drill Bit (ANSI B21.13) | 5/32" (for 3/16" screw) | $6.00 - $9.00 / bit | N/A |
| Carbide Drill Bit (ANSI B21.13) | 3/16" (for 1/4" screw) | $7.00 - $11.00 / bit | N/A |
Hidden Costs and Failure Modes
Accurate cost estimation requires anticipating failure. In concrete fastening, a failed hole means moving to a new location, drilling a new hole, and wasting the original screw. Budget for a 5% to 10% failure rate on older, heavily aggregated concrete.
Drill Bit Wear and Replacement
Standard high-speed steel (HSS) or black oxide bits will dull after 1 or 2 holes in cured concrete. You must use ANSI B21.13 standard carbide-tipped masonry bits. Even with carbide, a single 5/32" bit will typically drill 20 to 30 holes in standard 3,000 PSI concrete. If you are drilling into old, high-PSI concrete with hard quartz aggregate, expect to replace the bit every 4 to 6 holes. Cost Impact: For a project requiring 200 holes in hard aggregate, you will need to budget for 30 to 40 drill bits, adding $200+ to your consumable costs.
The "Spinning Screw" Blowout
If a Tapcon spins freely without tightening, the threads have stripped the concrete. This happens for two reasons:
- Bit Wobble: Using a worn drill bit or a hammer drill with excessive chuck play creates a hole slightly larger than the nominal diameter. The screw cannot cut deep enough threads.
- Uncleaned Holes: If concrete dust is not blown out of the hole, it packs at the bottom. The screw hits the dust pack, torque spikes, and the threads strip the upper portion of the hole before the head seats.
Pro Tips for Flawless Installation
To ensure your estimated quantities match your actual usage, enforce the following protocols on the job site:
- Use a Depth Stop: Wrap a piece of brightly colored painter's tape around the carbide drill bit at the exact required depth (Screw Length + 1/2"). This prevents over-drilling and saves time.
- Mandatory Hole Cleaning: Require the use of a manual blow-out bulb, compressed air, or a dedicated hole-cleaning brush after every single hole. This single step reduces stripped screw failures by over 80%.
- Clutch Setting: When using an impact driver or drill/driver, set the torque clutch to a medium setting. Drive the screw until it seats snugly, then stop. Over-torquing with a high-power impact wrench is the primary cause of sheared screw heads.
- Aggregate Strikes: If the drill bit suddenly stops advancing or the hammer drill bogs down, you have likely hit hard aggregate or rebar. Do not force it. Withdraw the bit, abandon the hole, and move 2 inches down the track. Forcing it will shatter the carbide tip.